Overview

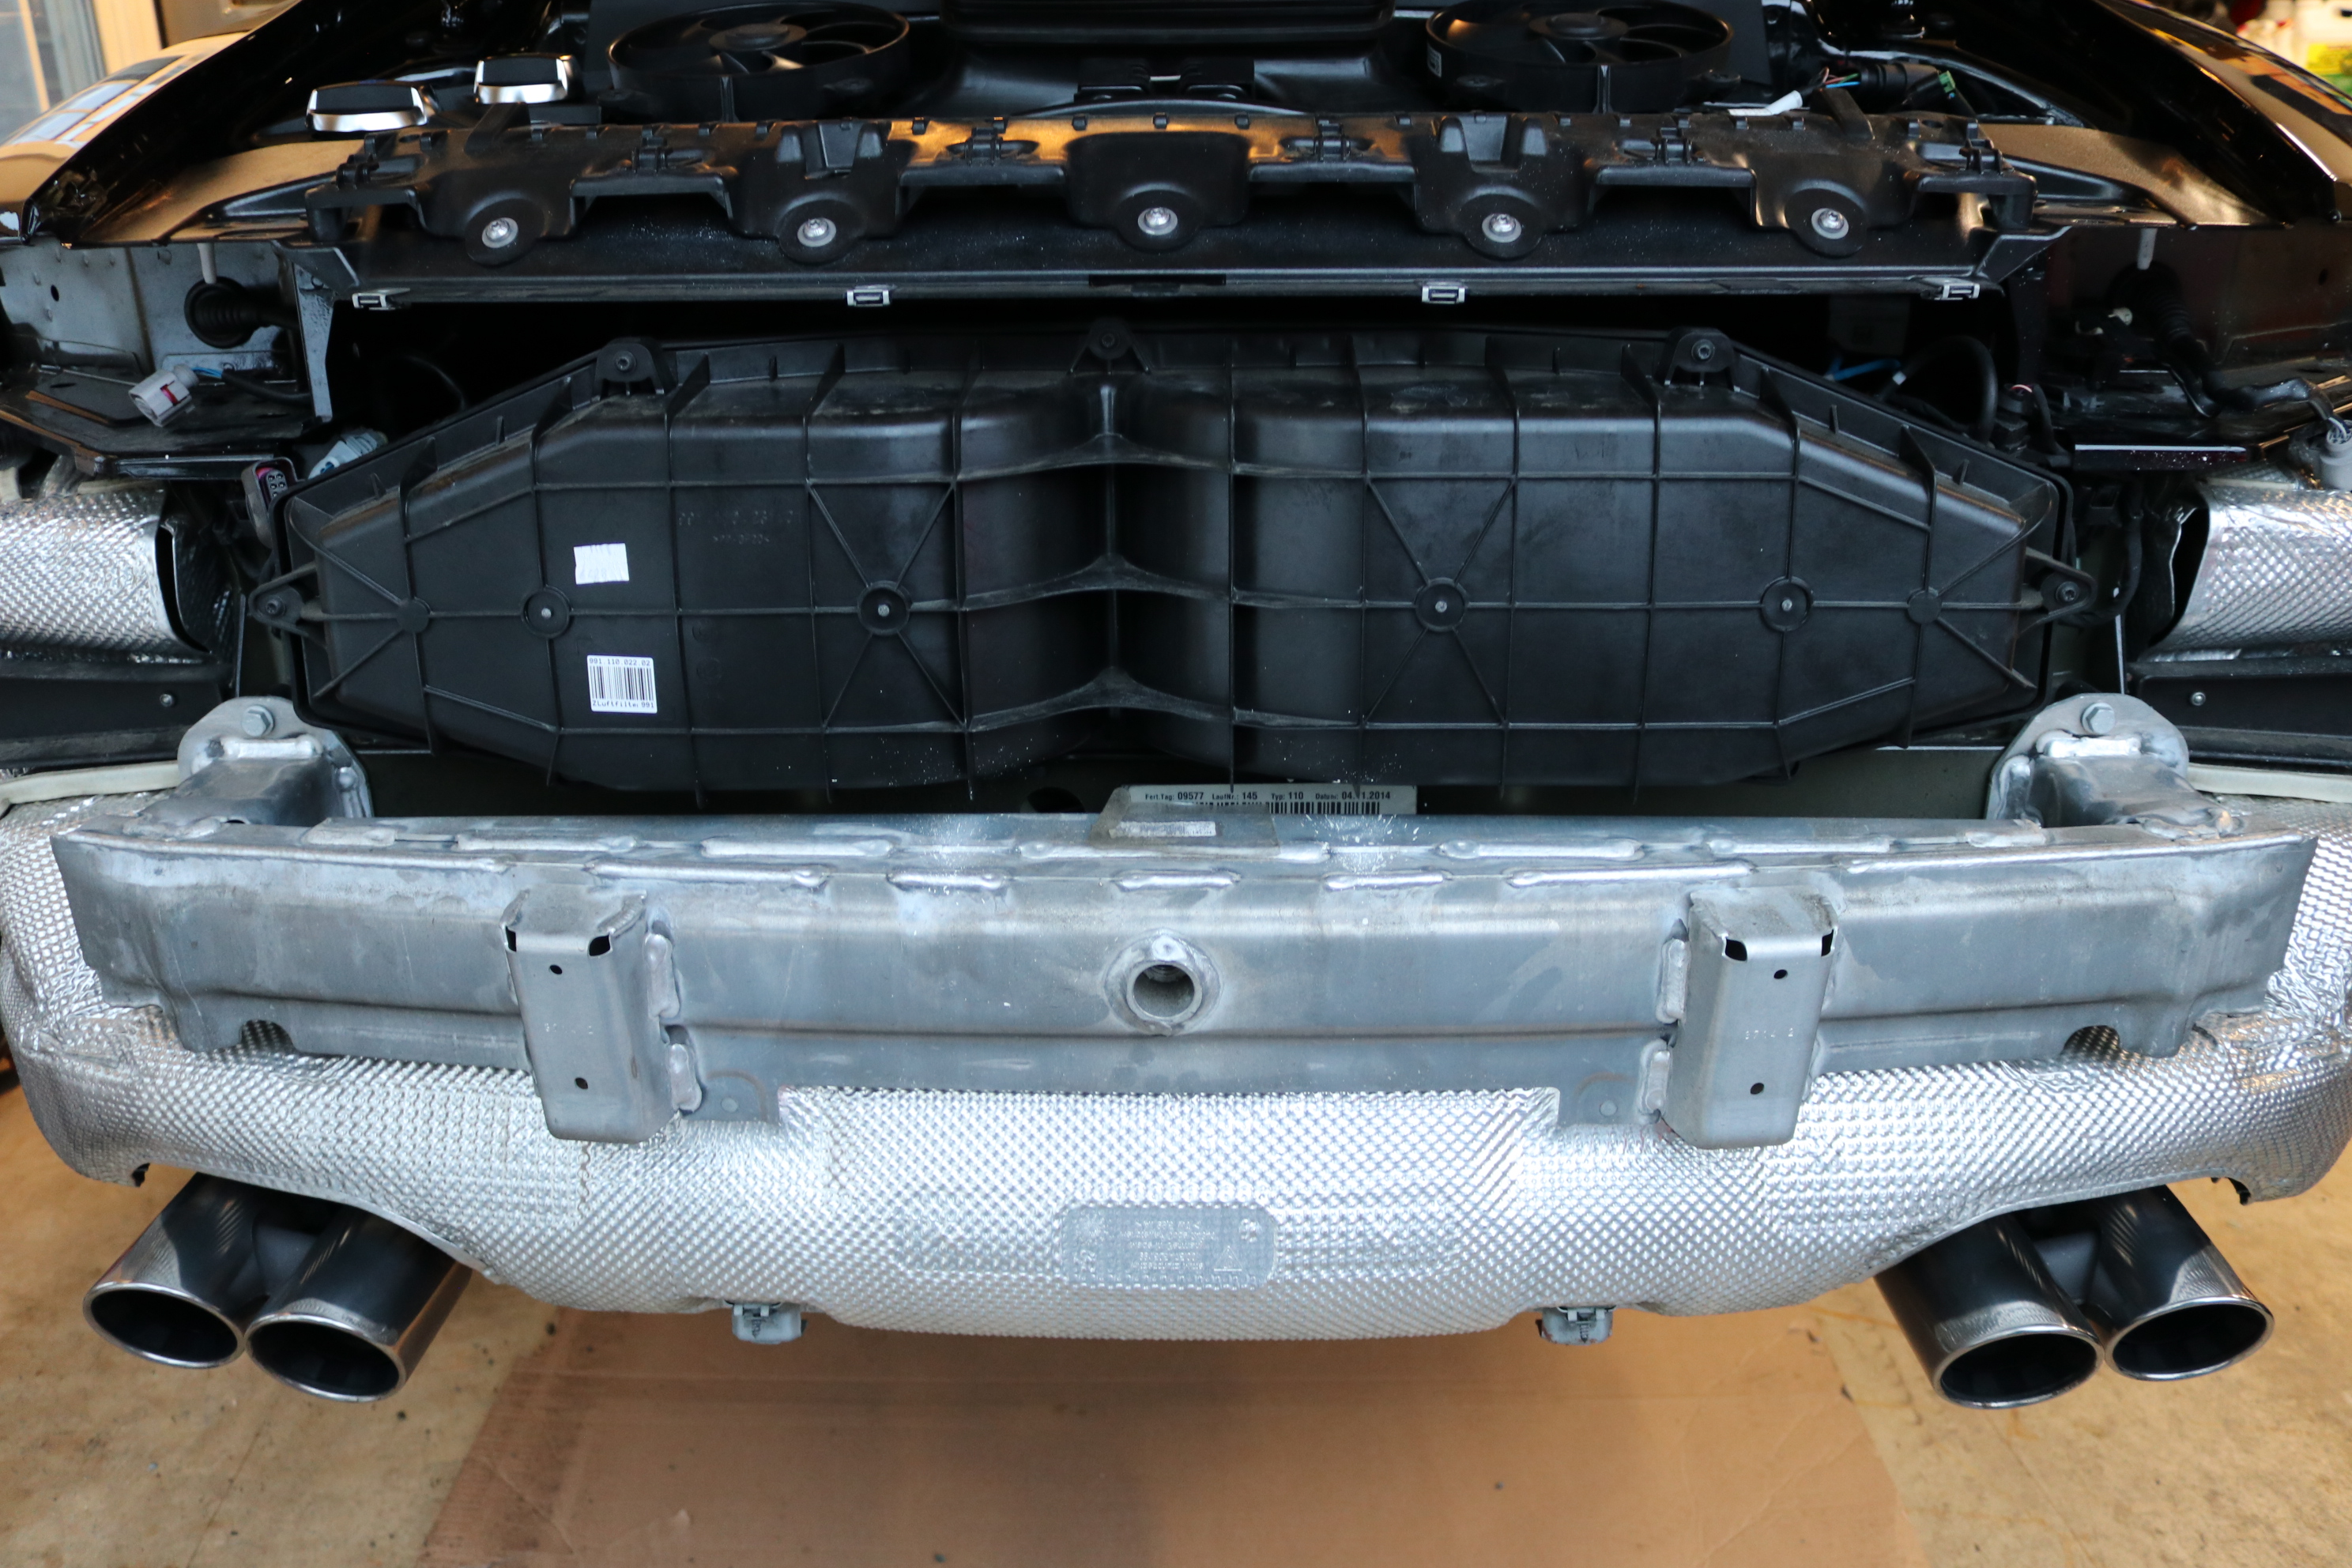
This guide goes through the steps we used to remove the rear bumper on a Porsche 911 (991.1) Carrera S.


Tools Used

Tool Link
Quick Jack BL-5000XL portable lift Amazon
Jack Stands Amazon
3/8" Drive Ratchet Amazon
3/8" Drive Torque Wrench Amazon
3/8" Drive Extension Amazon
T30 (Torx) Socket Amazon
T27 (Torx) Socket Amazon
Milwaukee 3/8" Powered Ratchet Amazon
Eastwood Body Work Stand Amazon


Tools used for a Porsche 911 (991.1) rear bumper removal

1T30 torx socket, 26 pieces.
Procedure Used


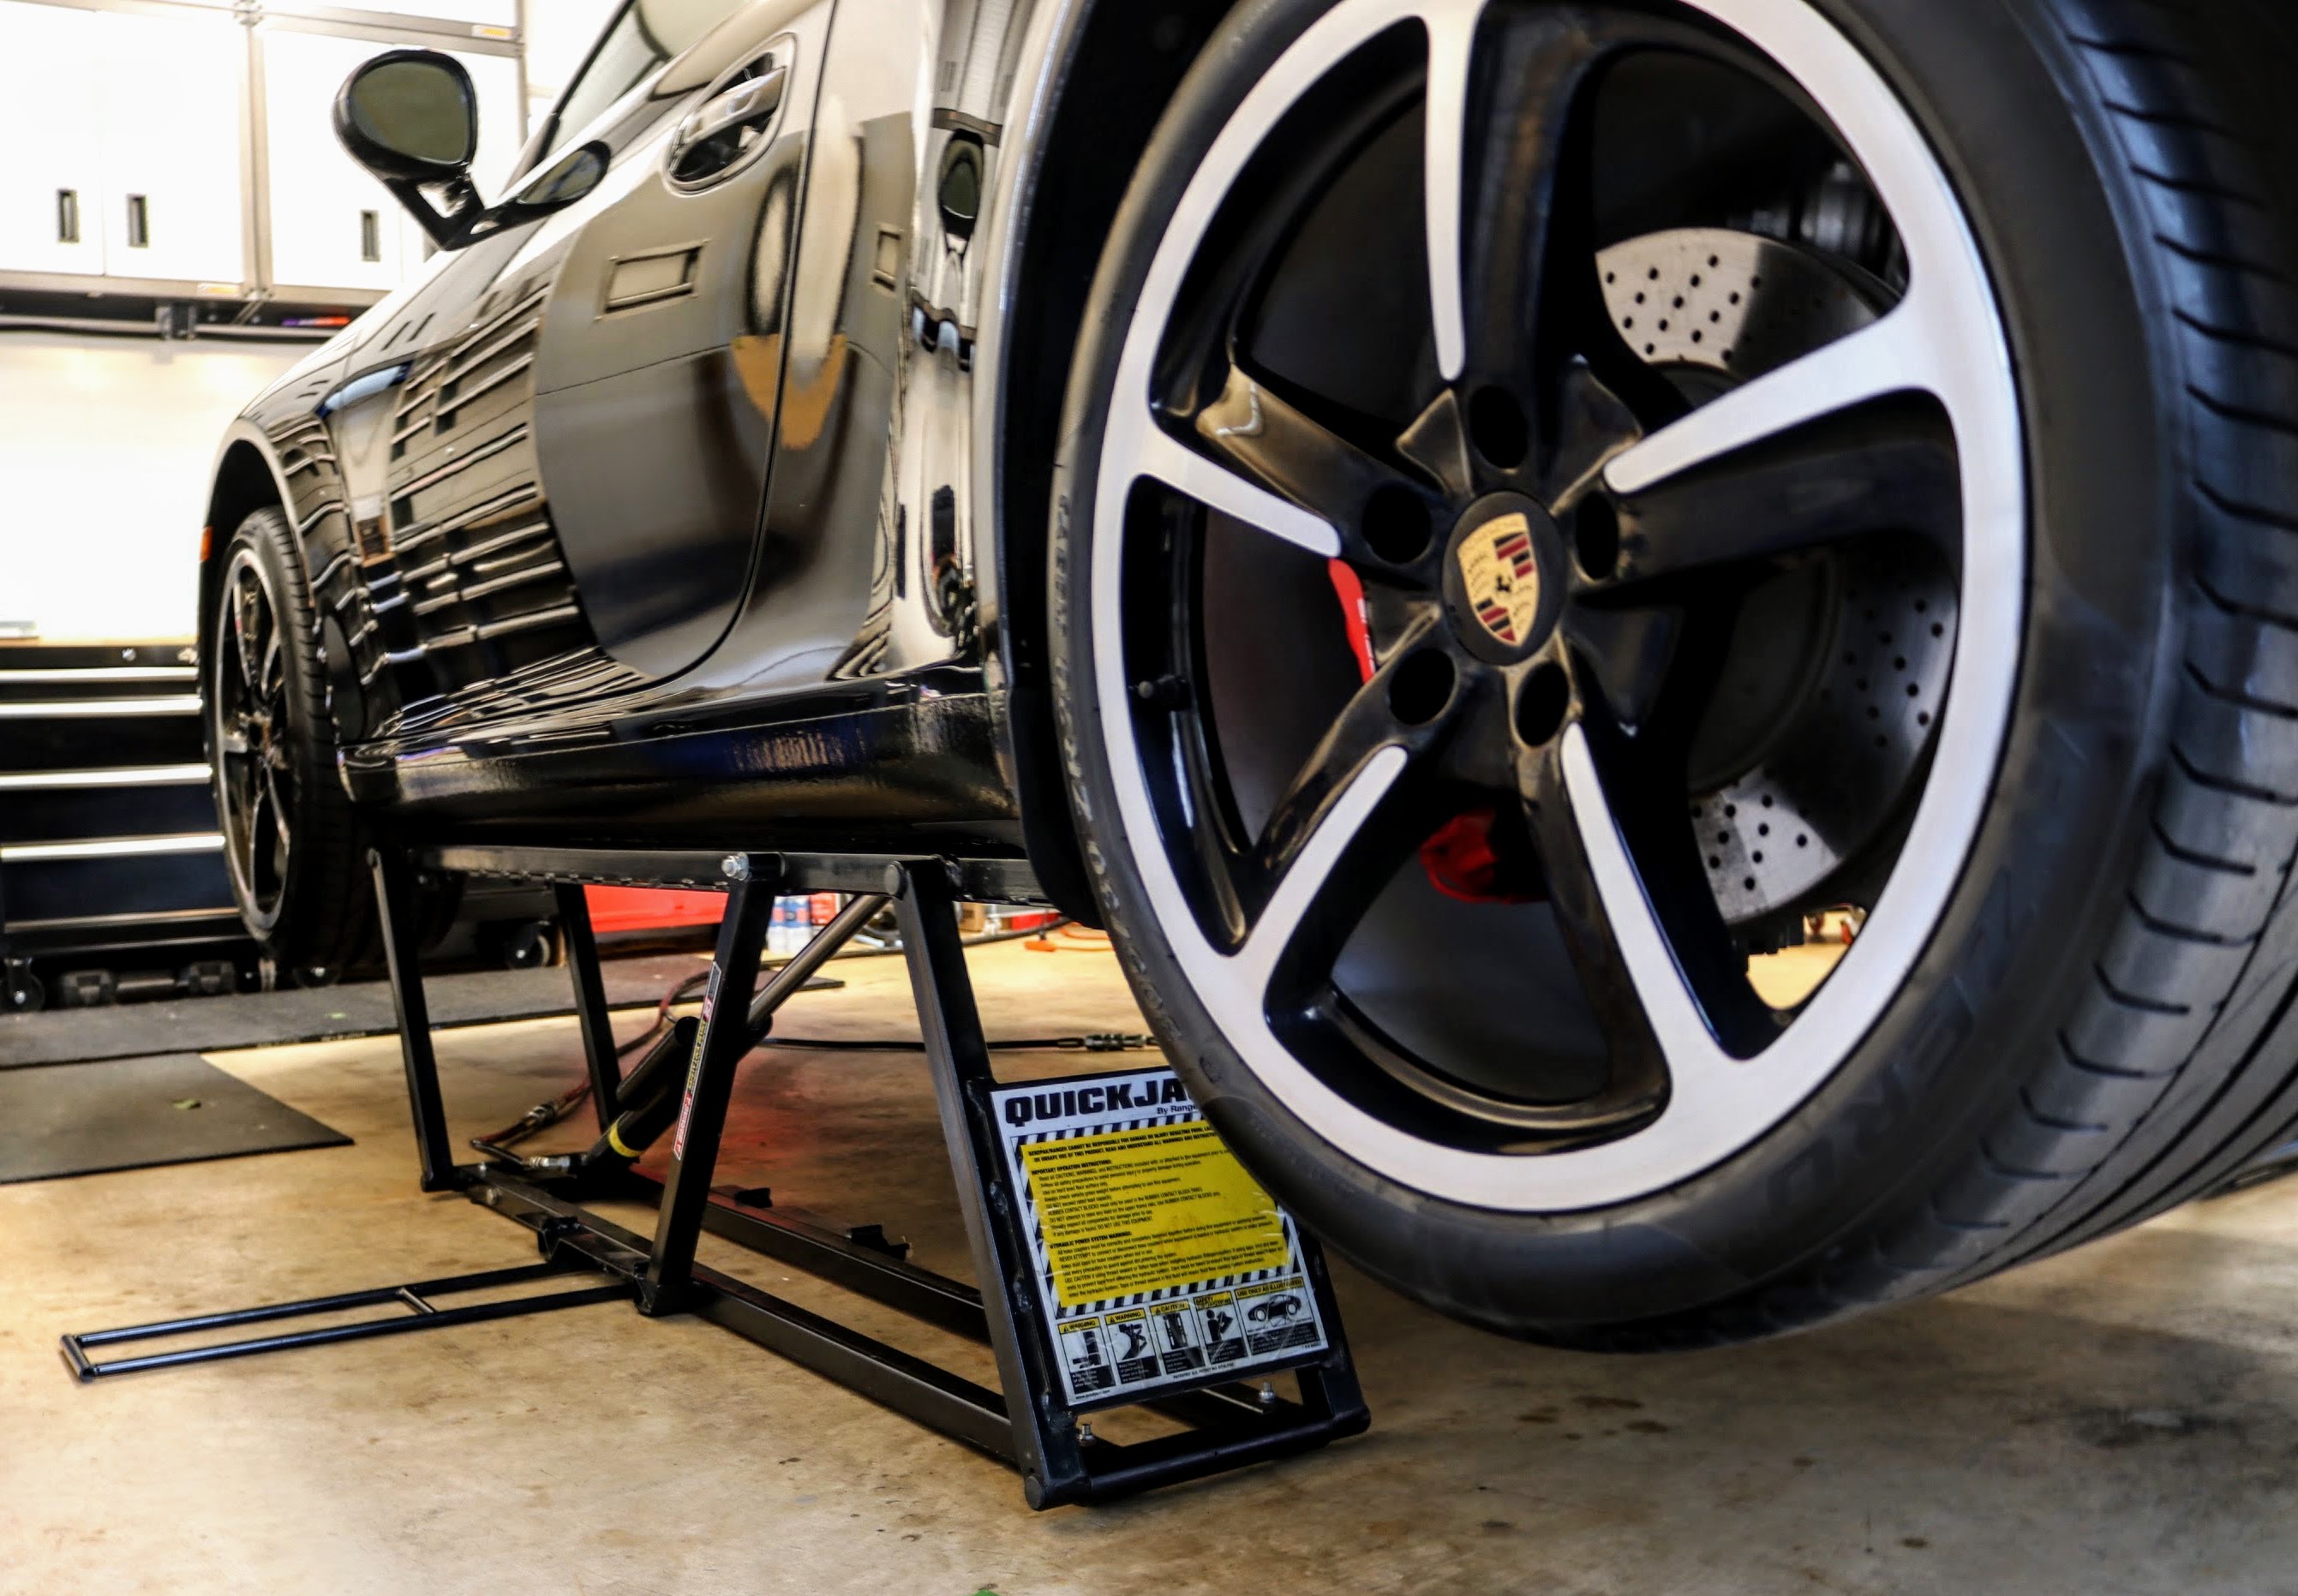
1. We lifted the car off the ground - enough for us to easily access the bolts holding in the bottom of the bumper. We used a QuickJack along with a few jack stands to be on the safe side while under the car. This is NOT necessary for removing the rear bumper. Porsche 911 (991) on the QuickJack BL-5000XL portable lift
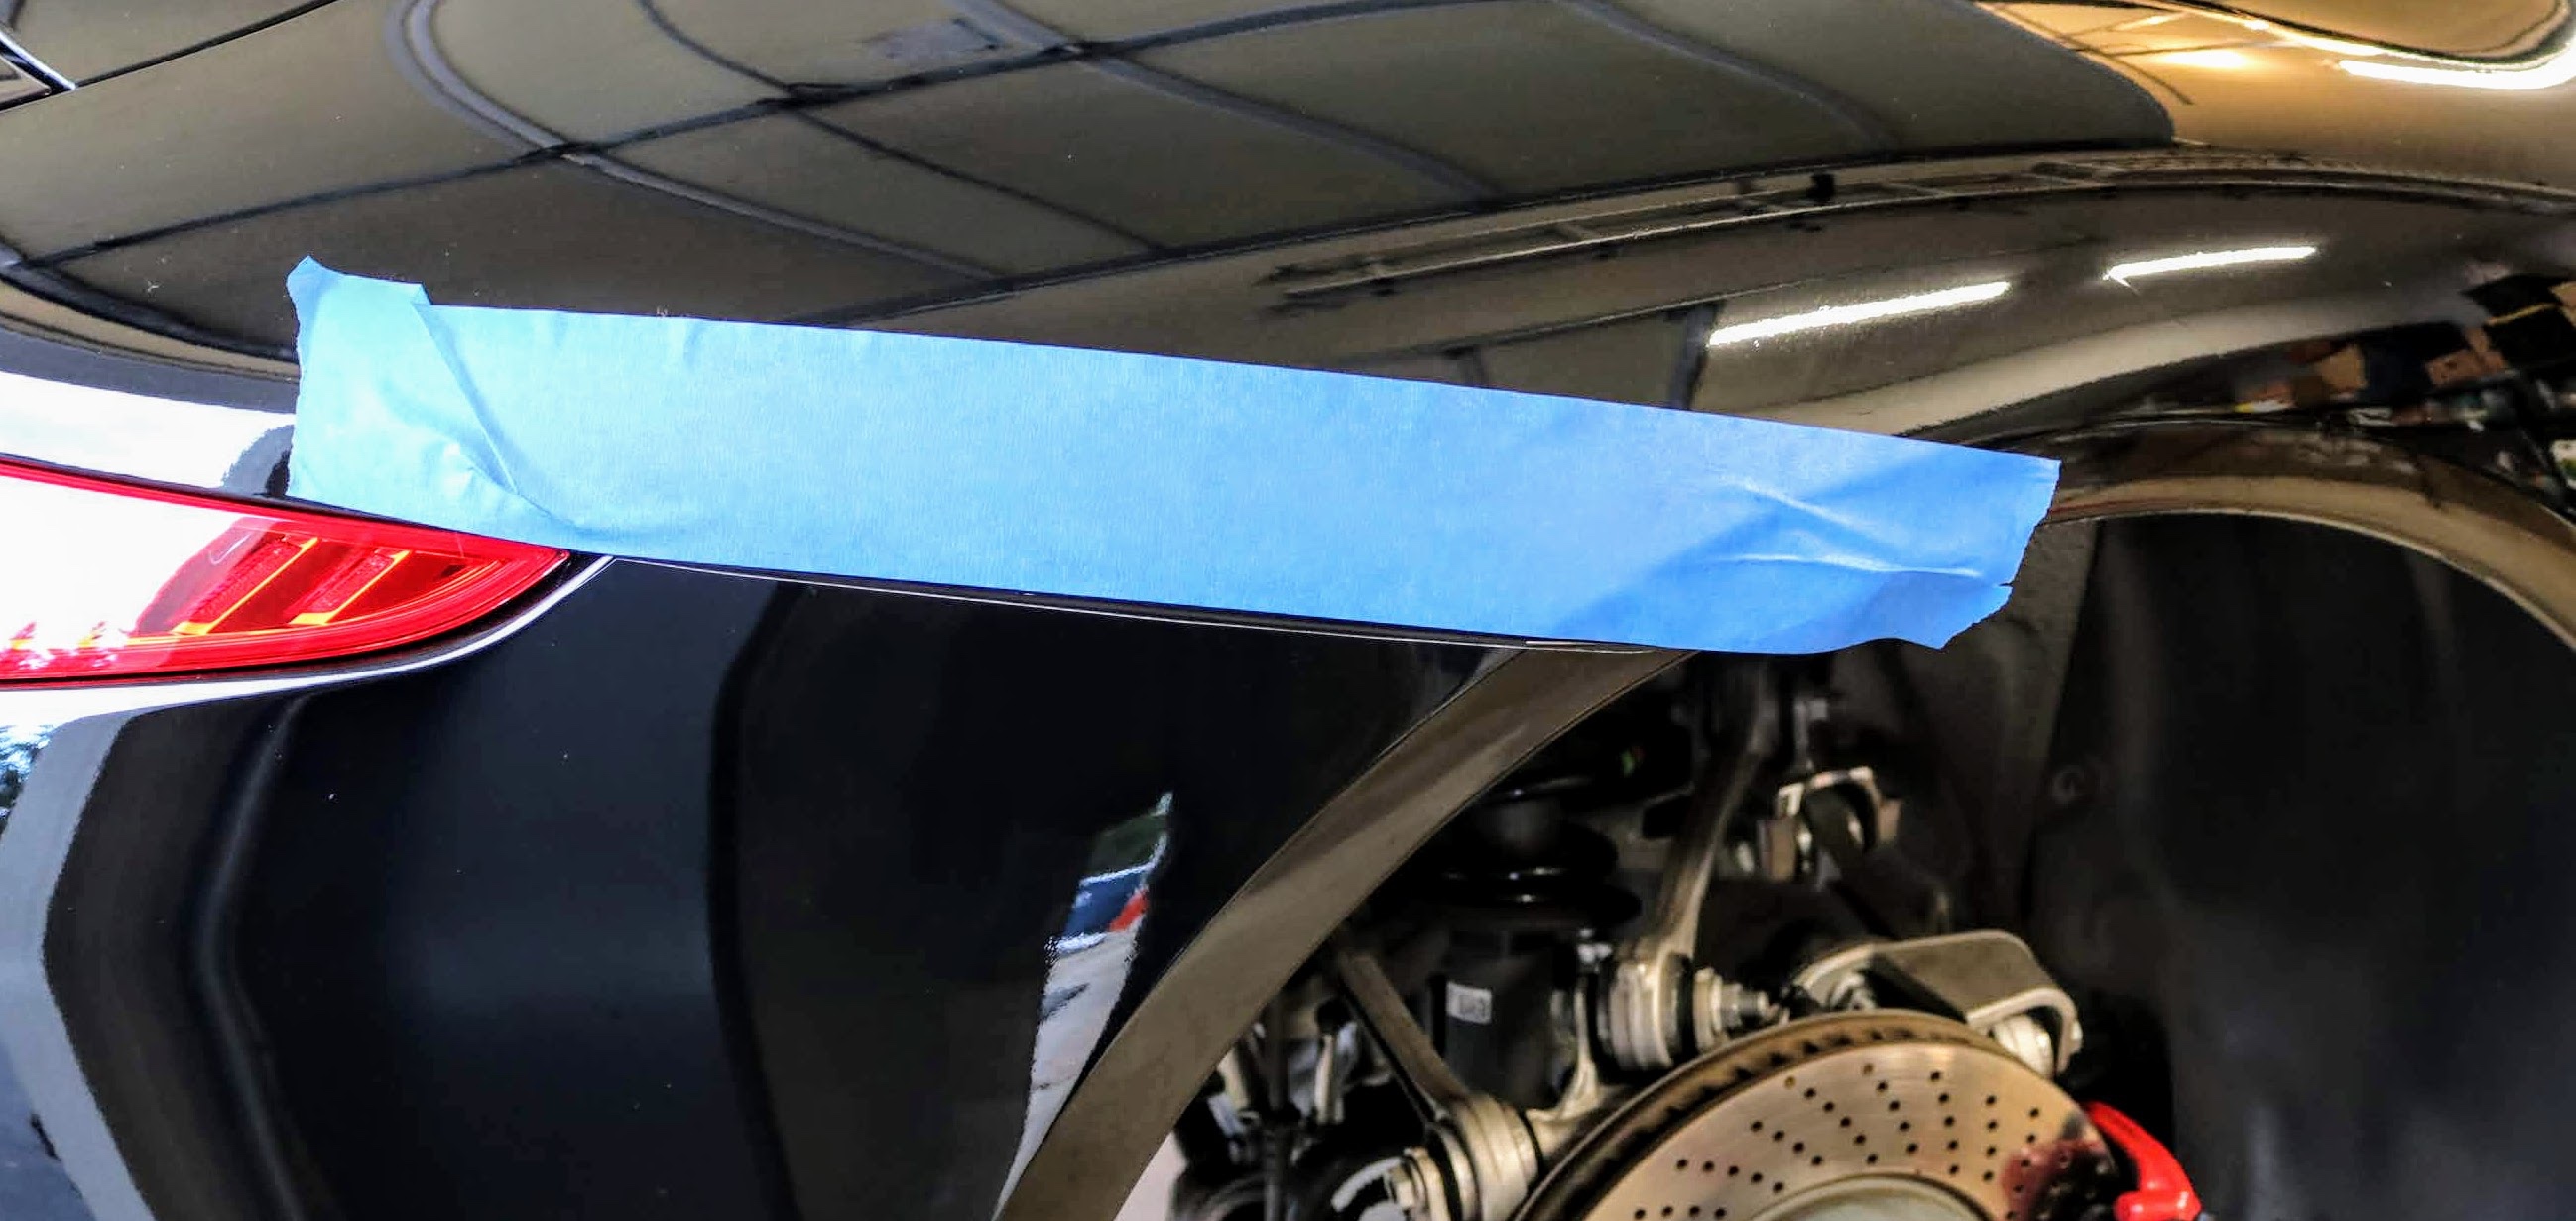
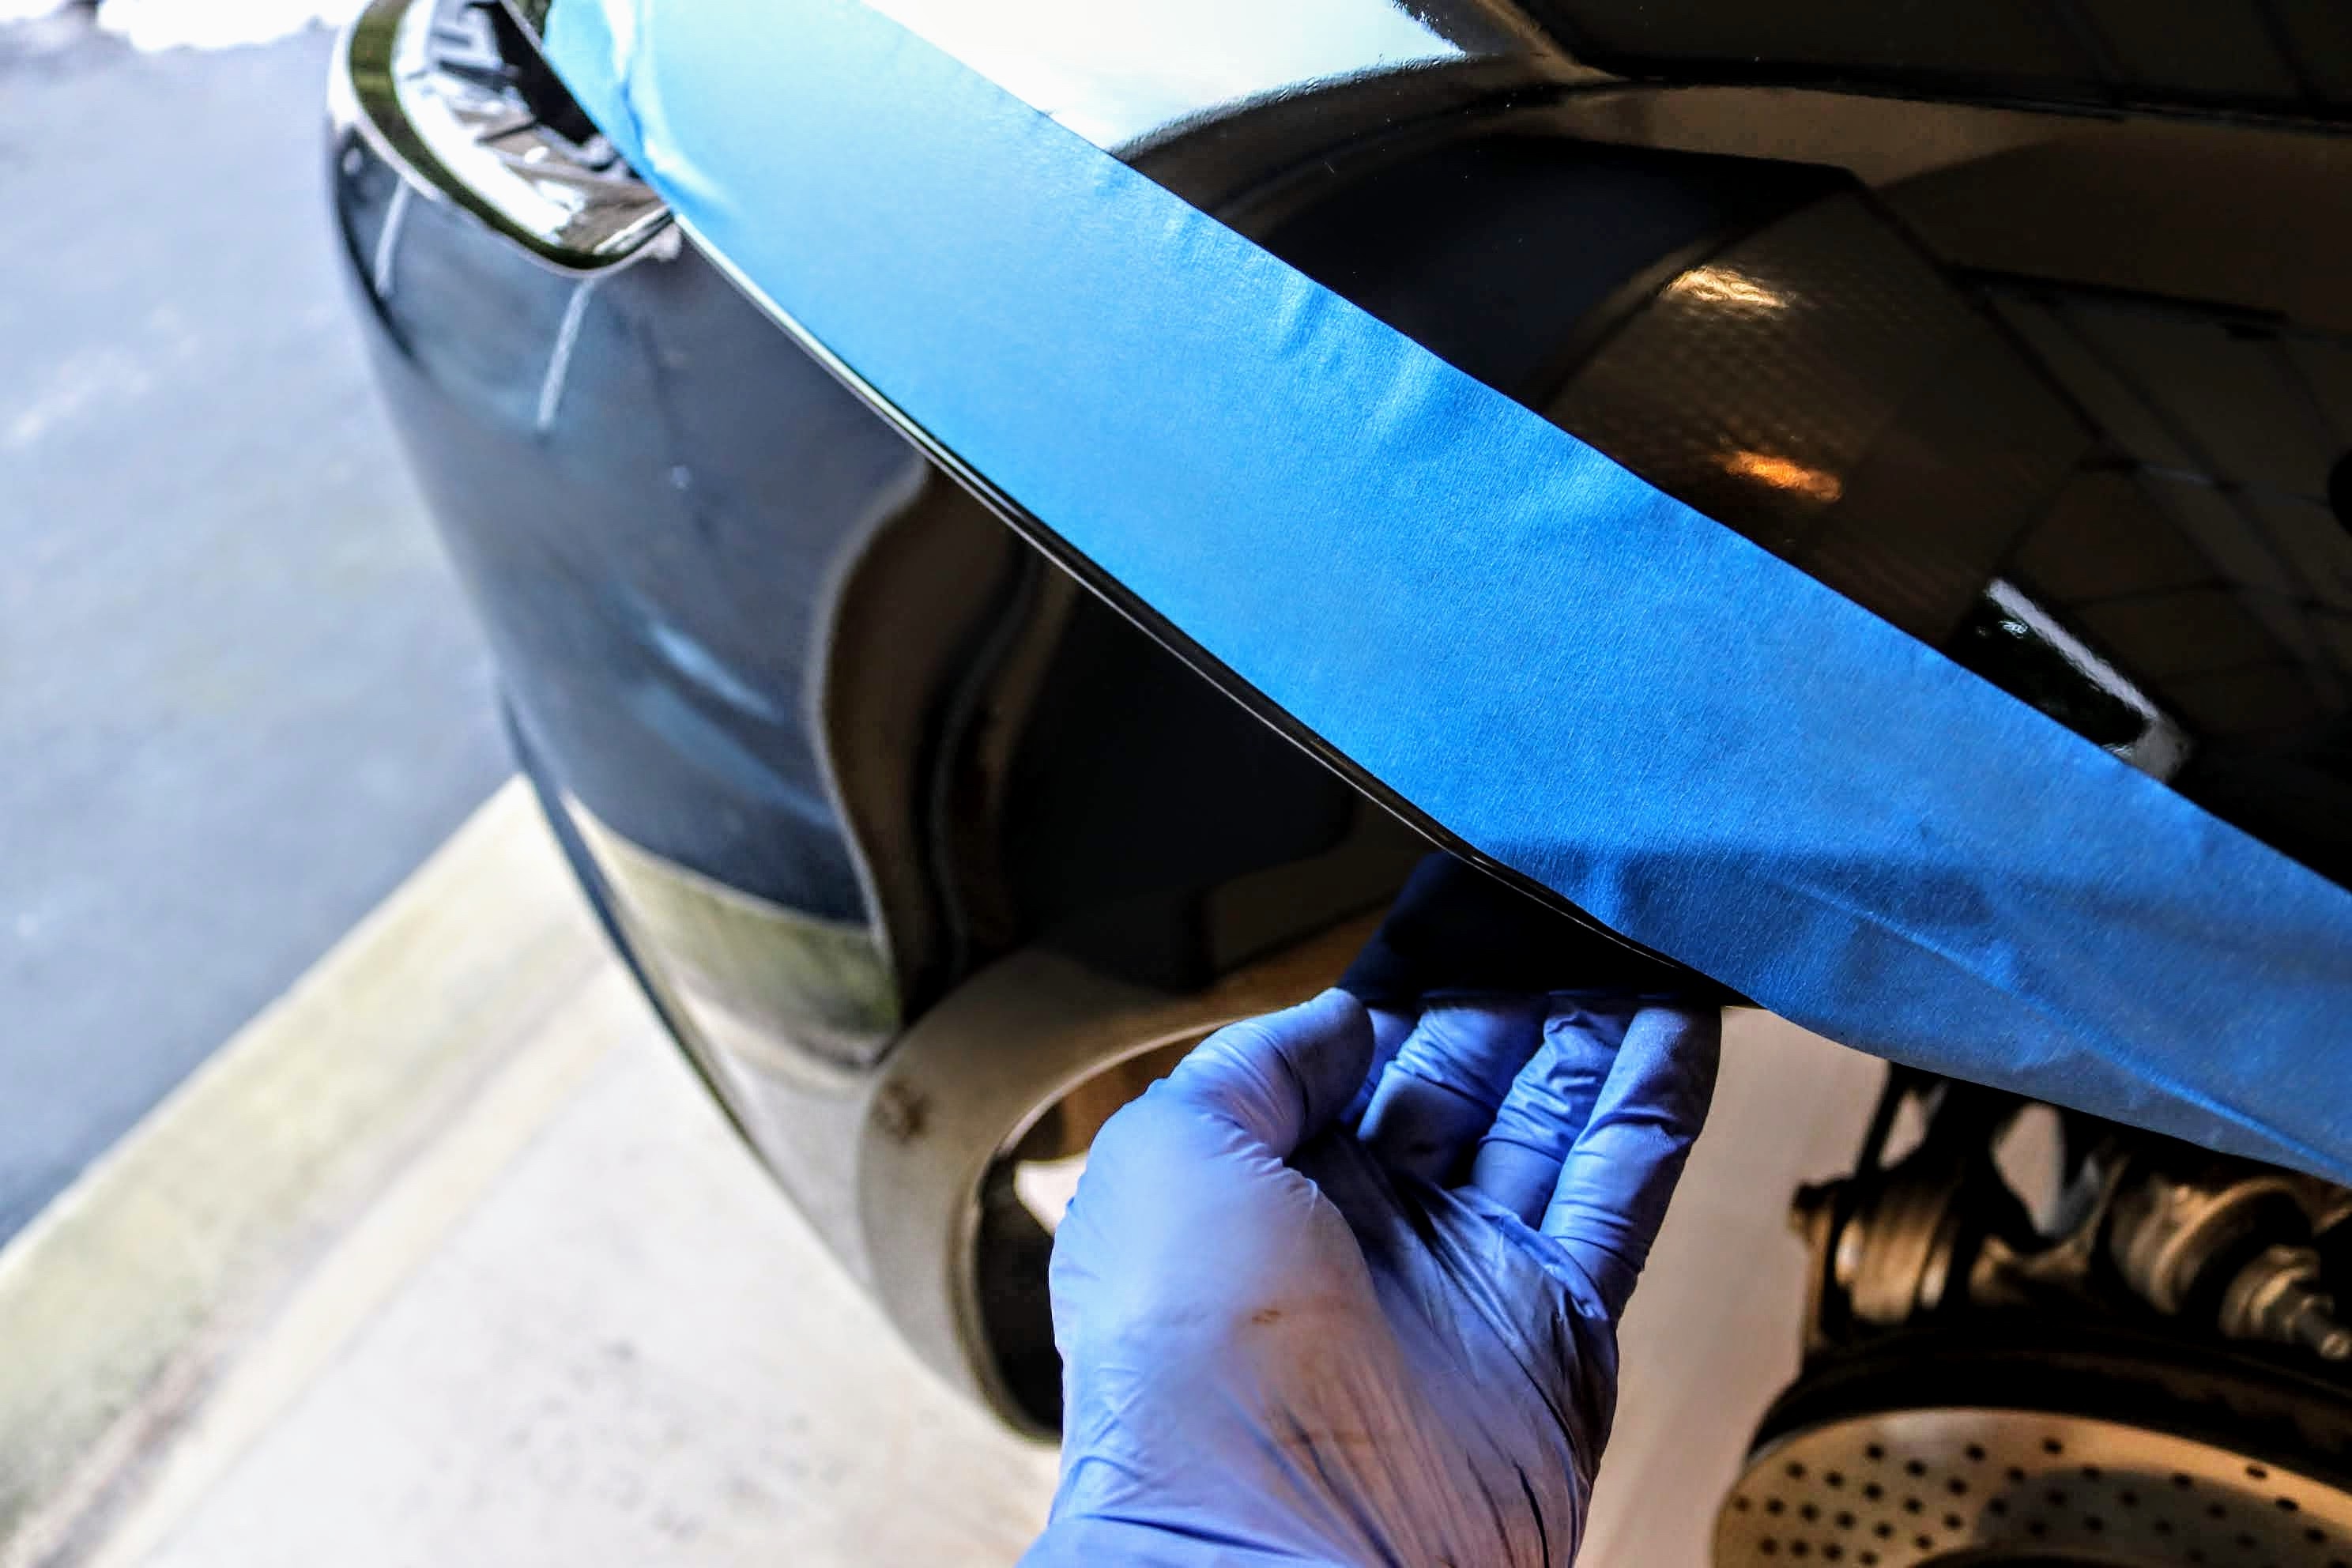
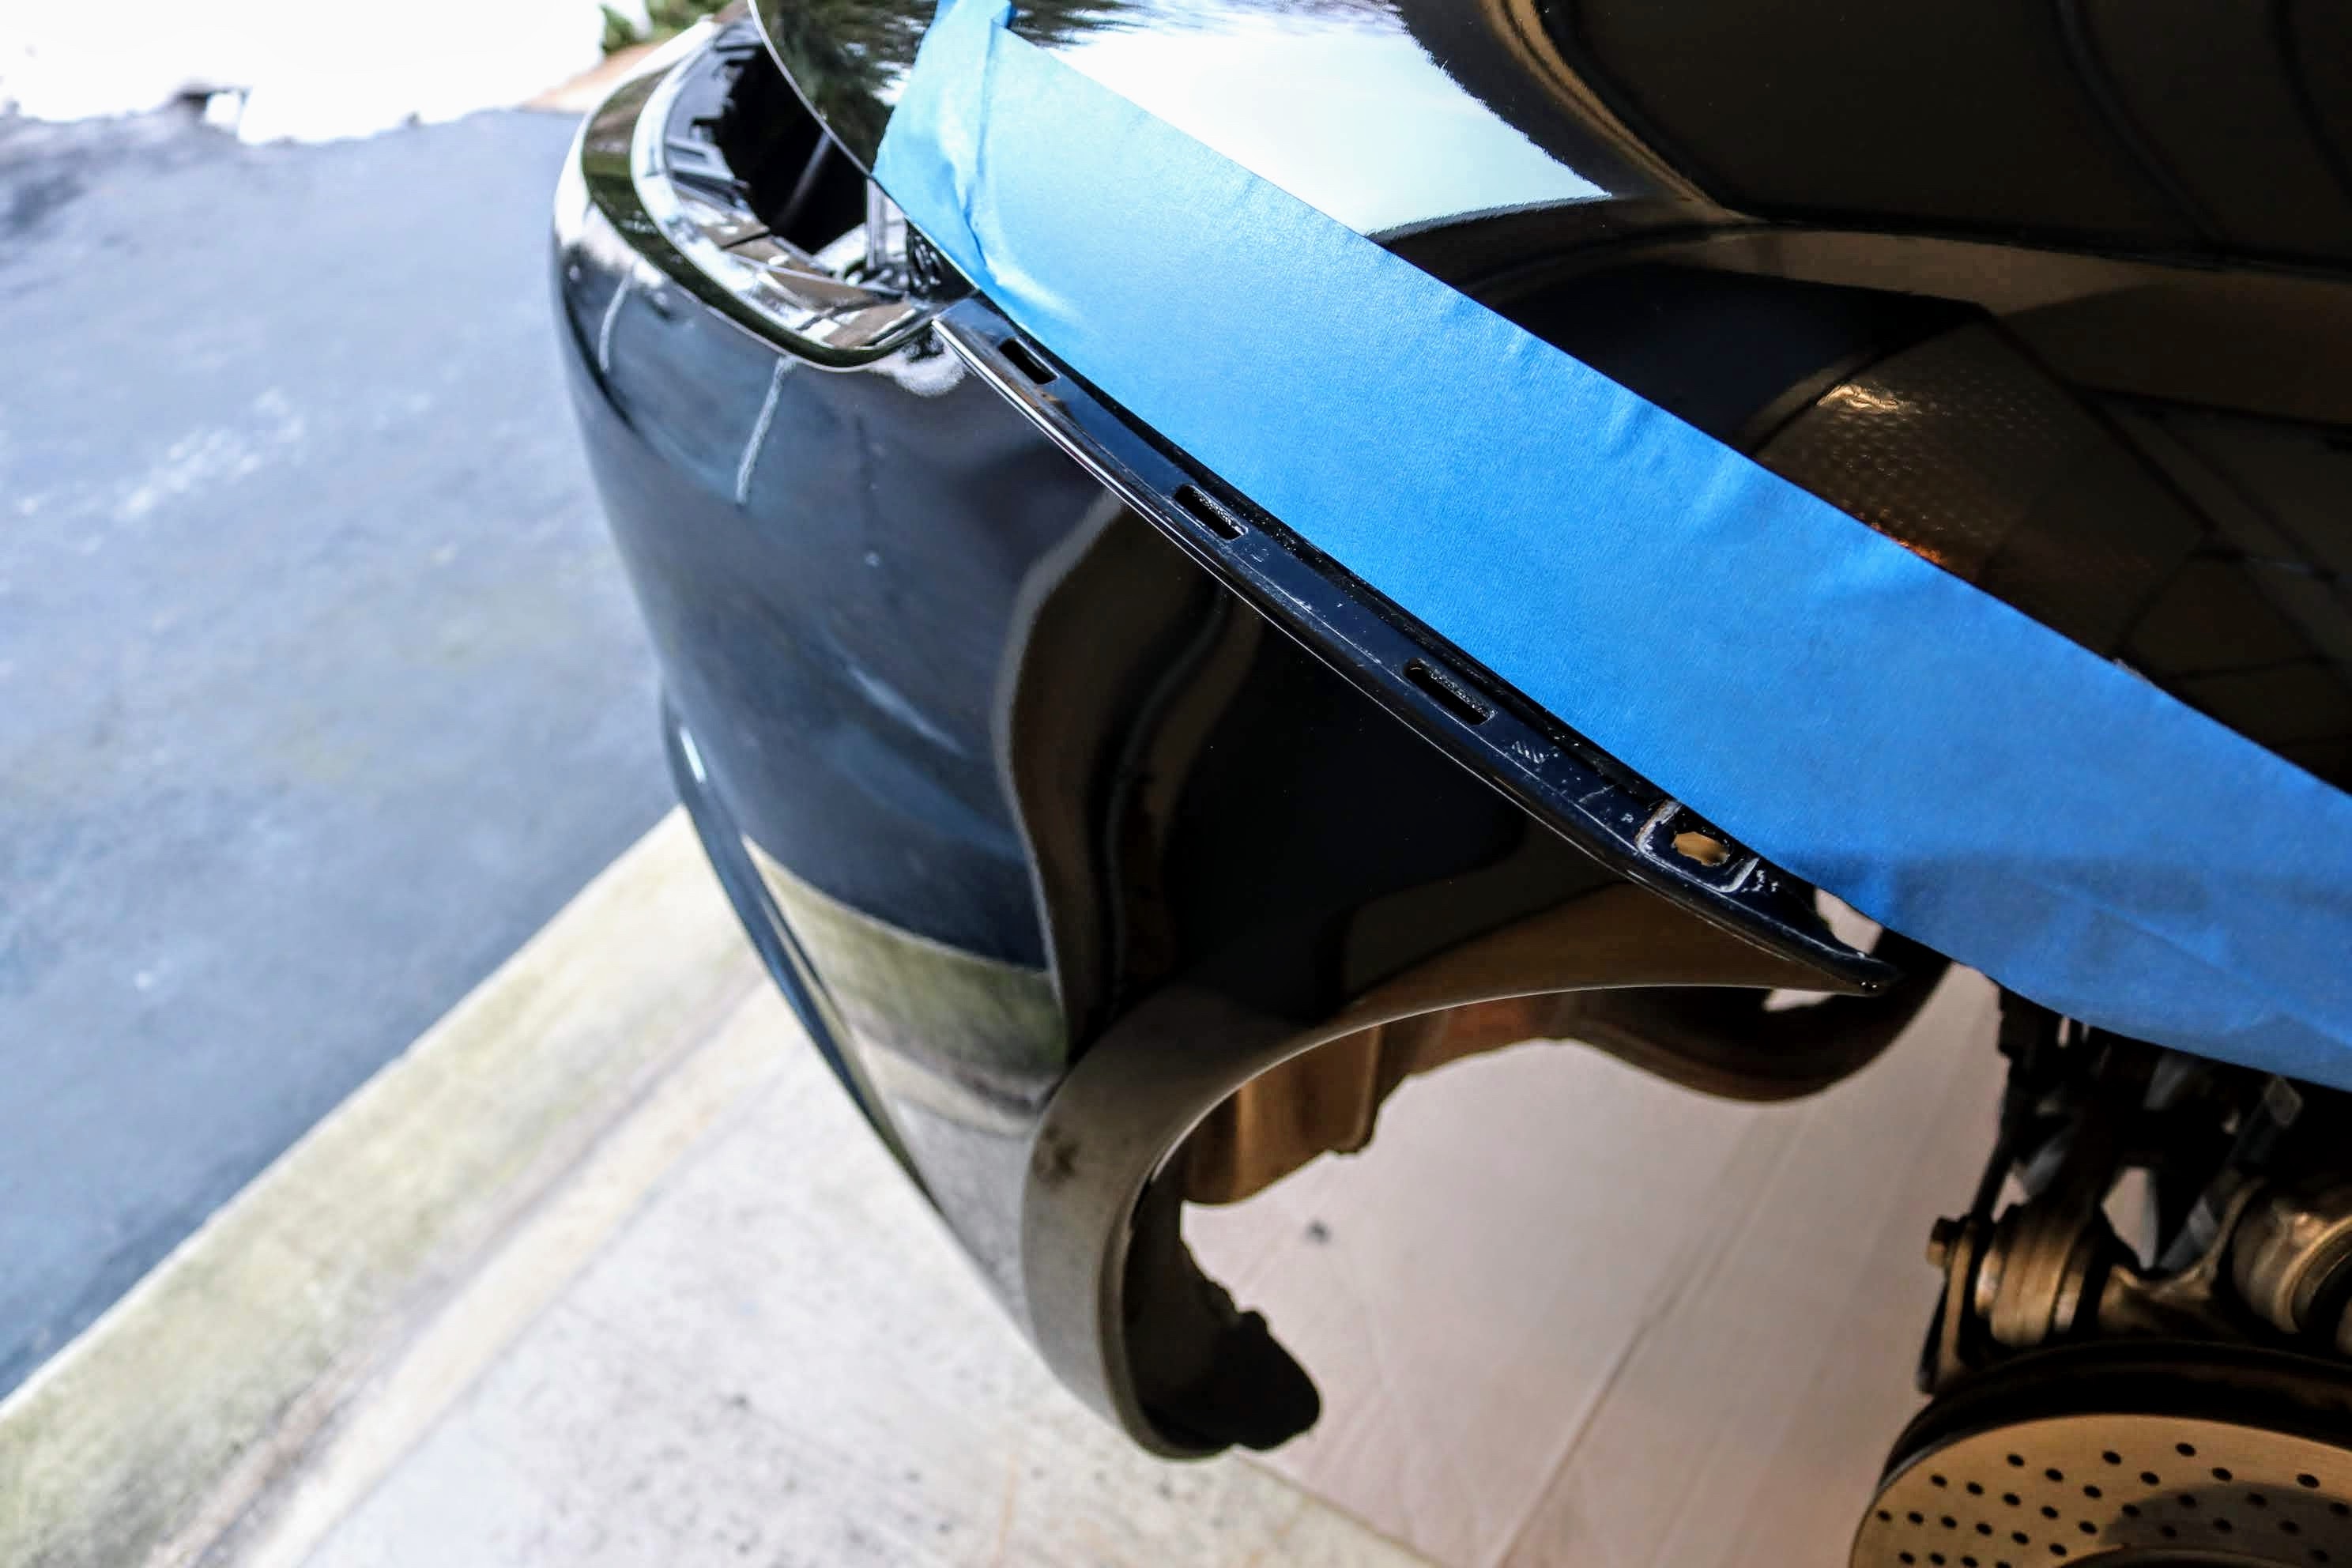
2. First, we put painters tape on the rear fenders, along the edge of the rear bumper. This helps to prevent accidentally scrapping the paint when maneuvering the bumper. Porsche 911 (991) painters tape for rear bumper removal
3. Open rear trunk lid. If standard wing, put in upright position and skip to step 9.
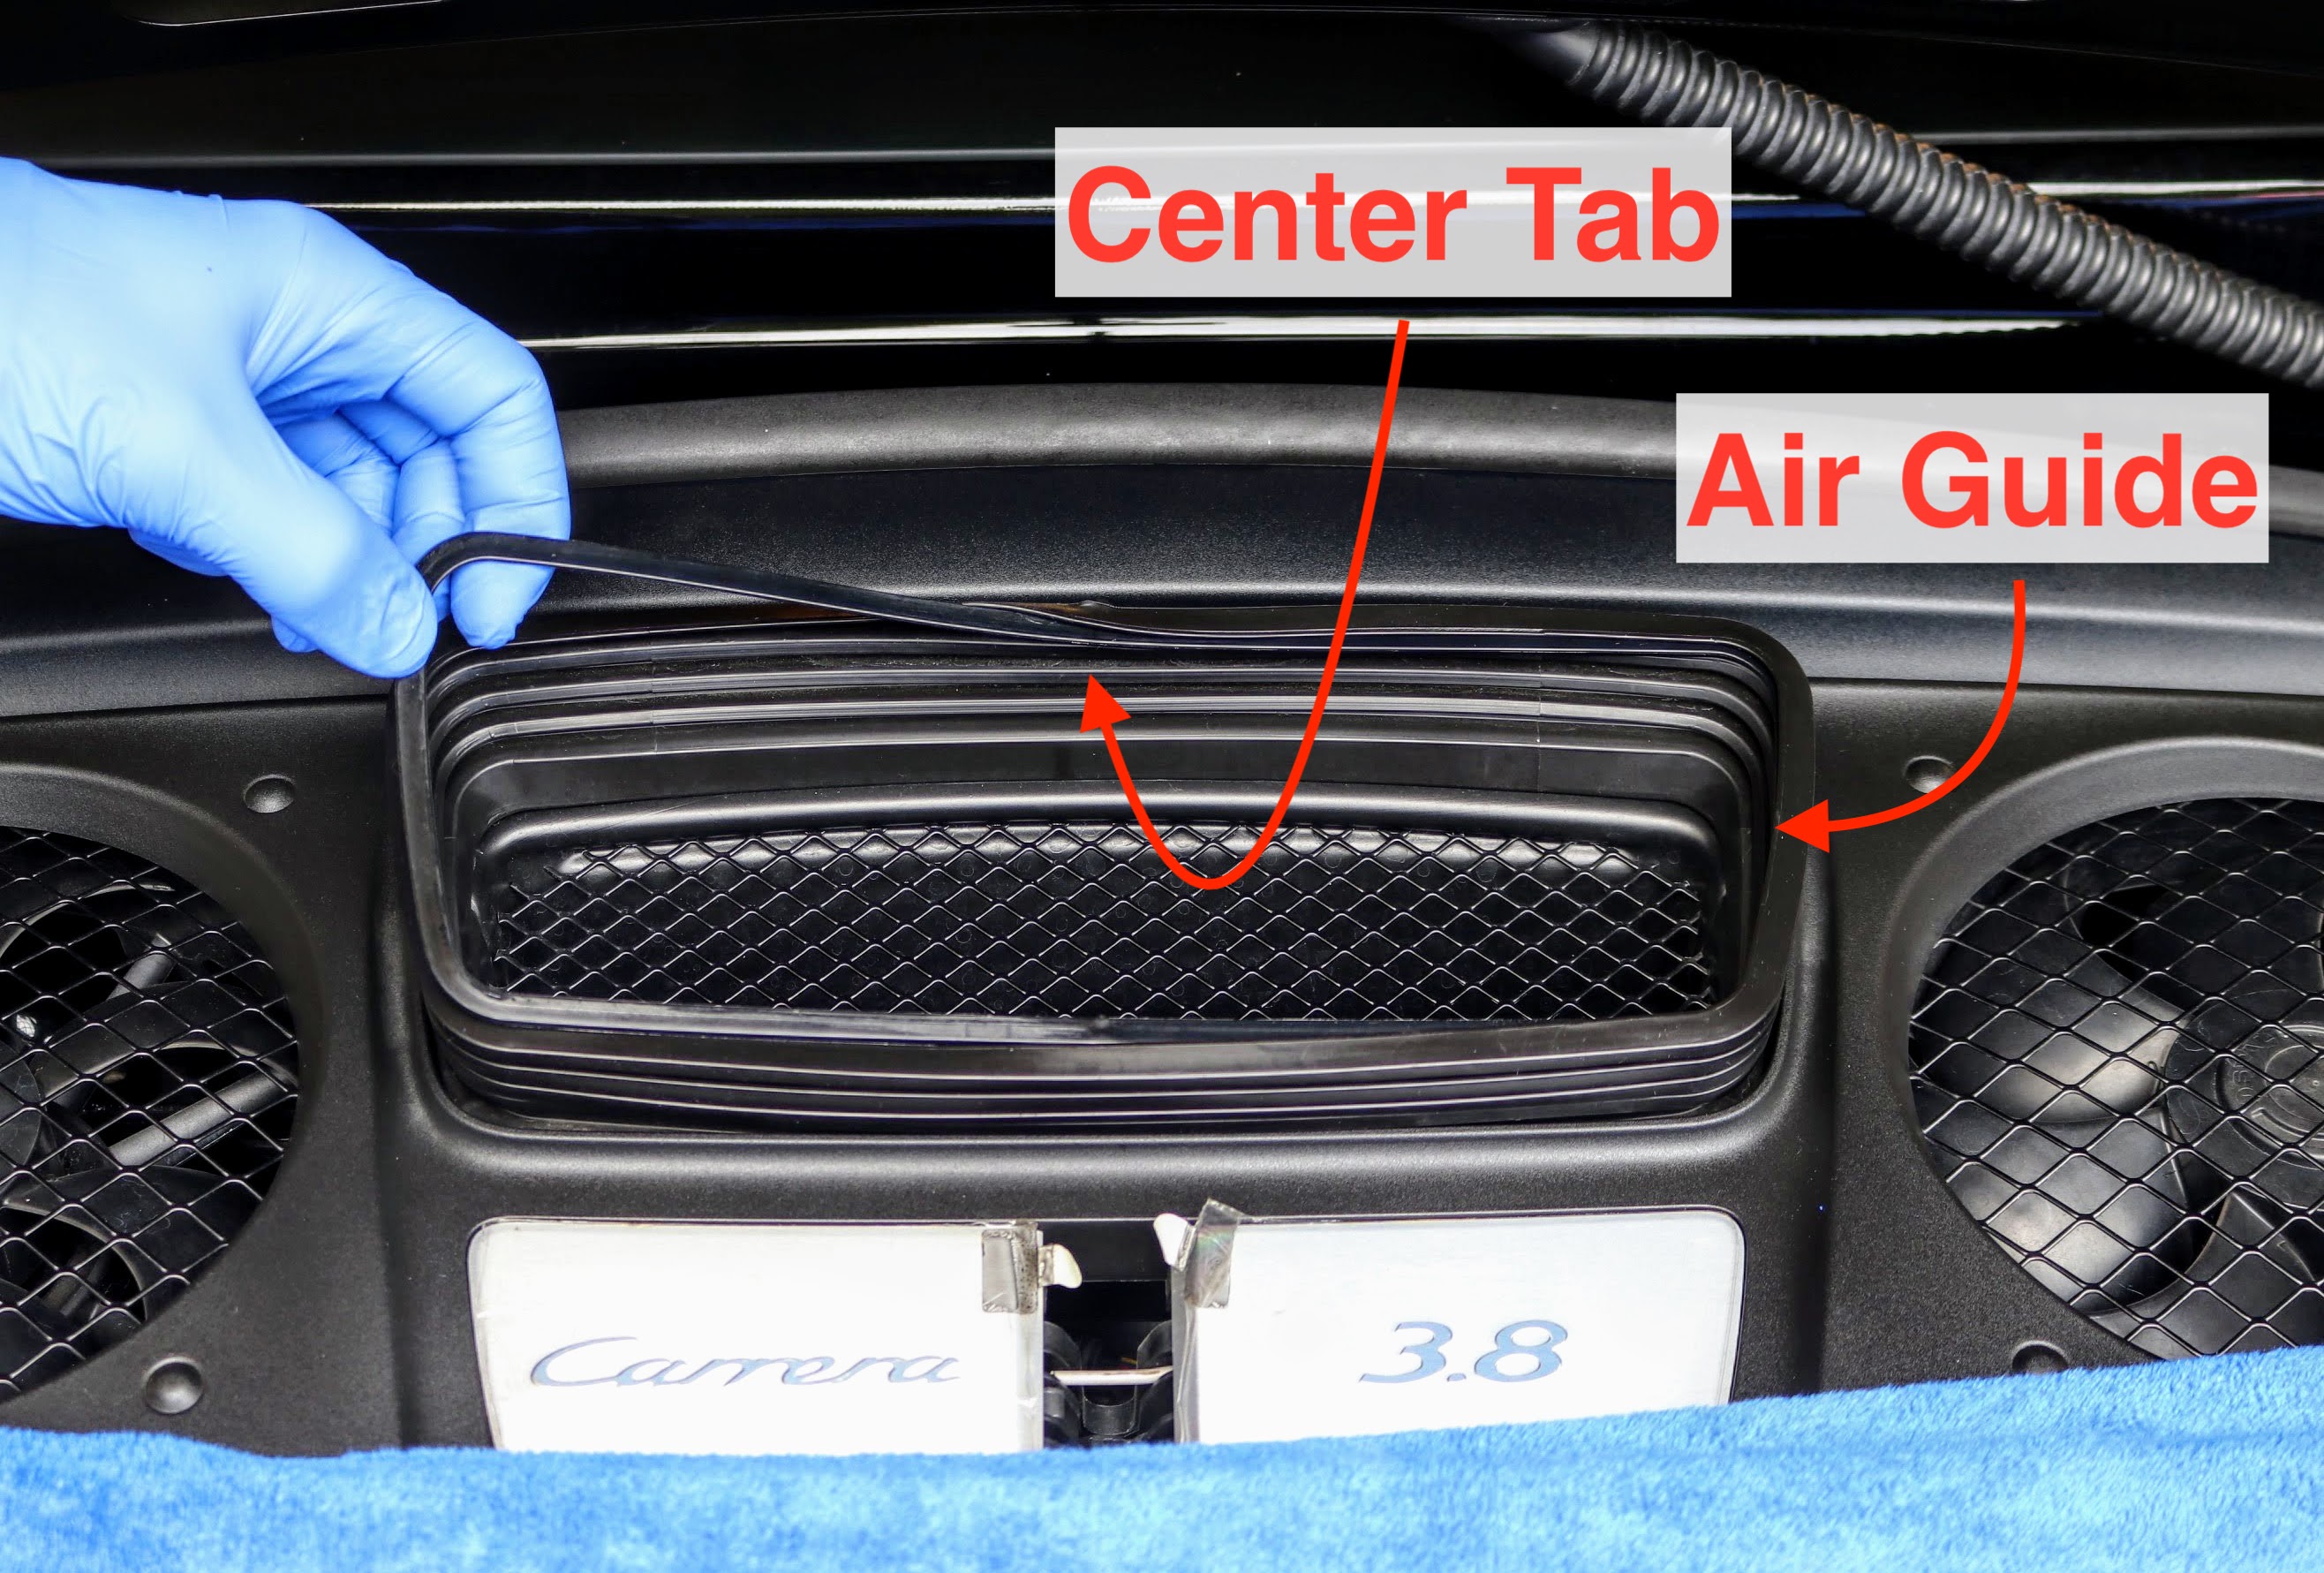
4. If duck tail, we moved to the top of the engine compartment. The inner plastic retaining piece of the air guide intake was removed by pulling it out of the rubber intake. The plastic piece is attached at the top center. Porsche 911 (991.1) air guide retaining piece
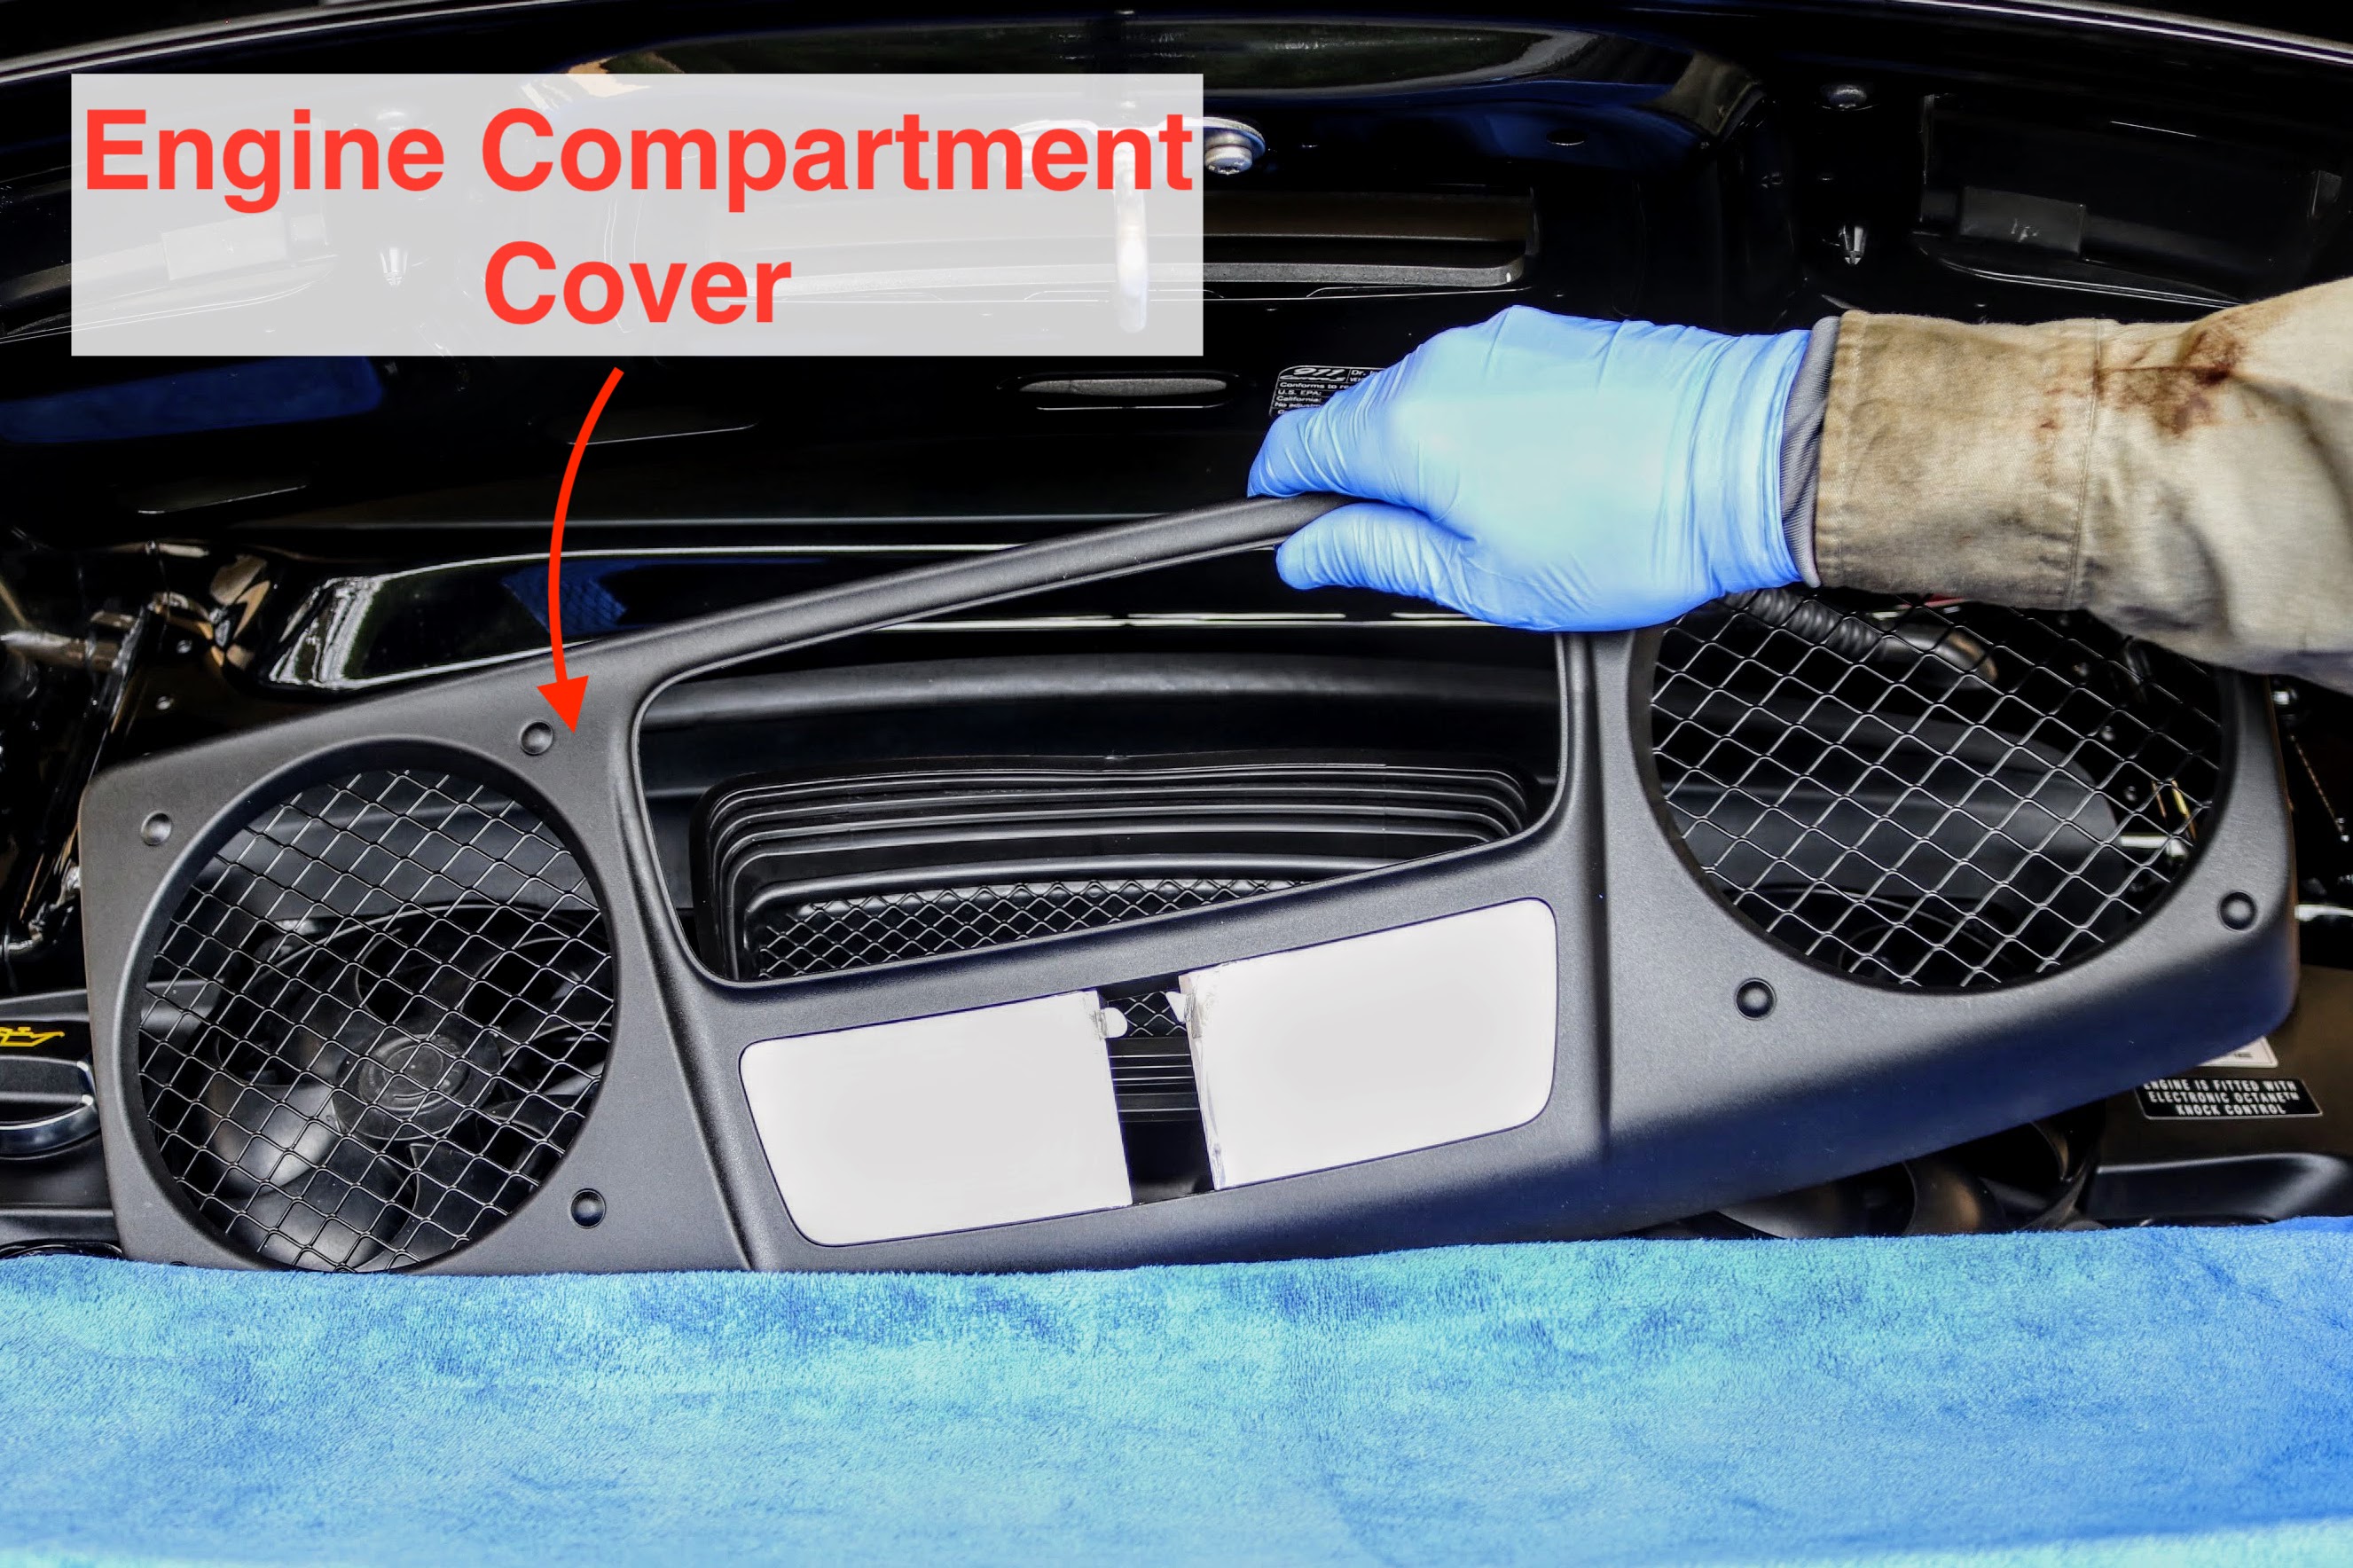
5. Next, the engine compartment cover was removed by simply pulling upwards from the edges. Porsche 911 (991.1) engine compartment cover removal
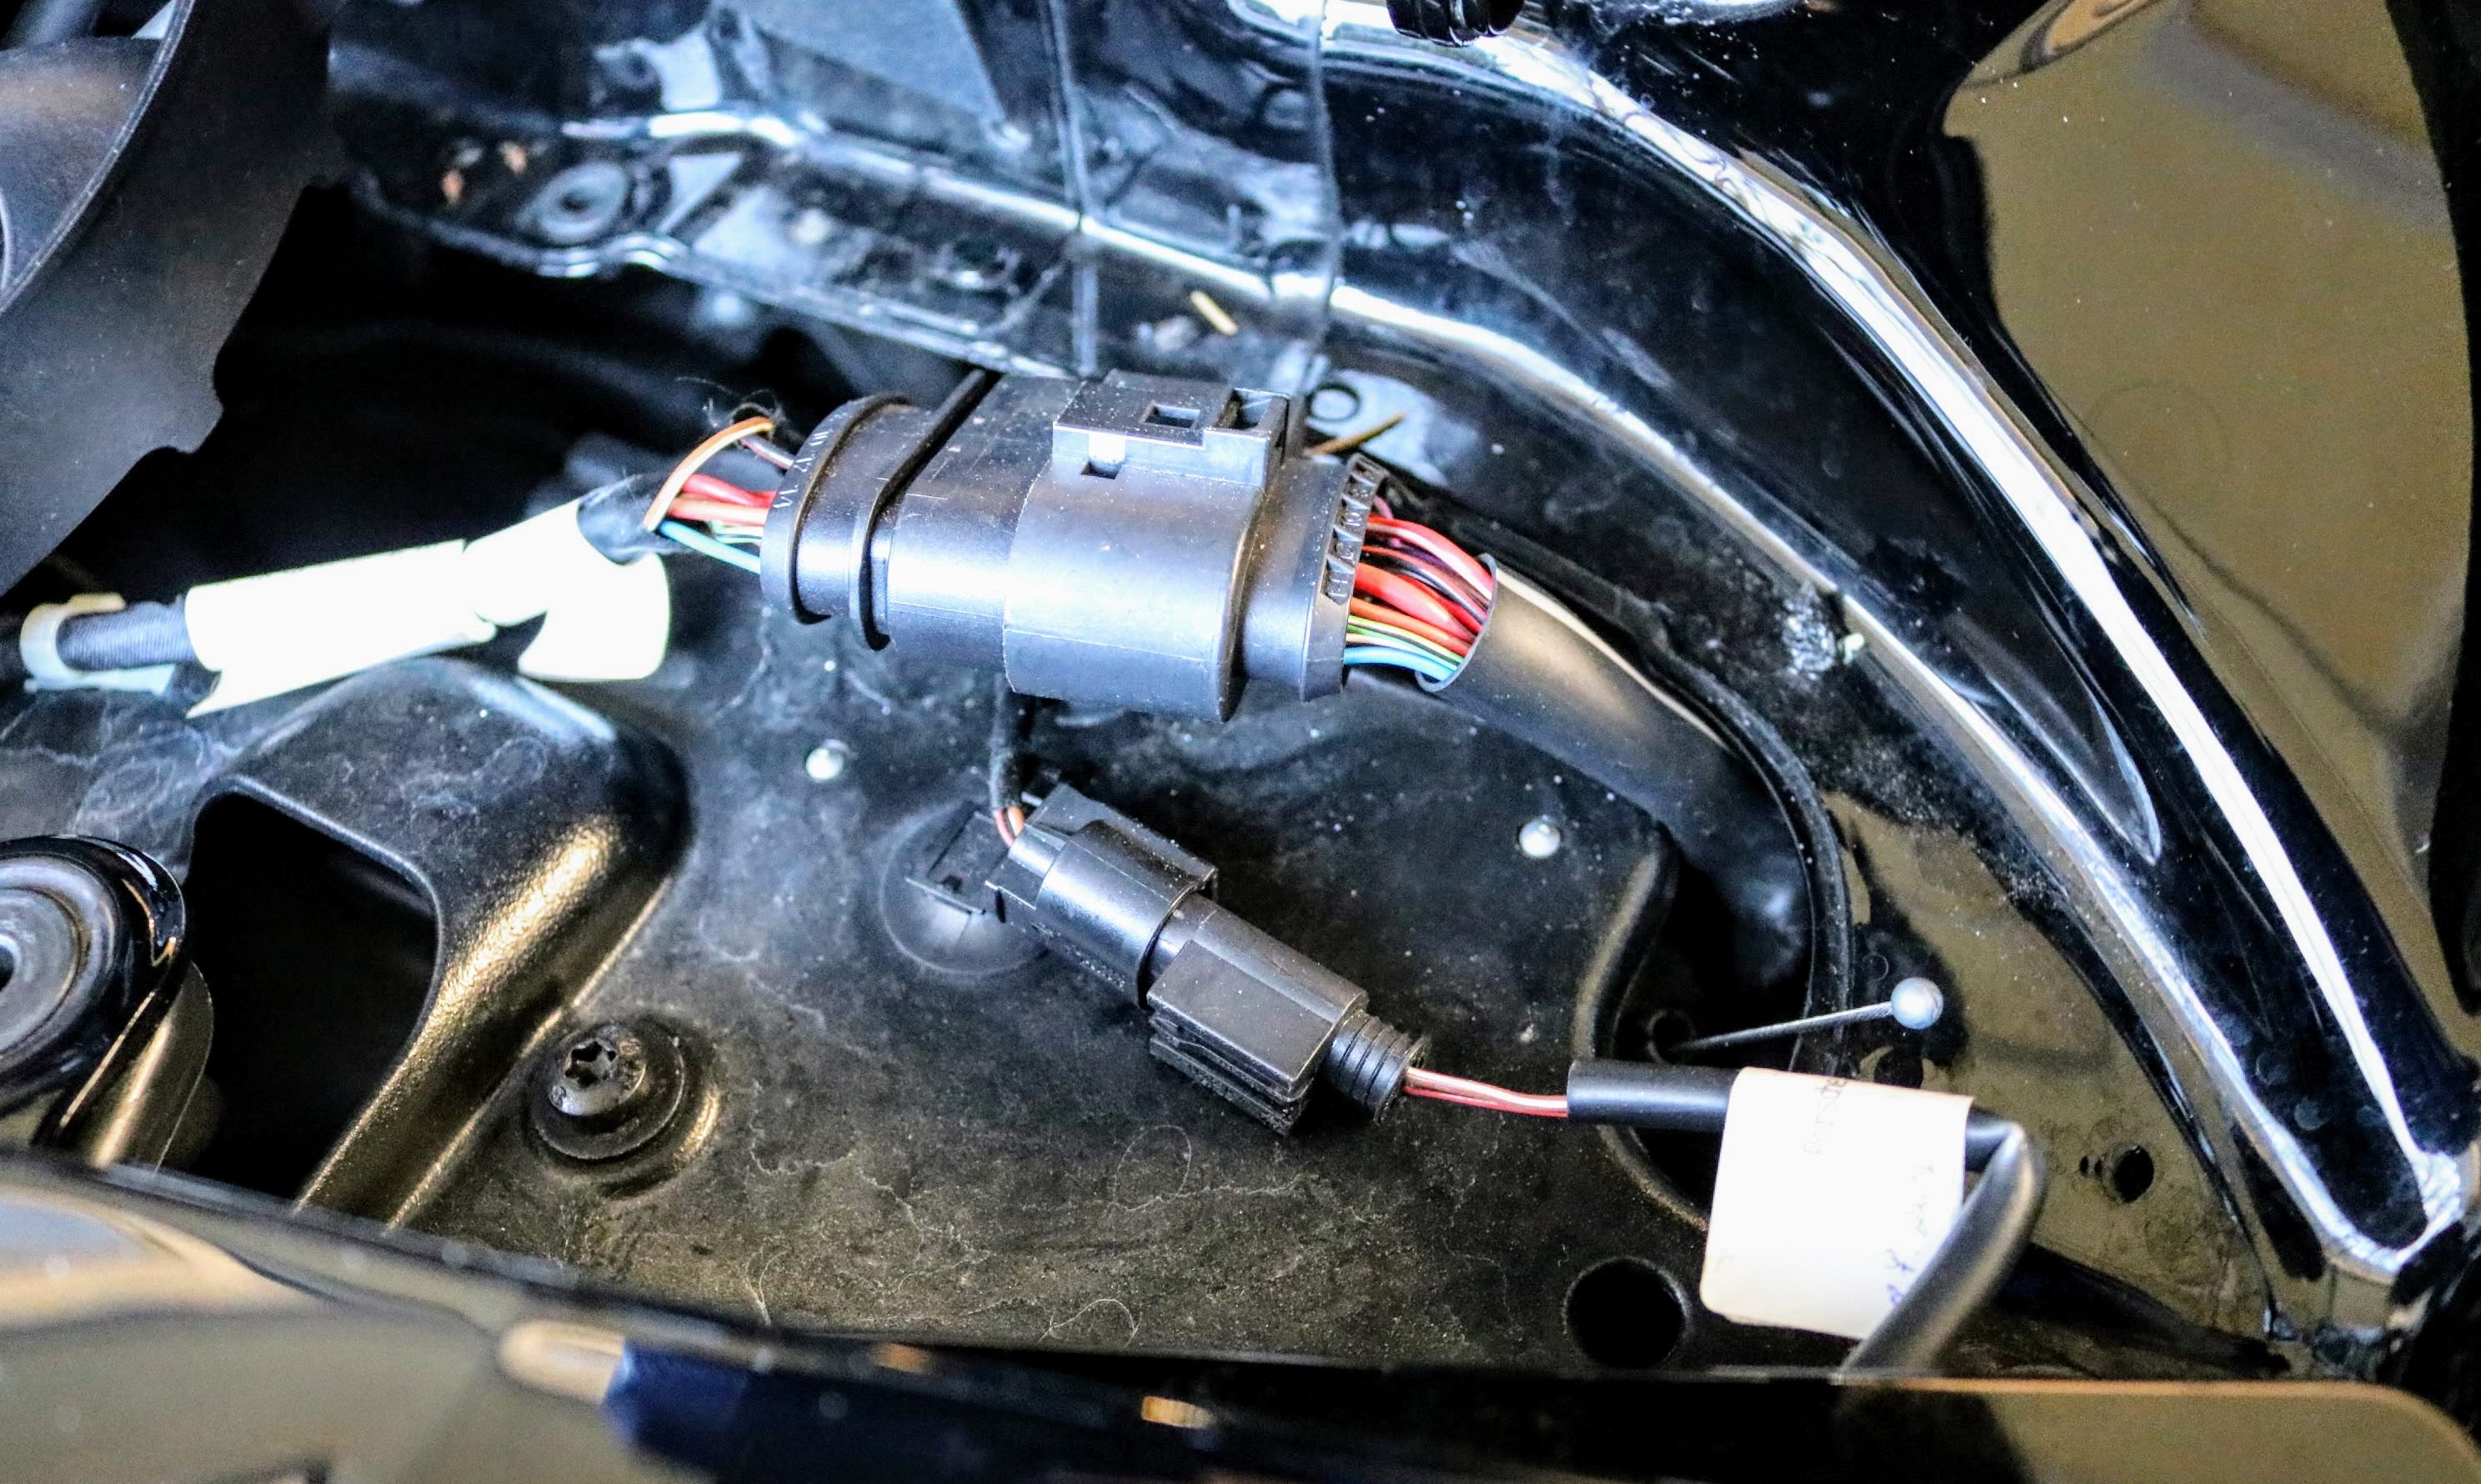
6. We then removed the right side piece disconnect the third brake light connector. Porsche 911 (991)
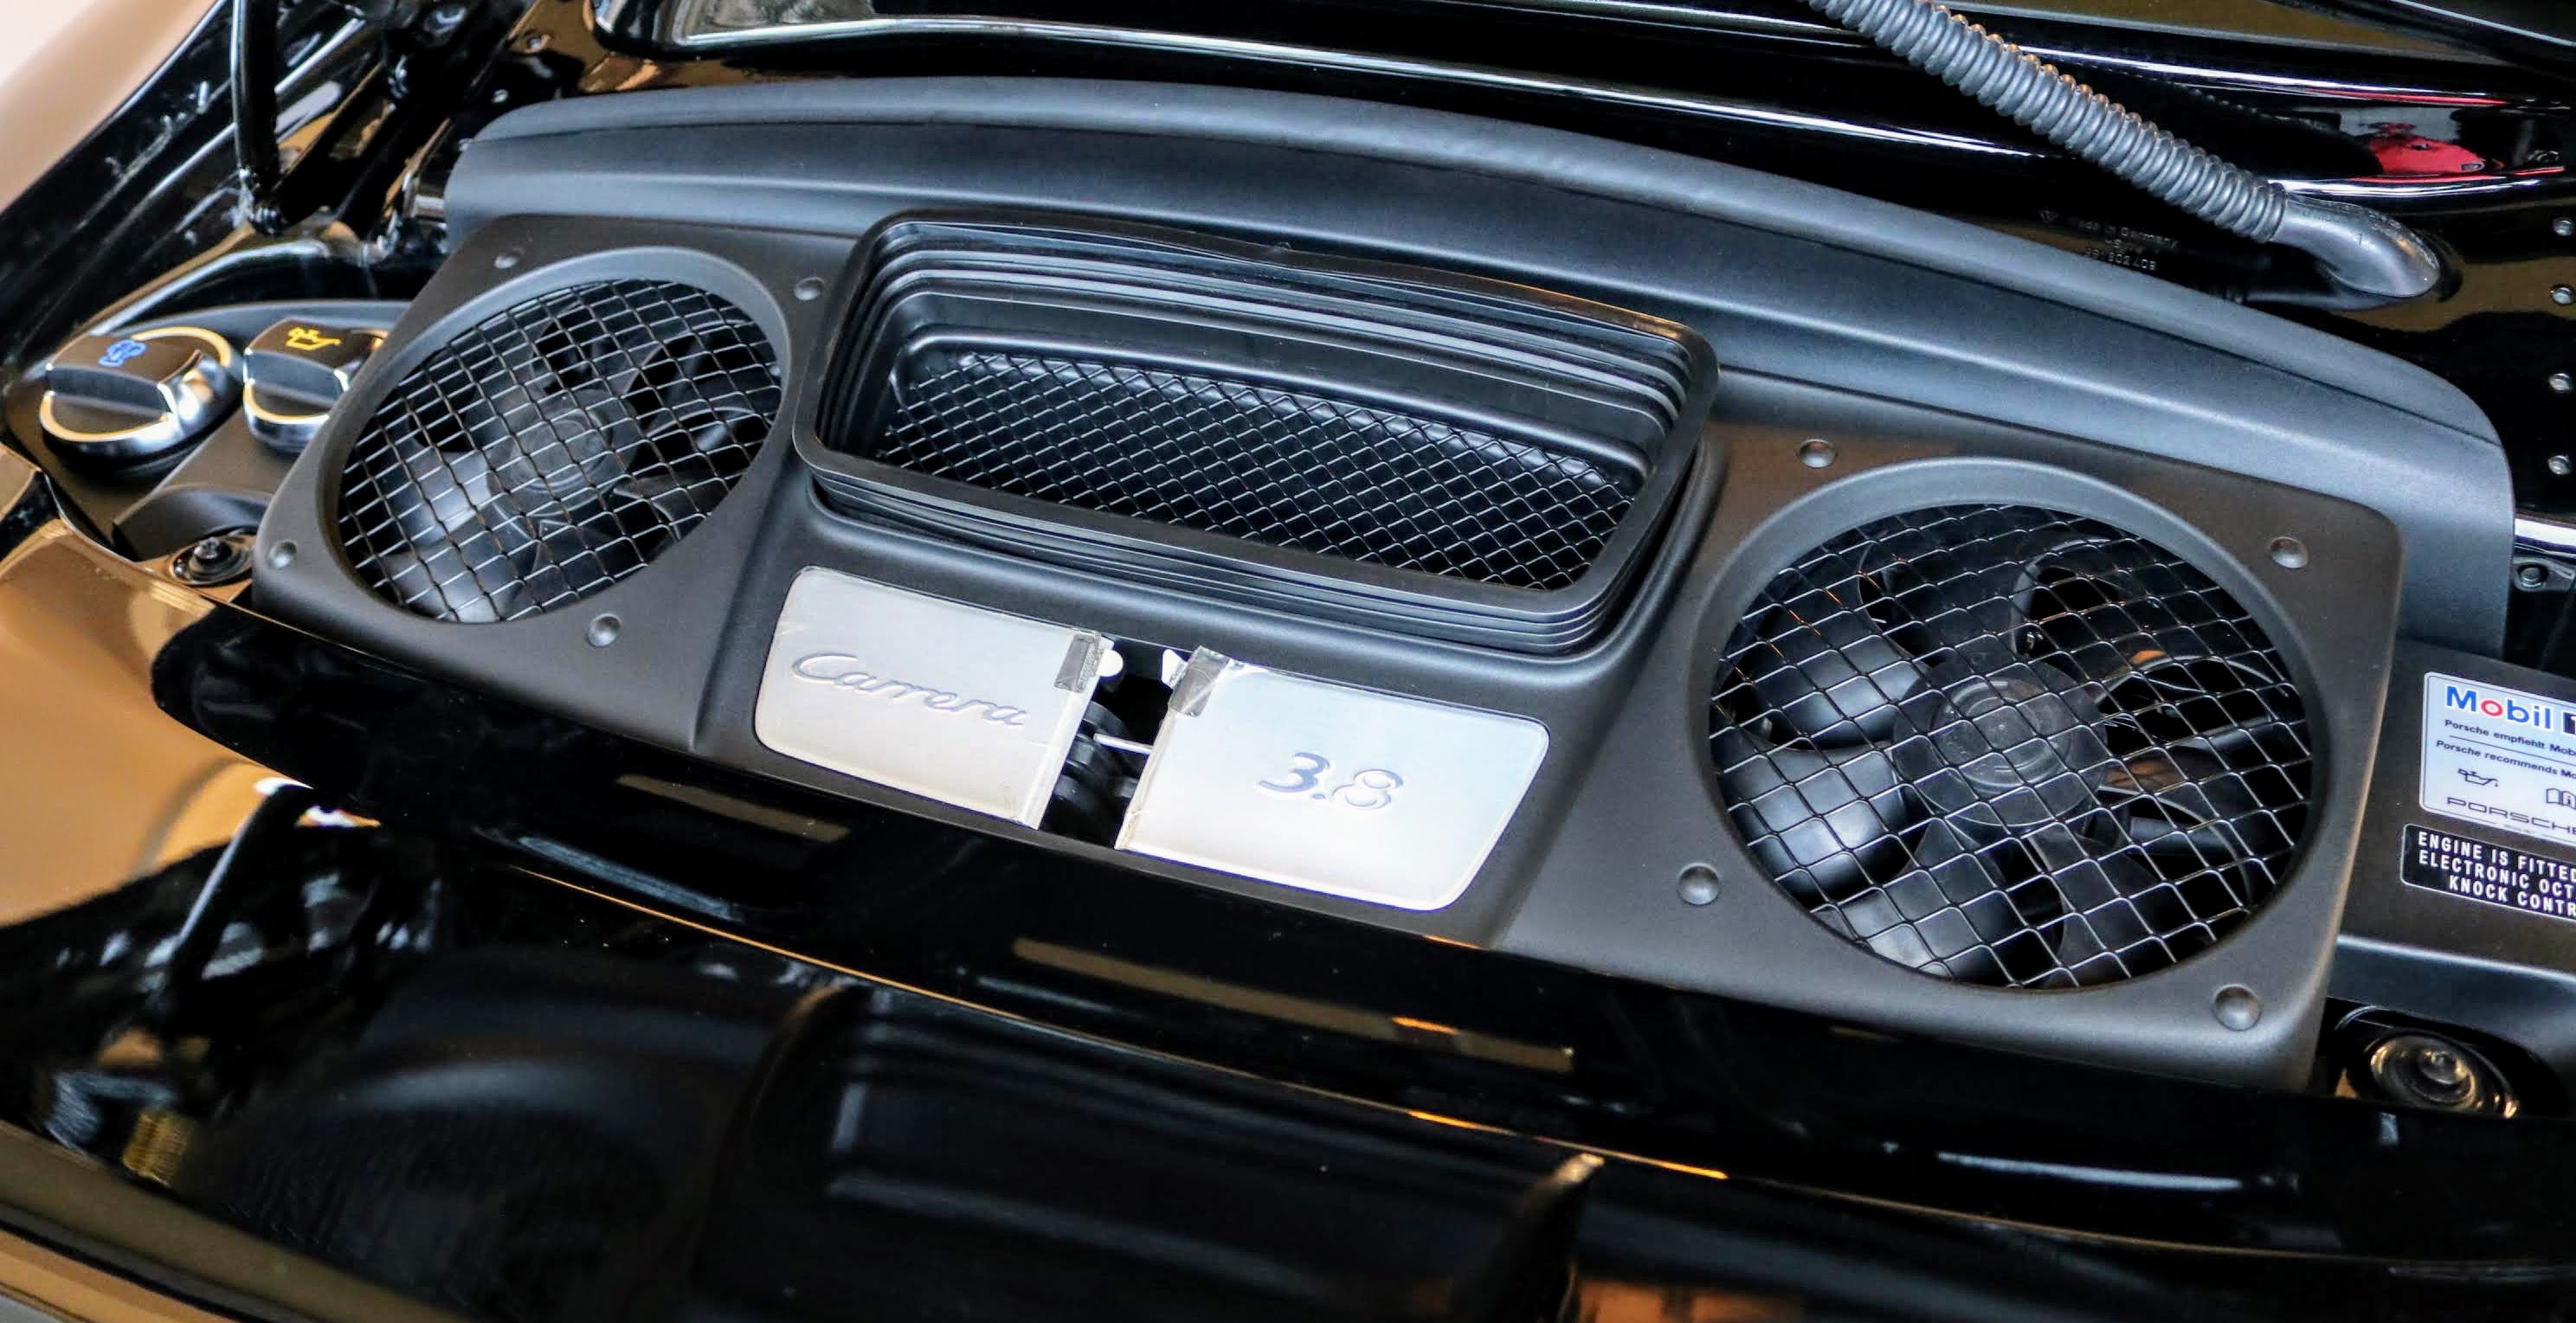
7. Using a T30 (Torx) socket, we removed the 2 bolts that hold the ducktail in place. Porsche 911 (991)
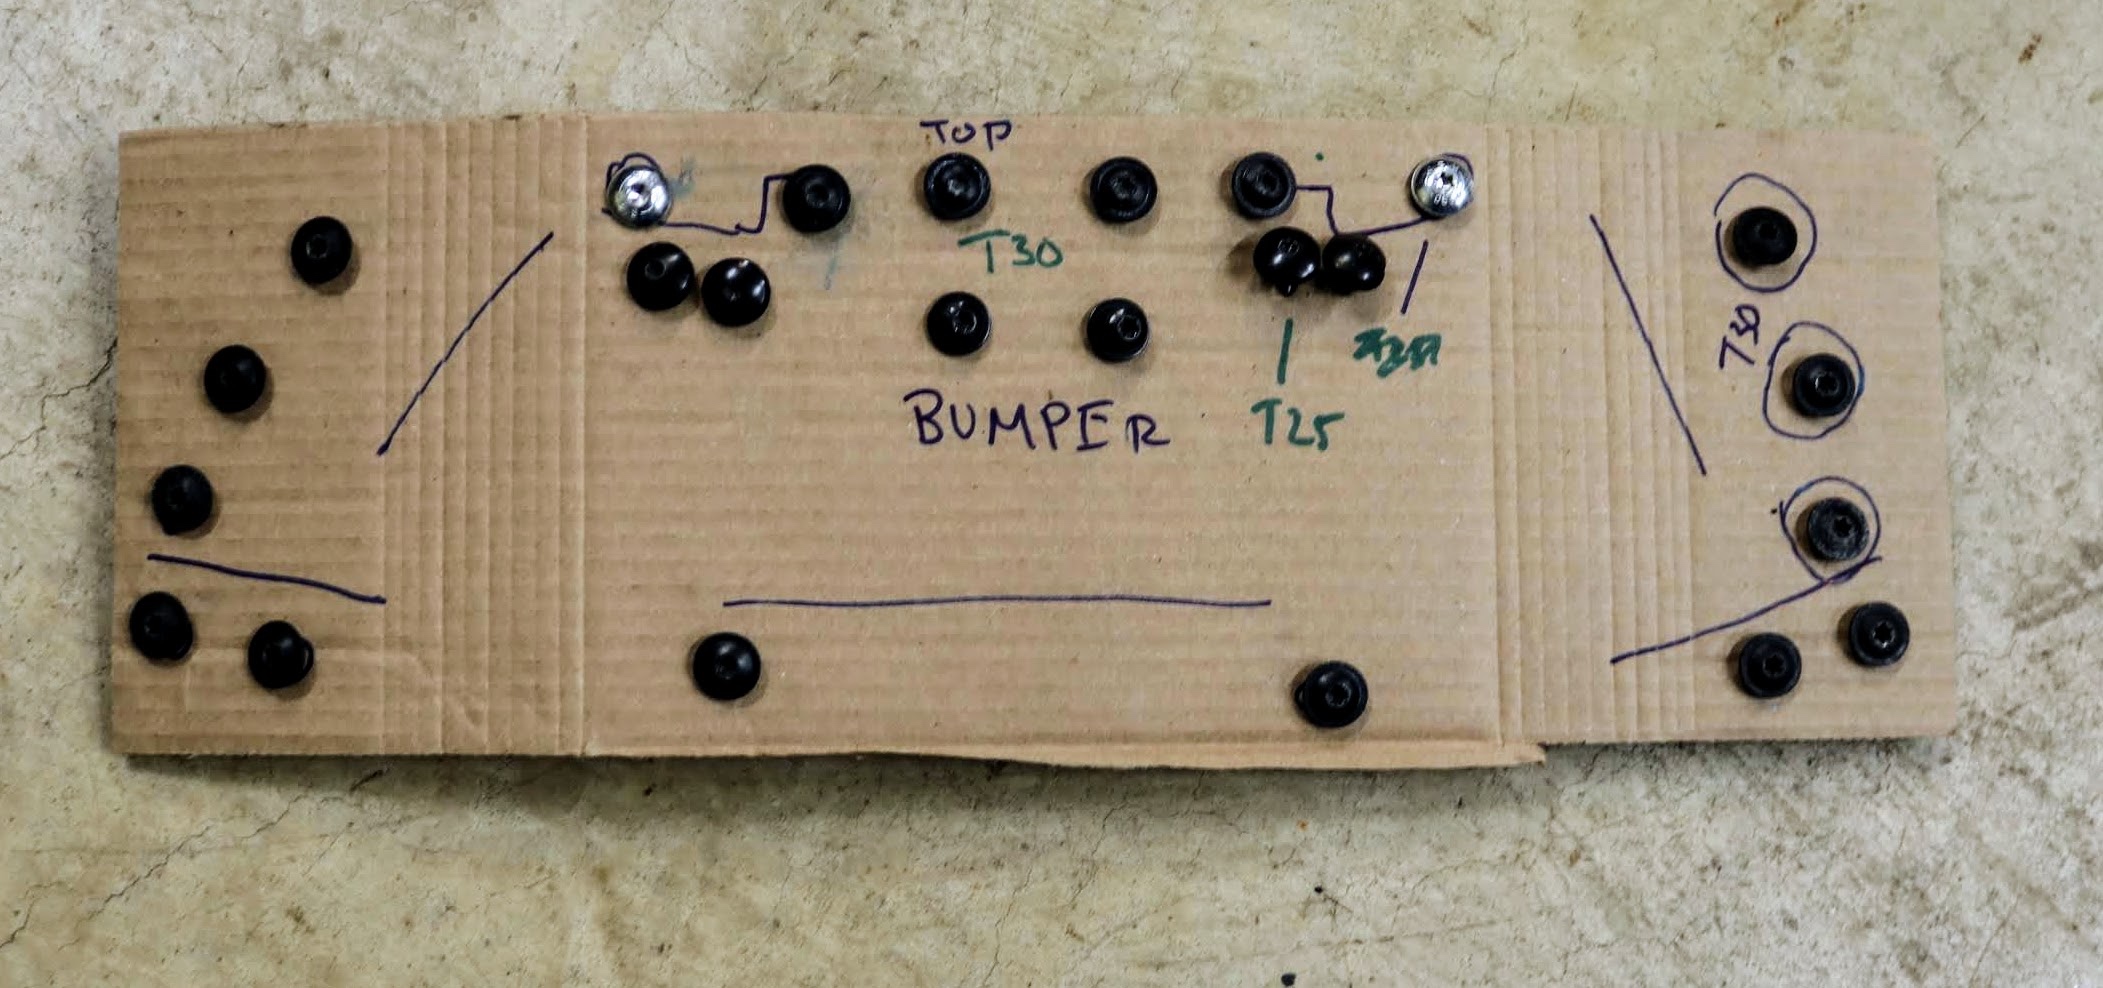
8. TIP: we used a piece of cardboard to create a layout of bolts used. This way, each of the bolts are put back in the same place and an easy way to double check all bolts were re-installed. Porsche 911 (991)
9. The ducktail was then removed by sliding it slightly forward and up. We placed it out of the way on a moving blanket to prevent scratches and other damage.
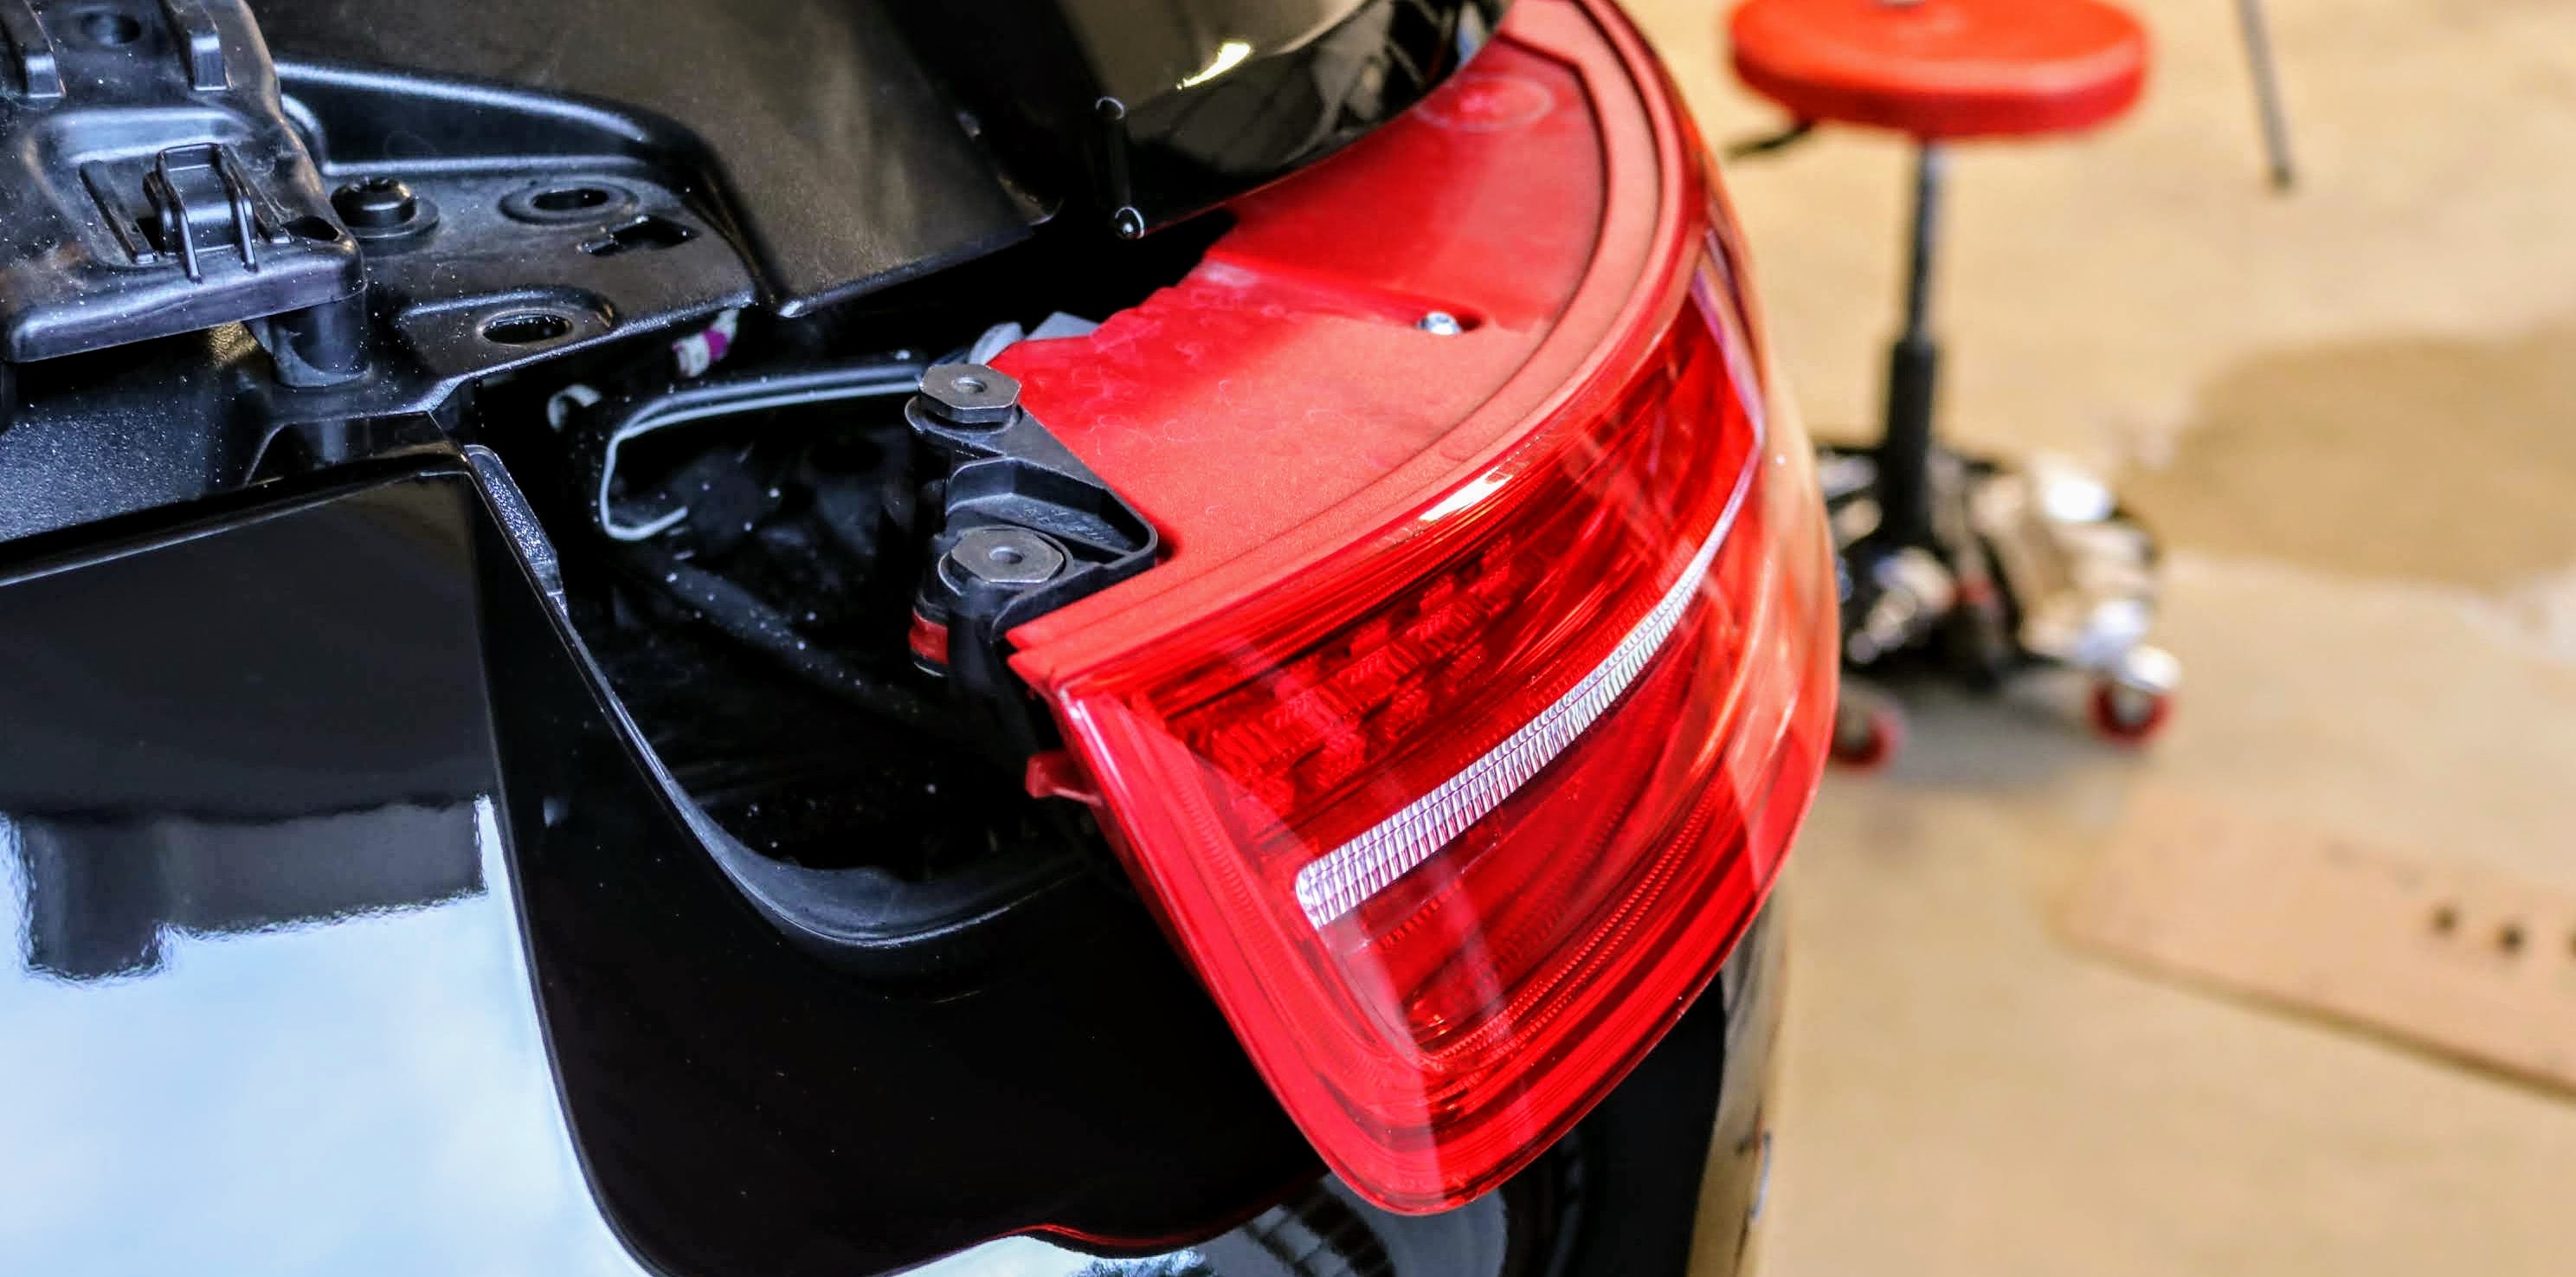
10. Using a T27 (Torx) socket, we removed the 2 torx bolts on each of the tail lights. Porsche 911 (991)
11. Next, we slightly pulled out the tail light and disconnected the wiring harness. You may need to use a small flat head screw driver to release the electrical connector. We repeated the step for the remaining taillight. Porsche 911 (991)
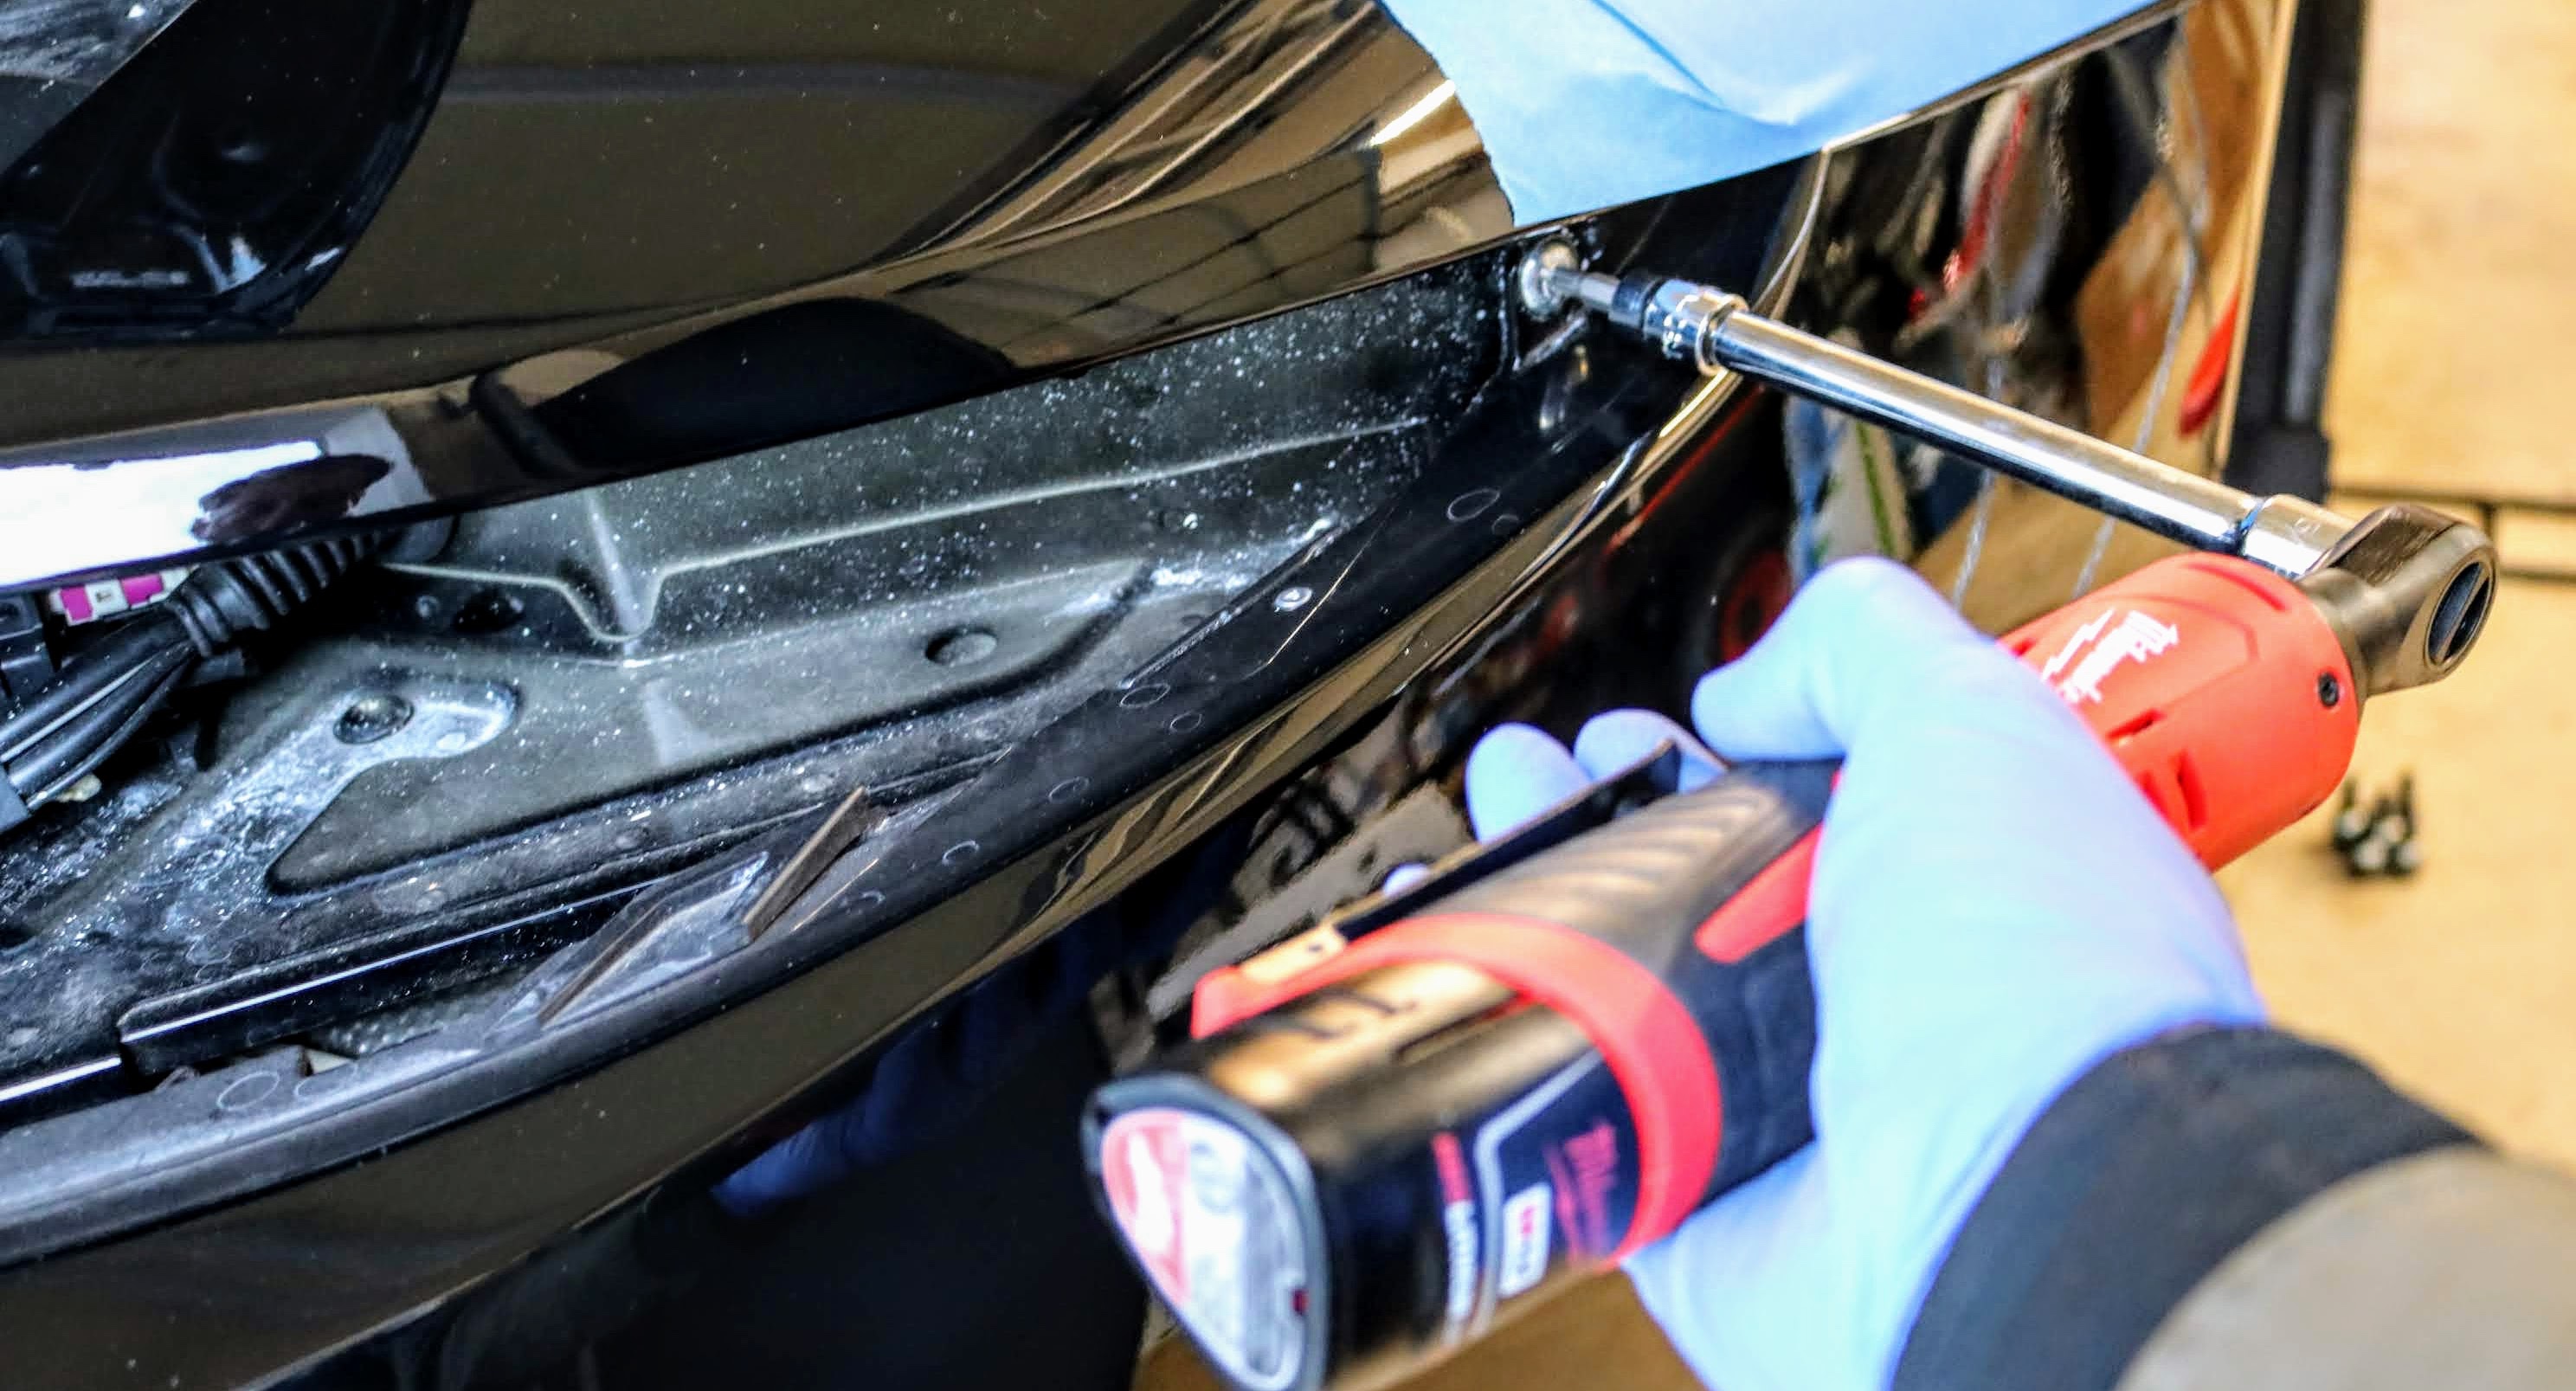
12. Looking at the top of the bumper, we used a T30 (Torx) socket to remove the 4 torx bolts on the top of the bumper, that were hidden under the wing or ducktail. Porsche 911 (991)
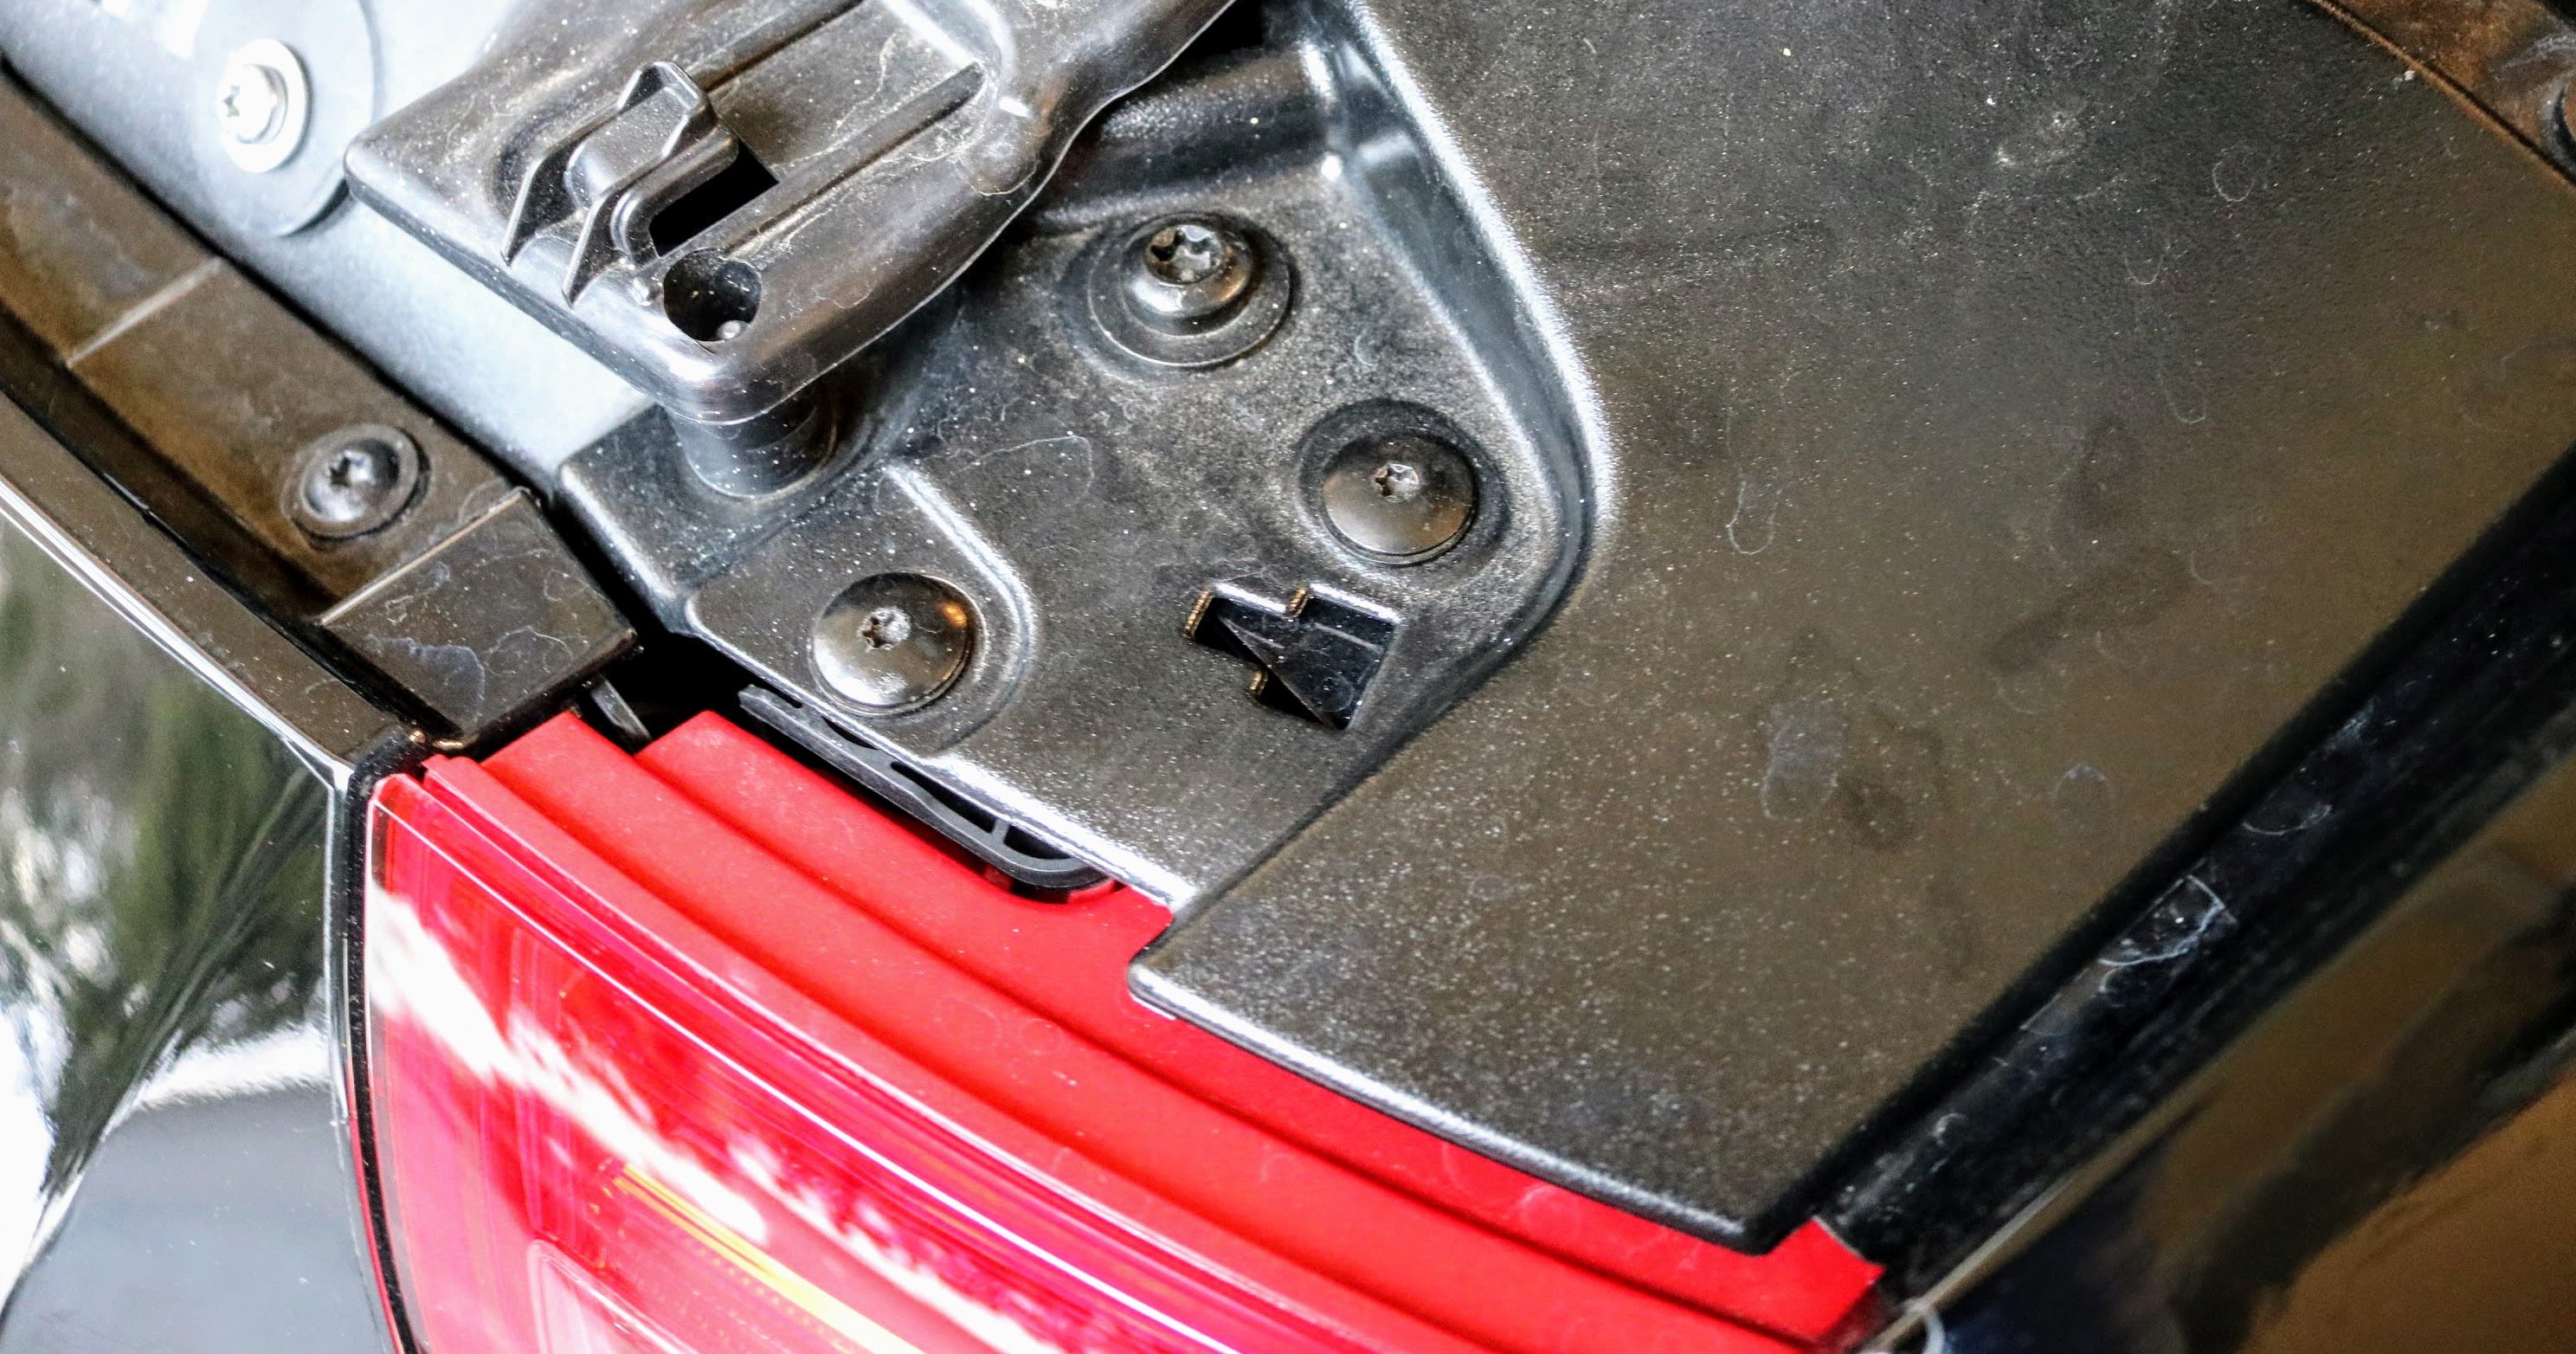
13. Moving to the space emptied from the taillights, we used the T30 (Torx) socket to remove the screws at the far corner of the tail light space. Porsche 911 (991)
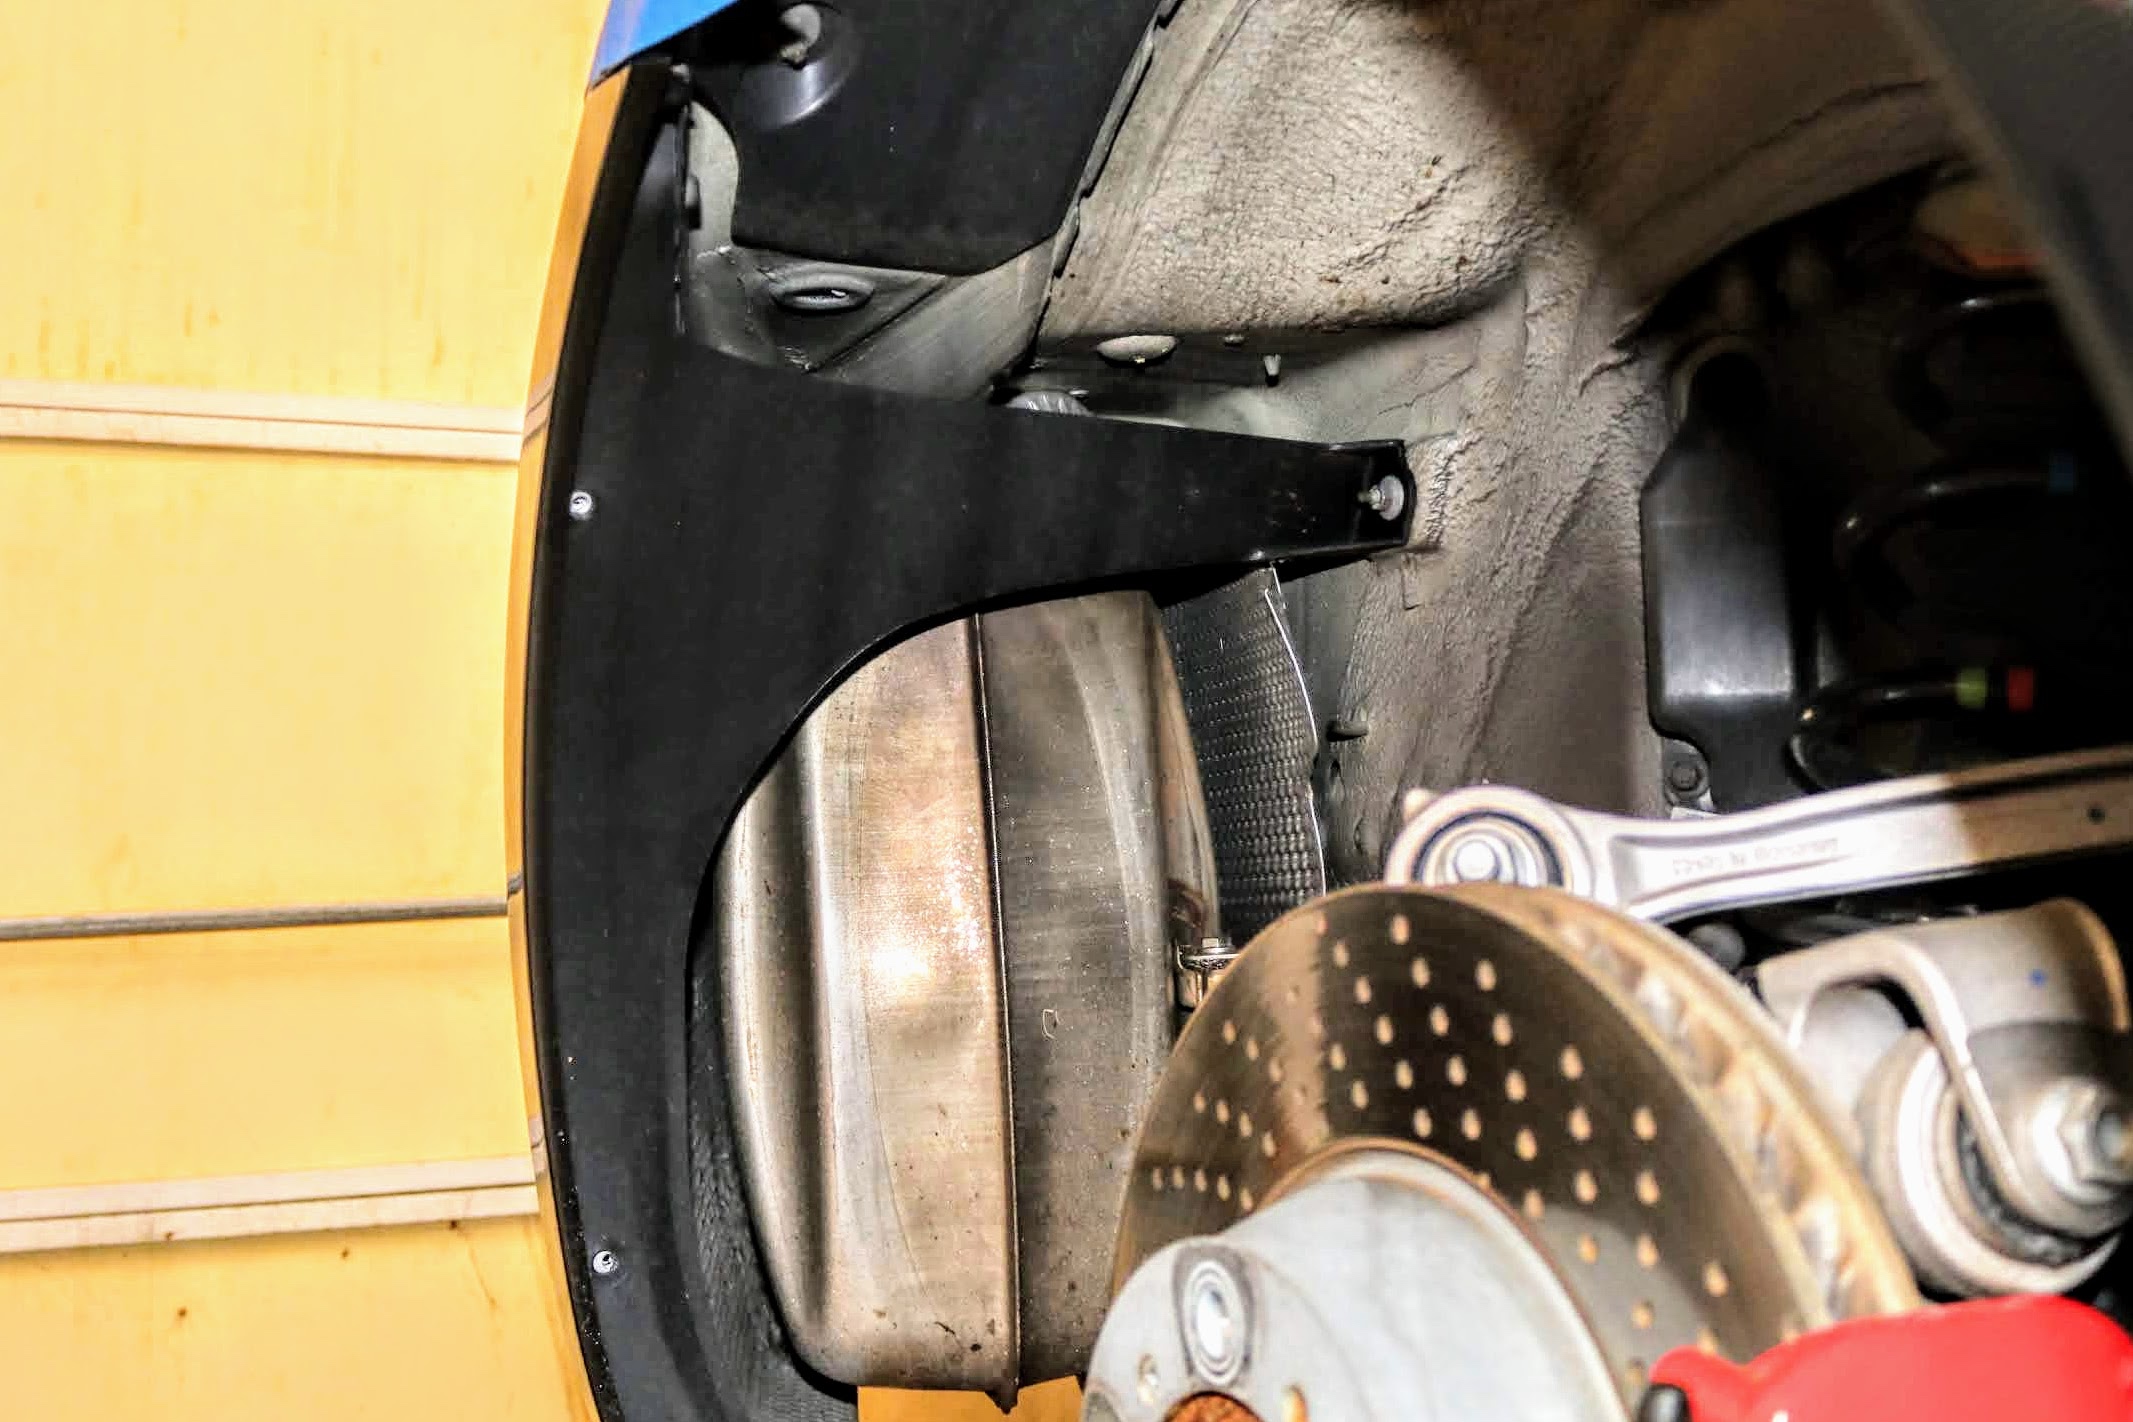
14. We again used the T30 (Torx) socket to remove 3 torx bolts inside each of the wheel wells (6 total) that connect to the rear bumper. Porsche 911 (991)
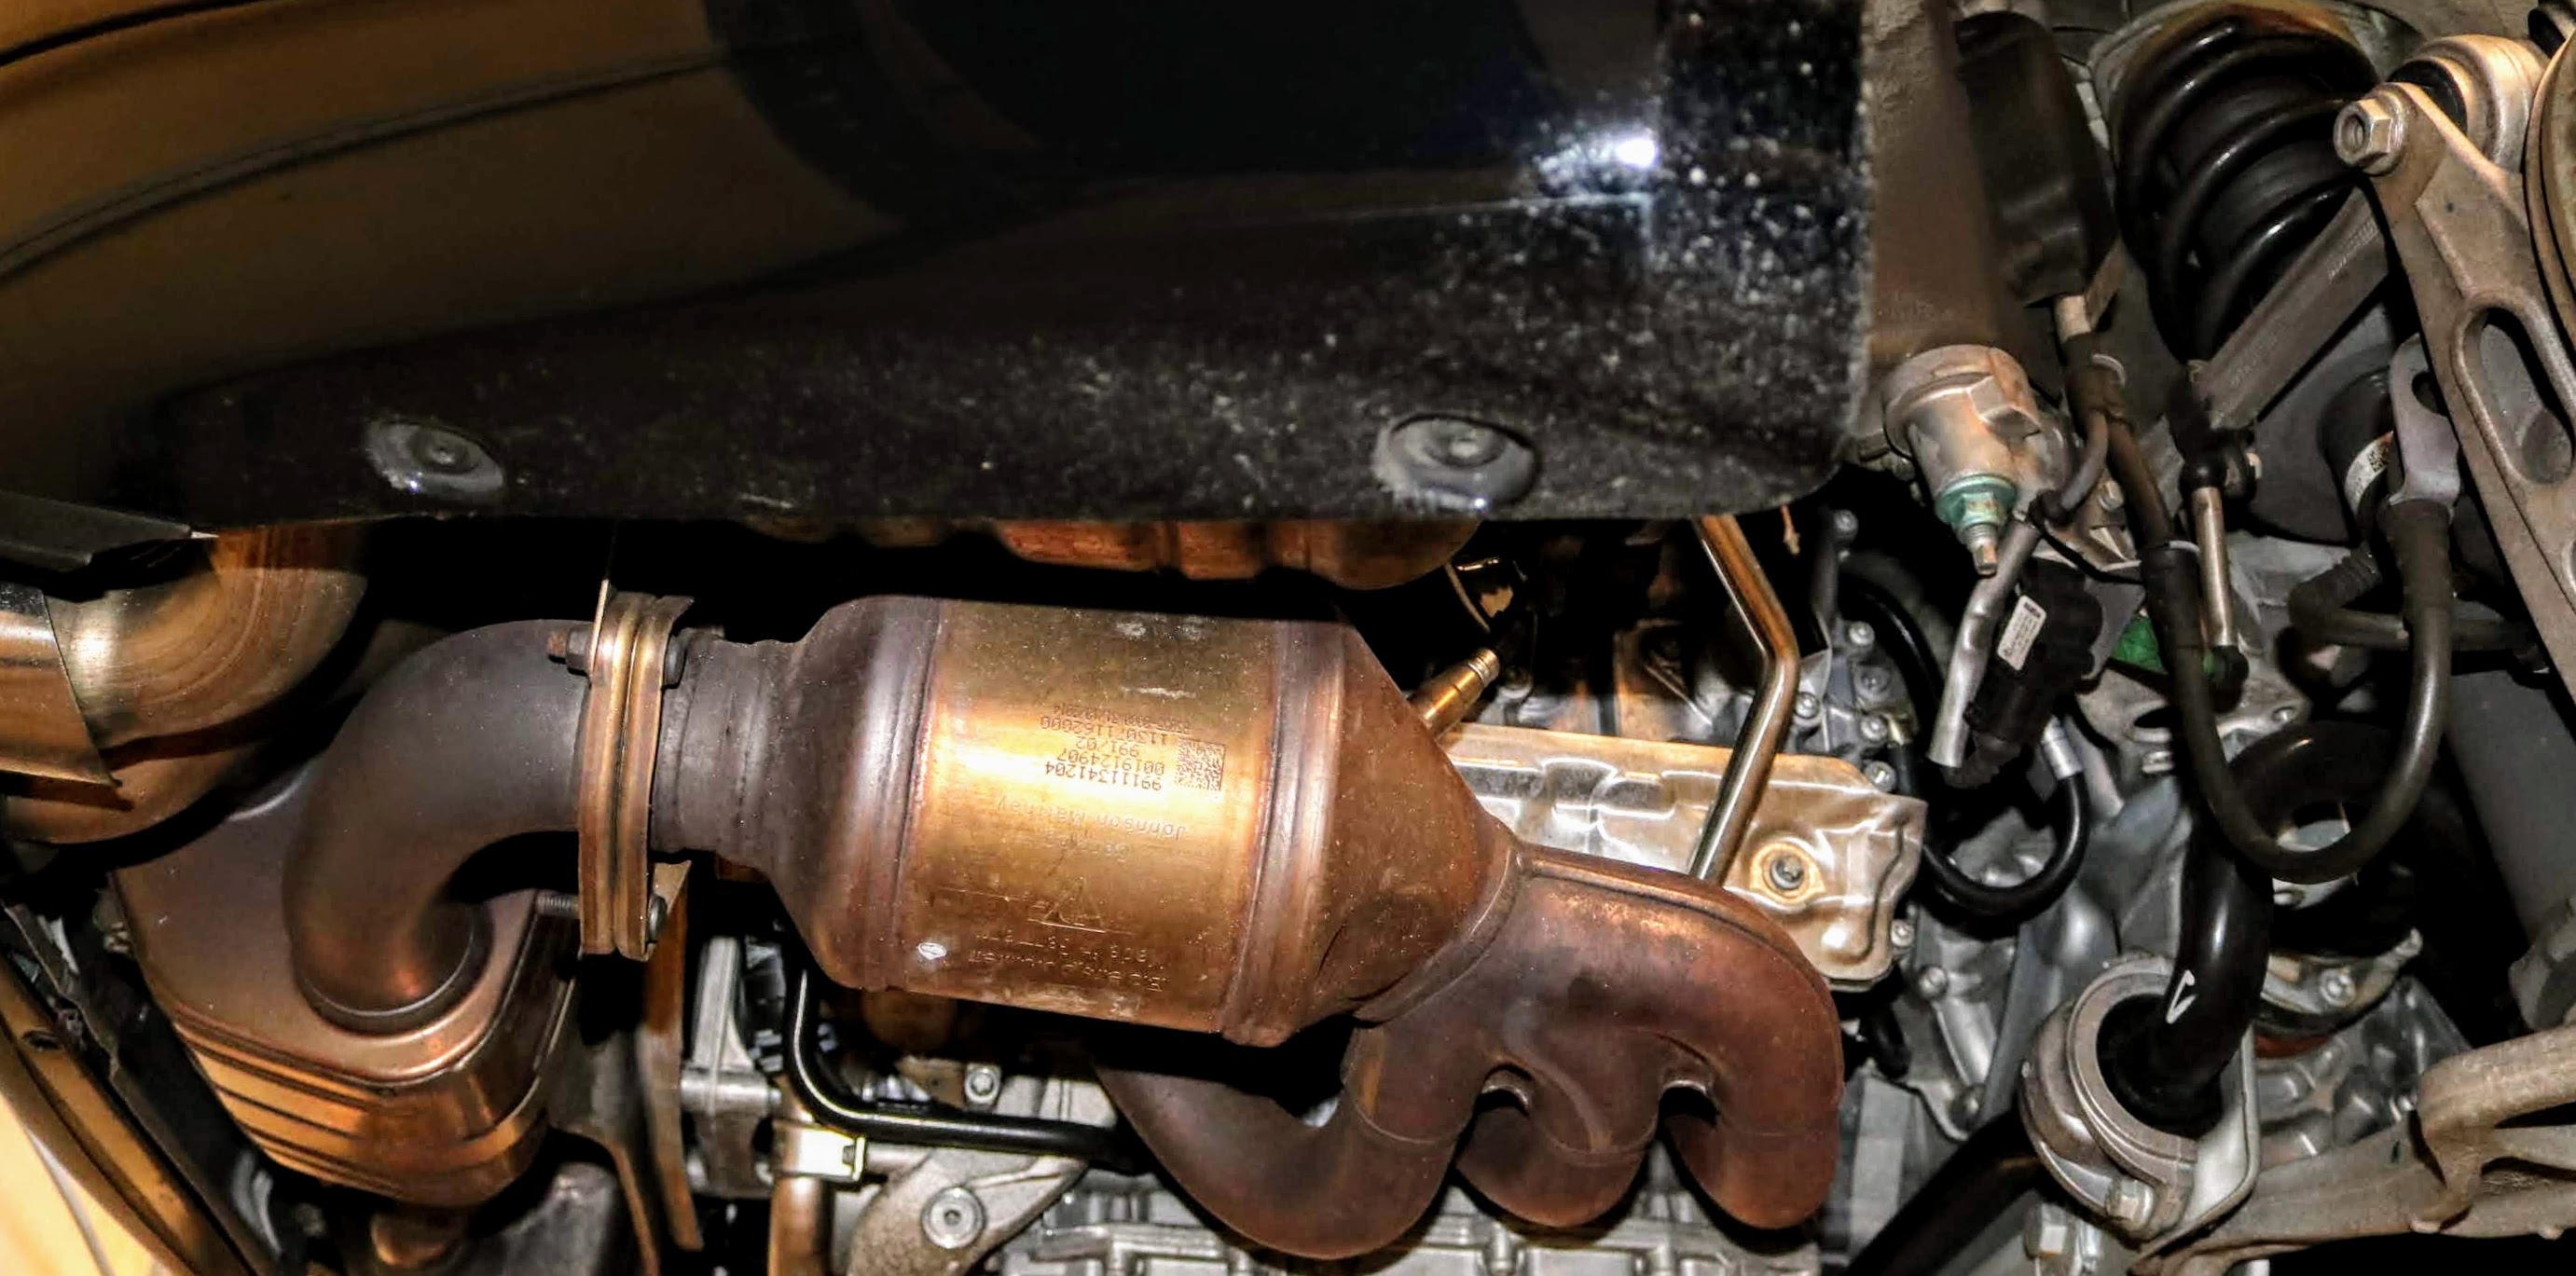
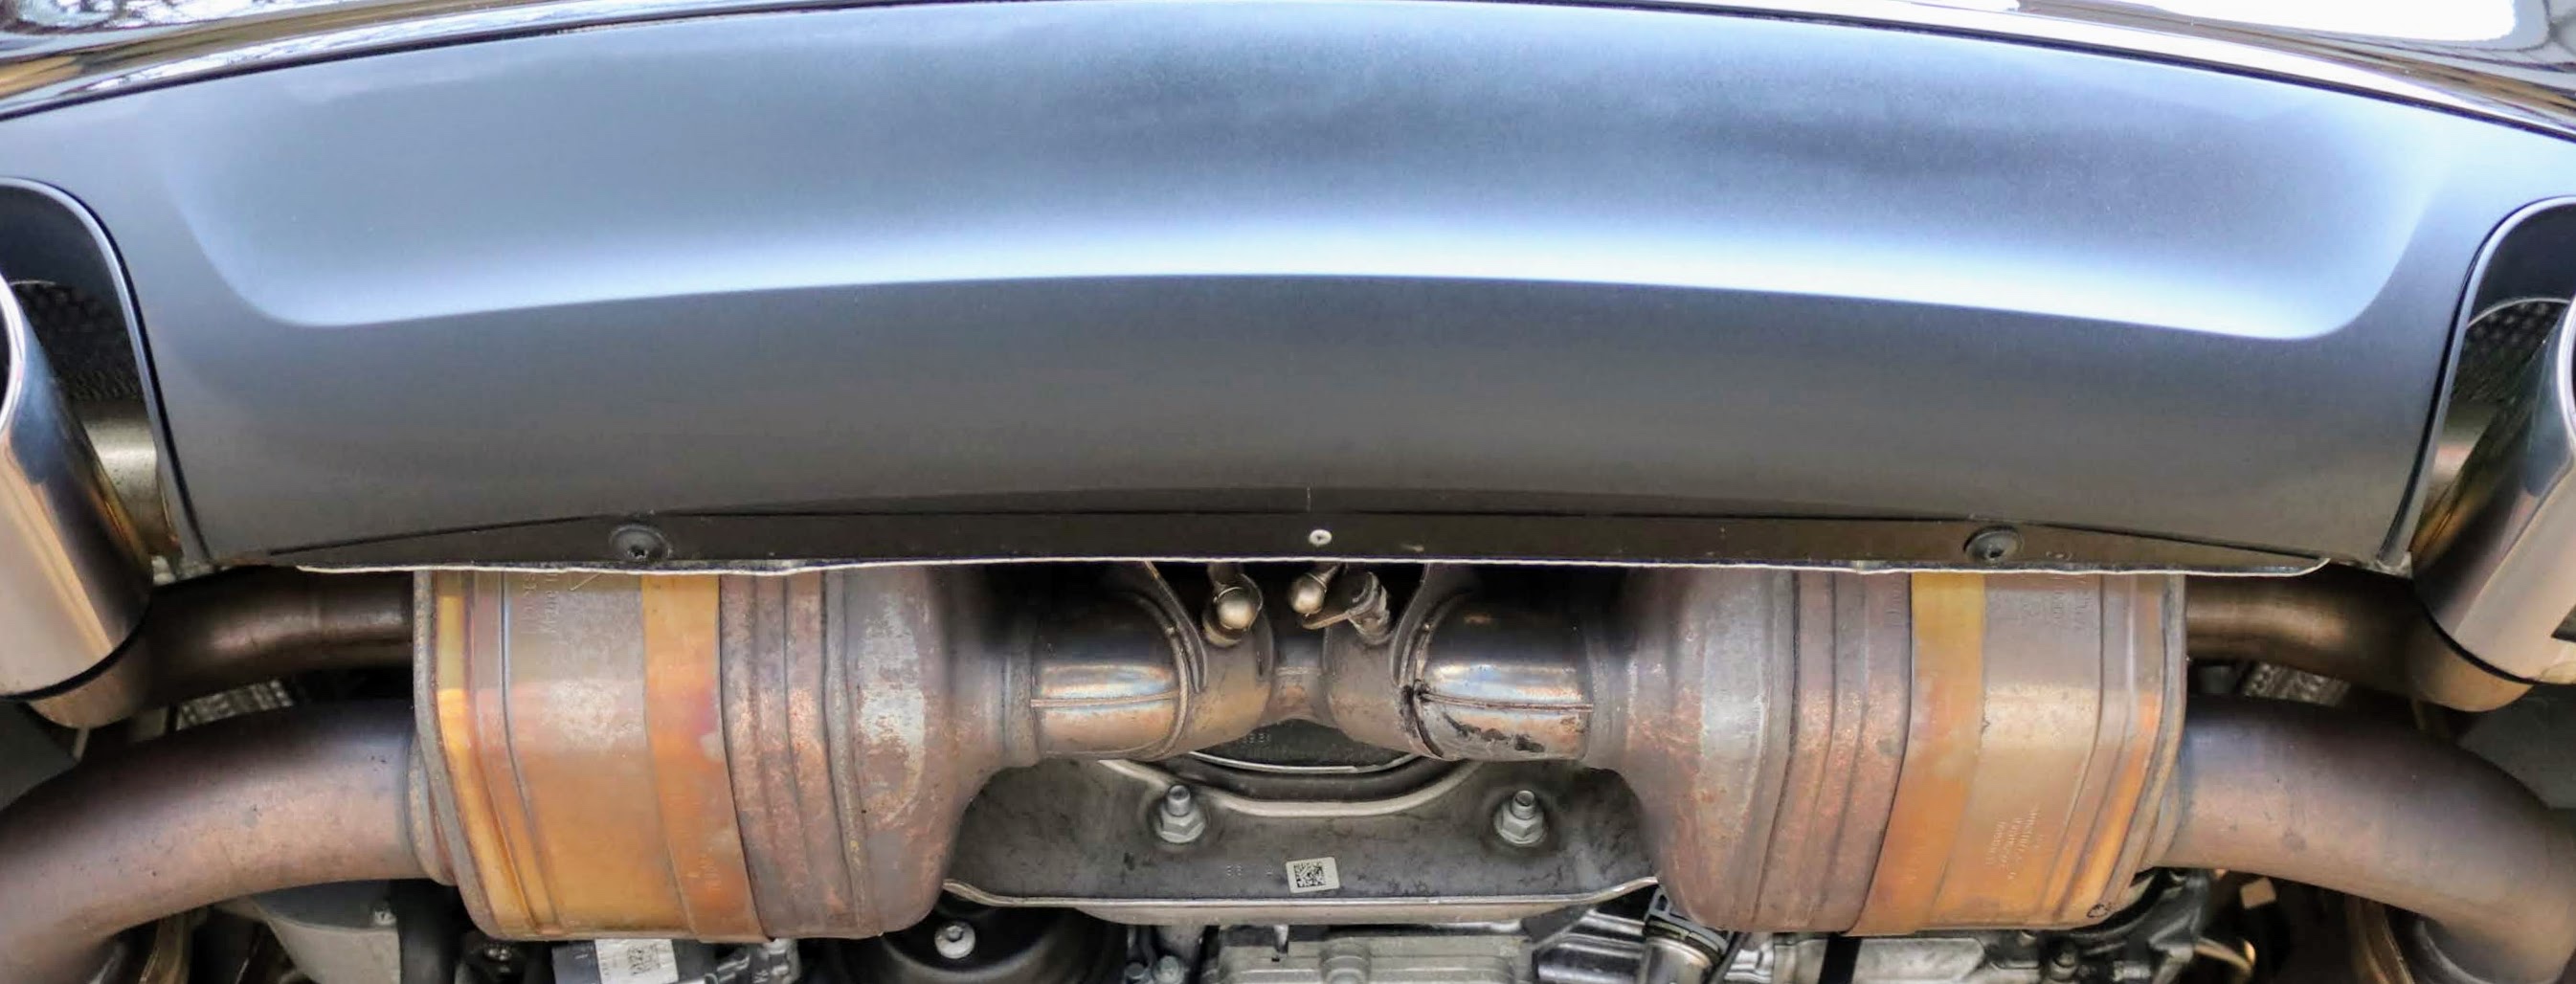
15. Next, going under the car, we used the T30 (Torx) socket to remove a total of 6 torx bolts under the bumper - 2 on behind each rear wheel and 2 under the centre of the car.
Porsche 911 (991) Porsche 911 (991)
16. At this point the bumper was now unsecured. On each side behind the rear wheel well, we gently pulled each side of the bumper out away from the side of the car.
Porsche 911 (991) Porsche 911 (991)
17. We moved to the middle and slowly pulled the bumper rearwards a couple of inches. DO NOT fully pull off yet.
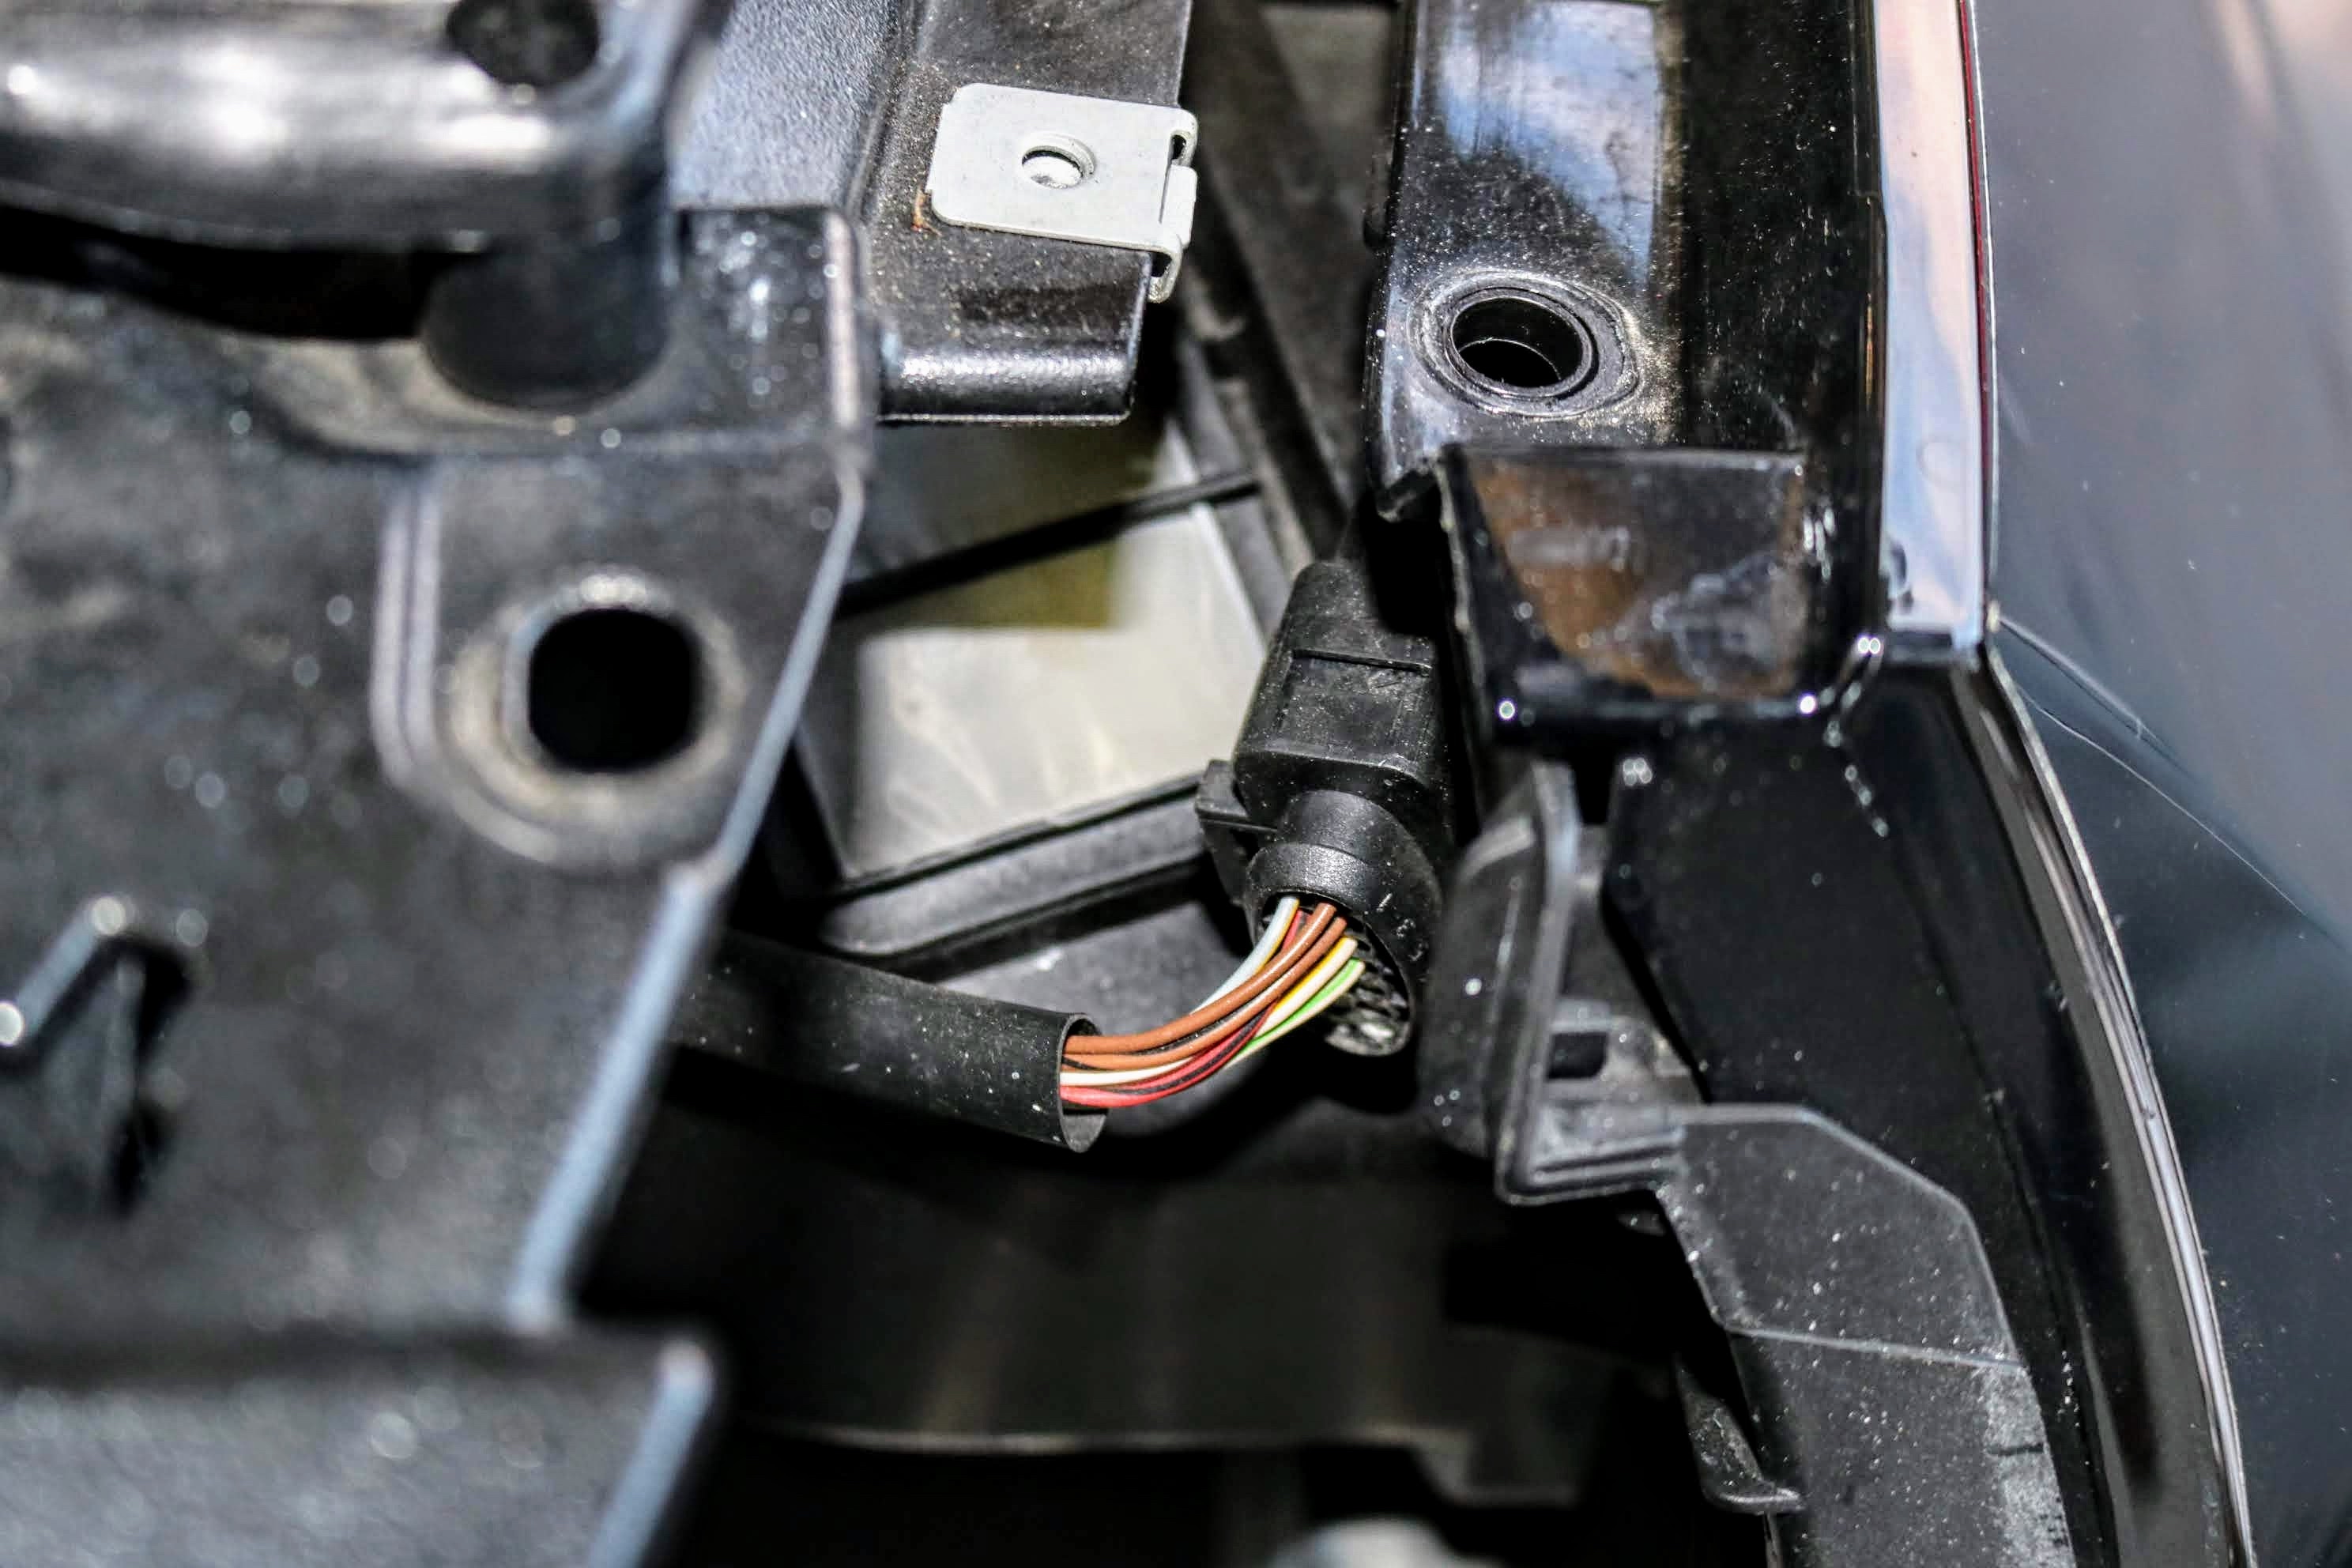
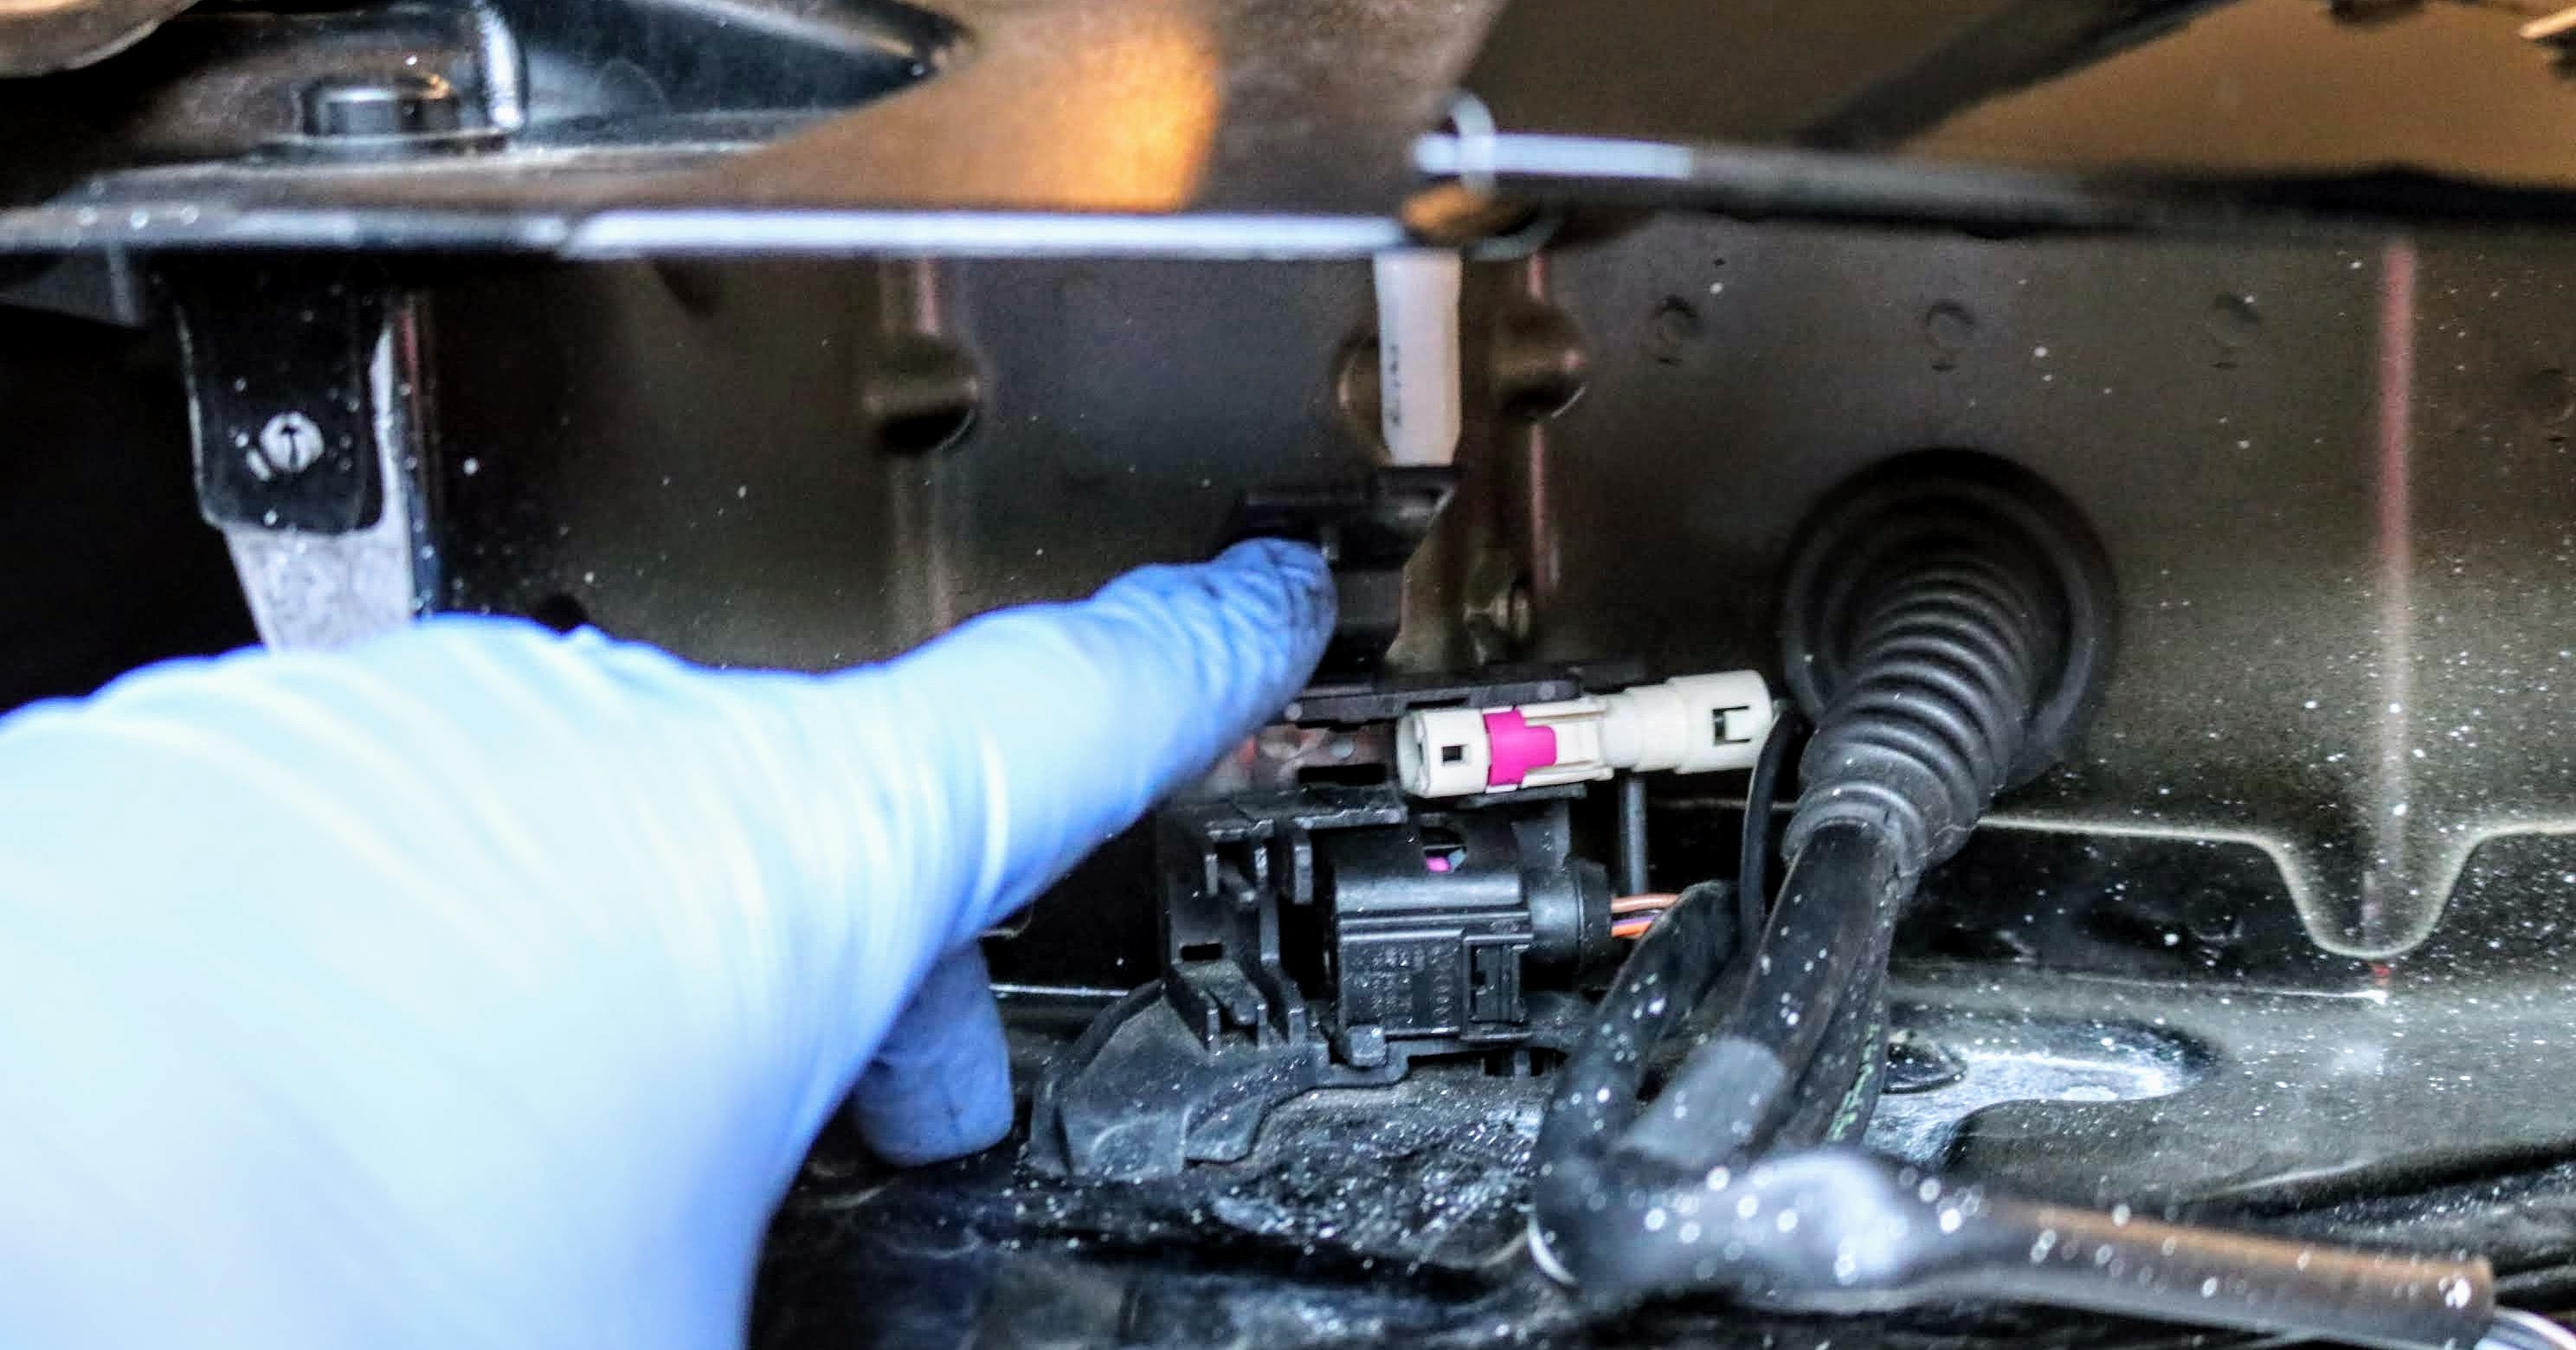
18. With the bumper slightly pulled out, we found the electrical connectors for the rear tag light and rear backup camera. We disconnected both of these connectors.
Porsche 911 (991) Porsche 911 (991)
<
19. Finally, the bumper was free and we were able to completely remove bumper and placed on a body work stand to prevent any scratches or damage.Porsche 911 (991)
20. Installation: we simply performed the above steps in the revers order. We were especially mindful to ensure that the rear bumper is evenly aligned on all sides before fully tightening all of the screws. We also did this for the alignment and gaps for each of the rear taillights.