Overview
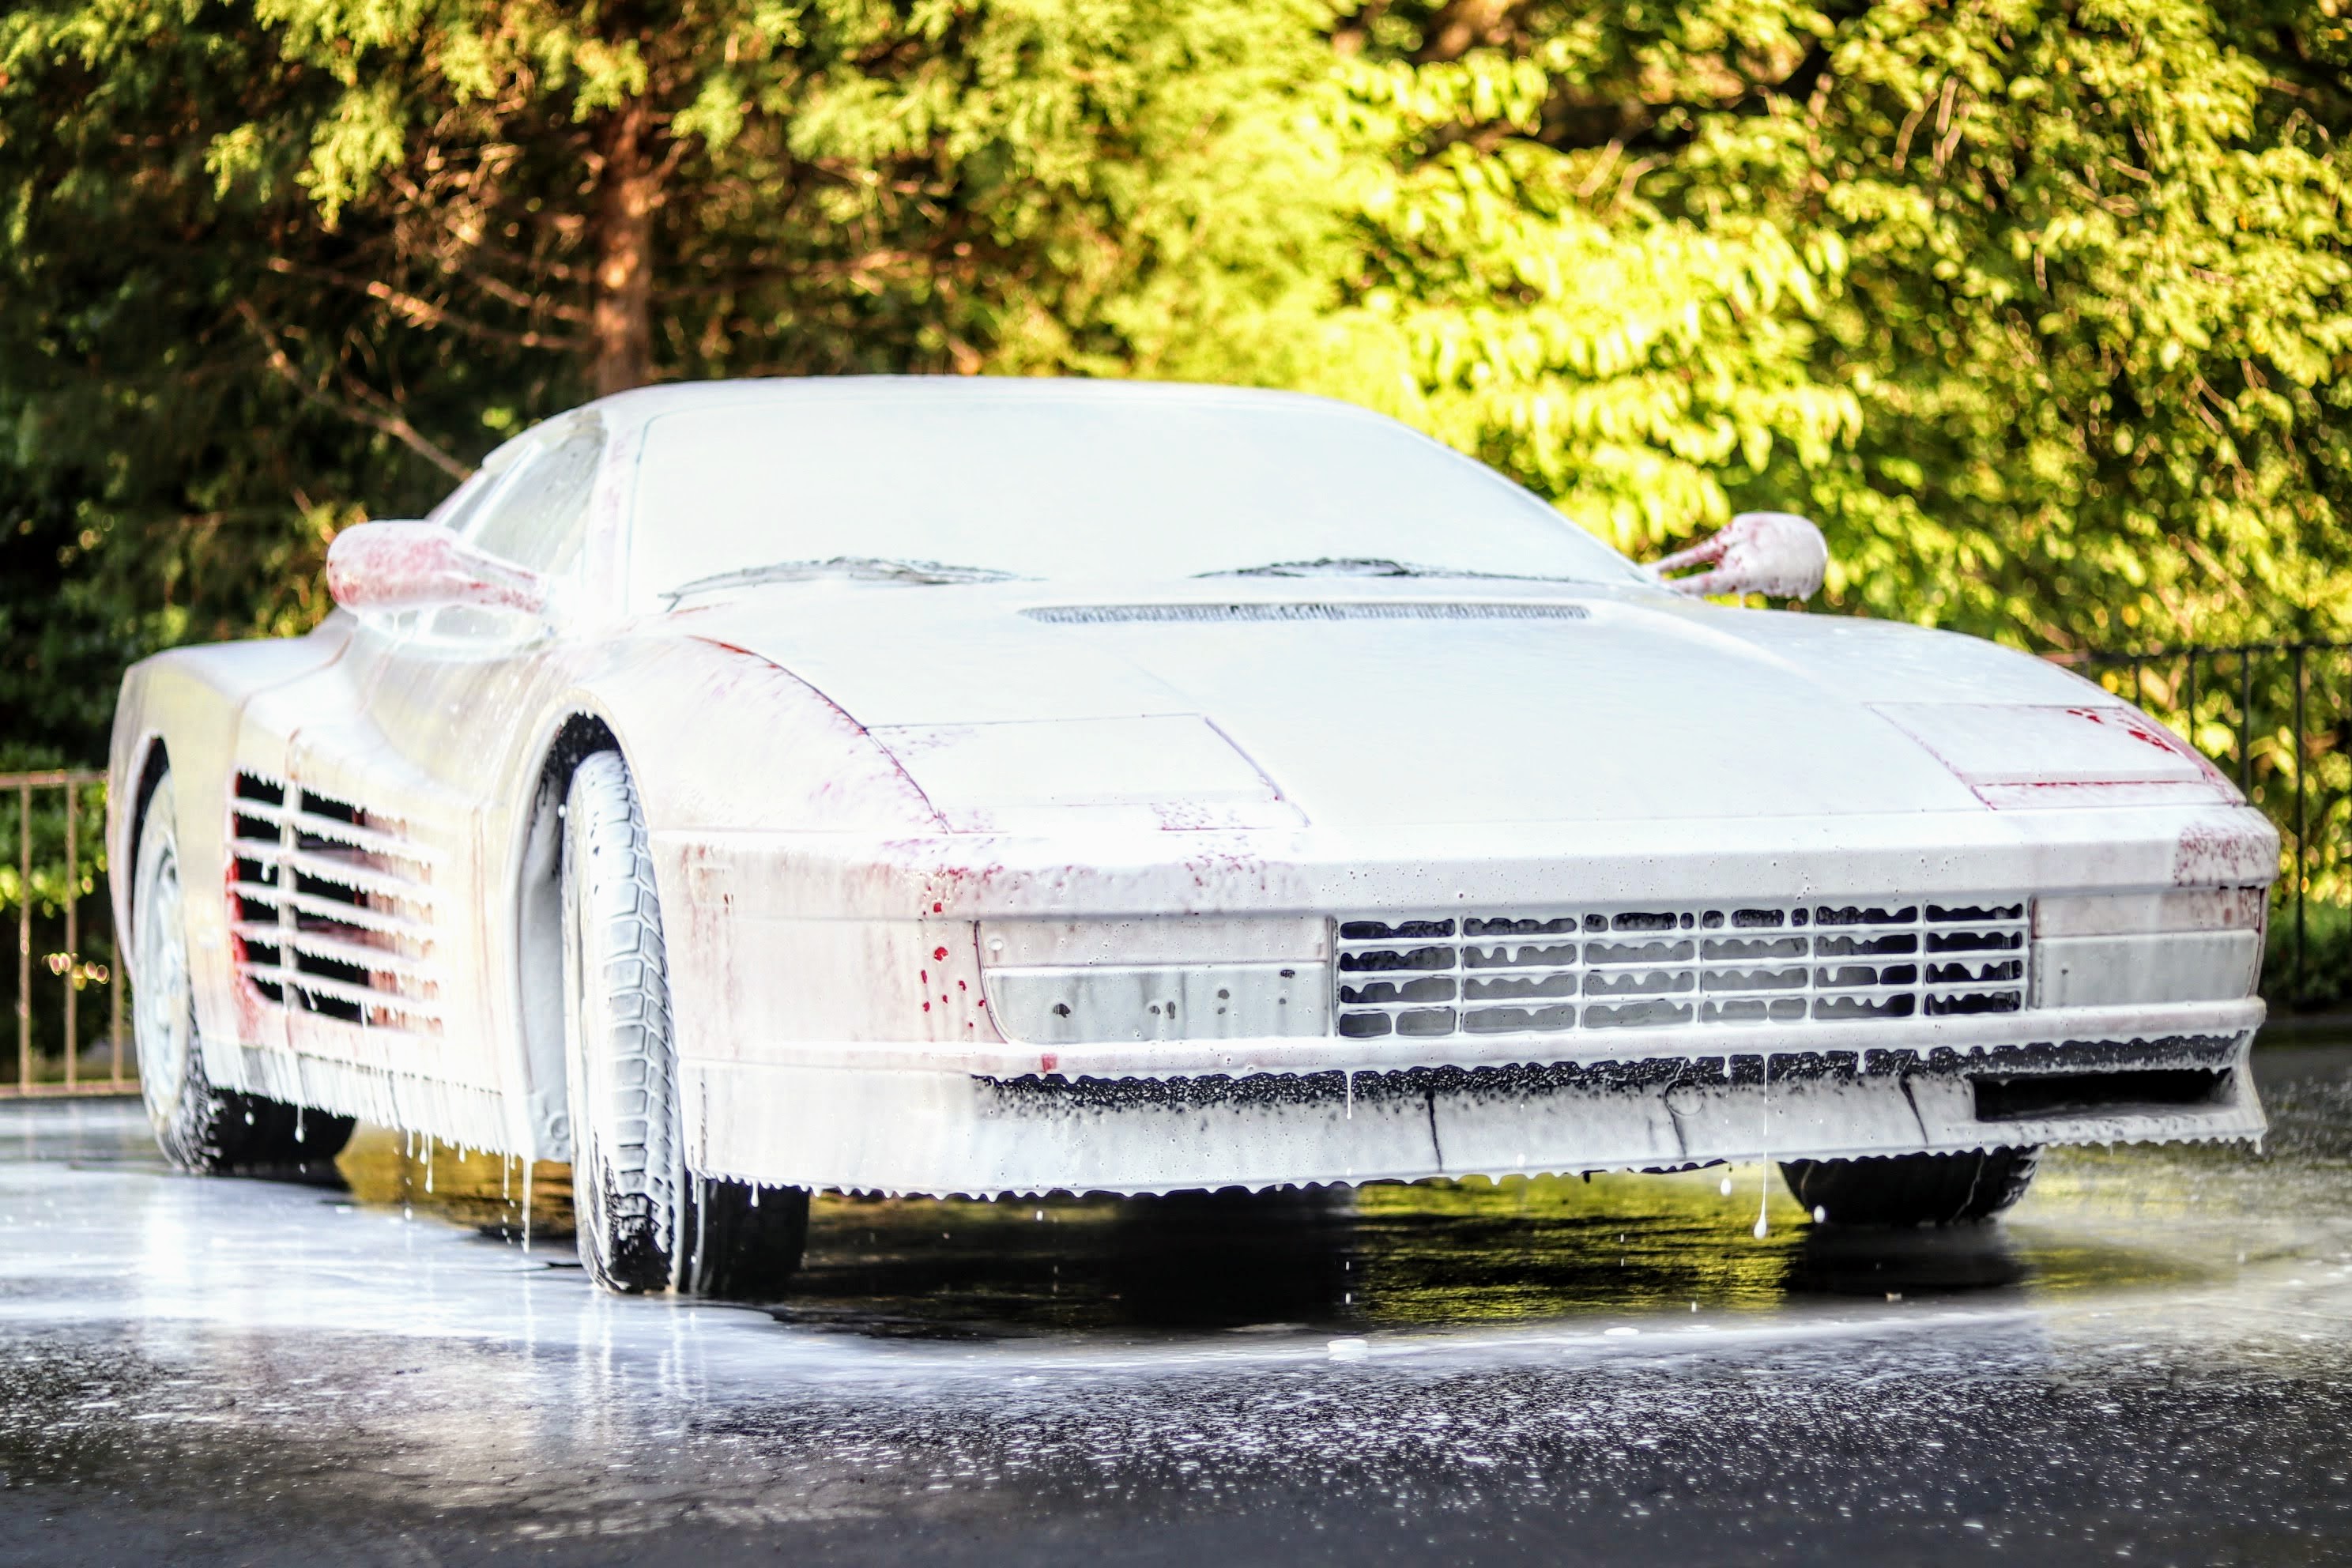
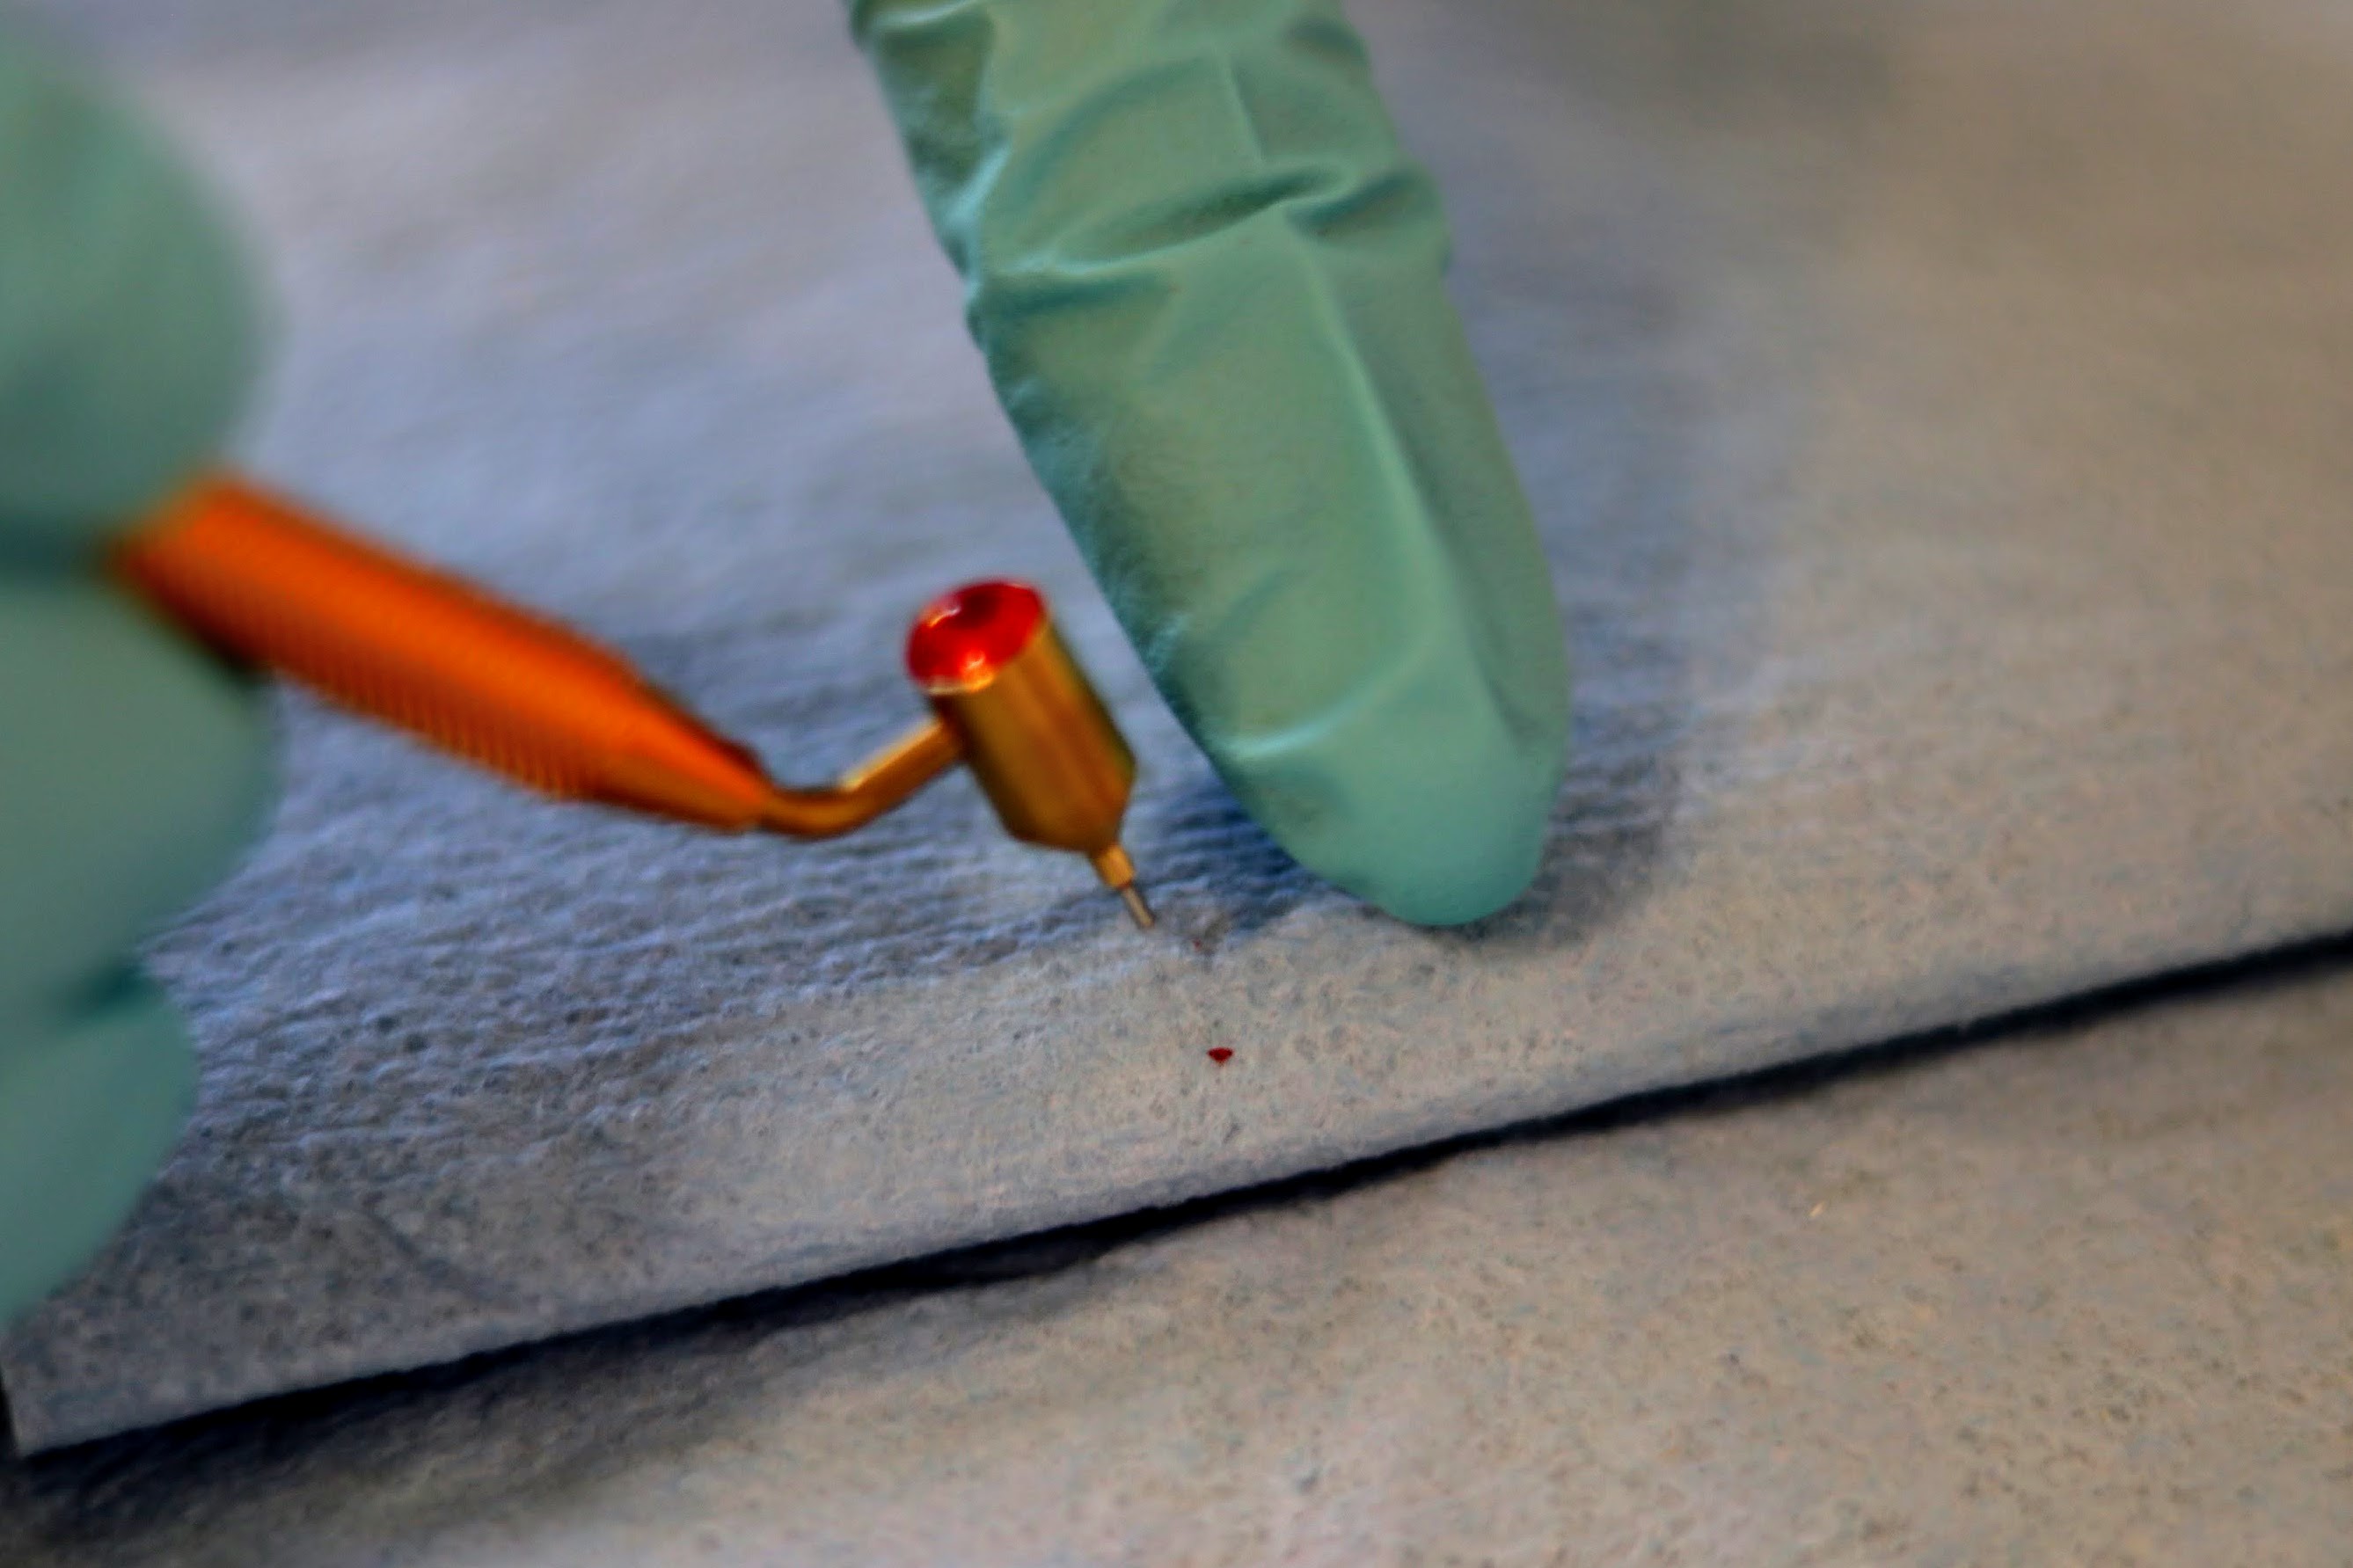
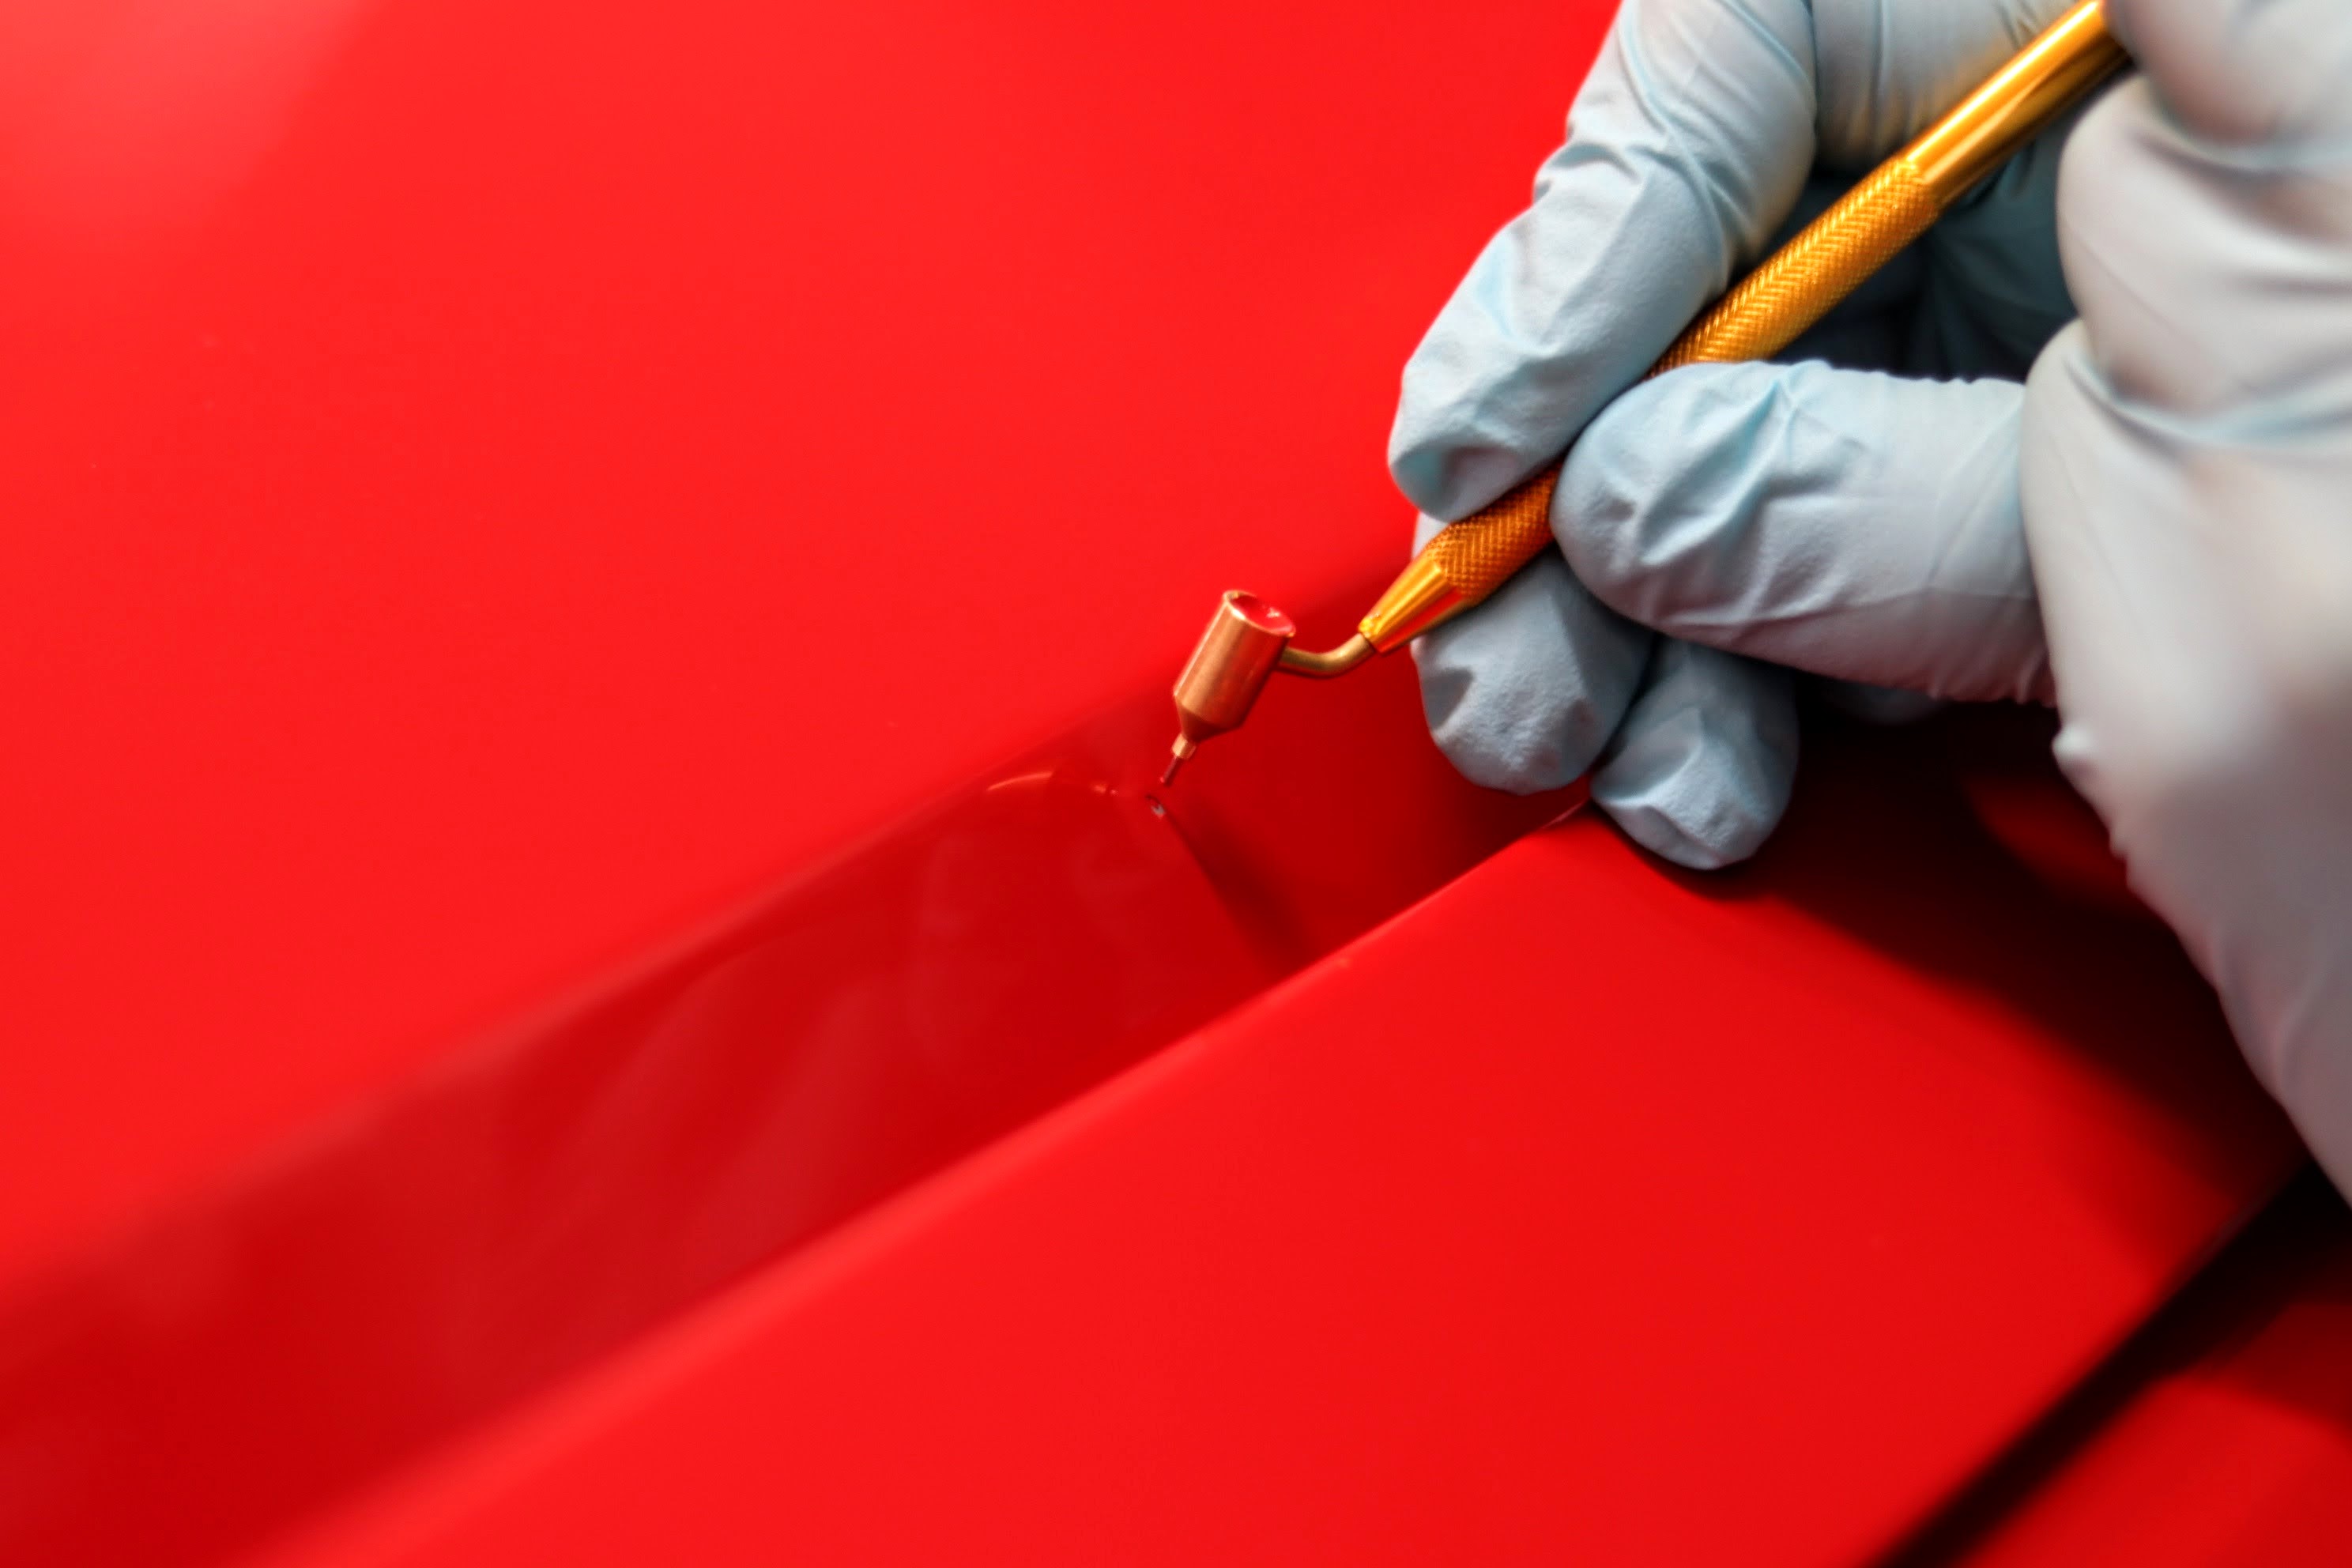
This guide goes through the steps we used to repair paint chips. In this write up, we are specifically using our 1987 Ferrari Testarossa with the original single stage paint. We have used these steps on numerous other cars of different makes, including modern cars with two stage paint. Our process has evolved from years of trial and error, along with research and discussions with other detailers. We would highly suggest checking out the paint chip repair videos by Larry Kosilla (website - AMMO NYC), specifically this ("Paint Chip Touch-up") and this ("Rock Chip Touch-up Tool: Museum 911"). We would also highly recommend practicing this process on a practice panel or in a hidden spot on a panel. It does take some practice to get good results.
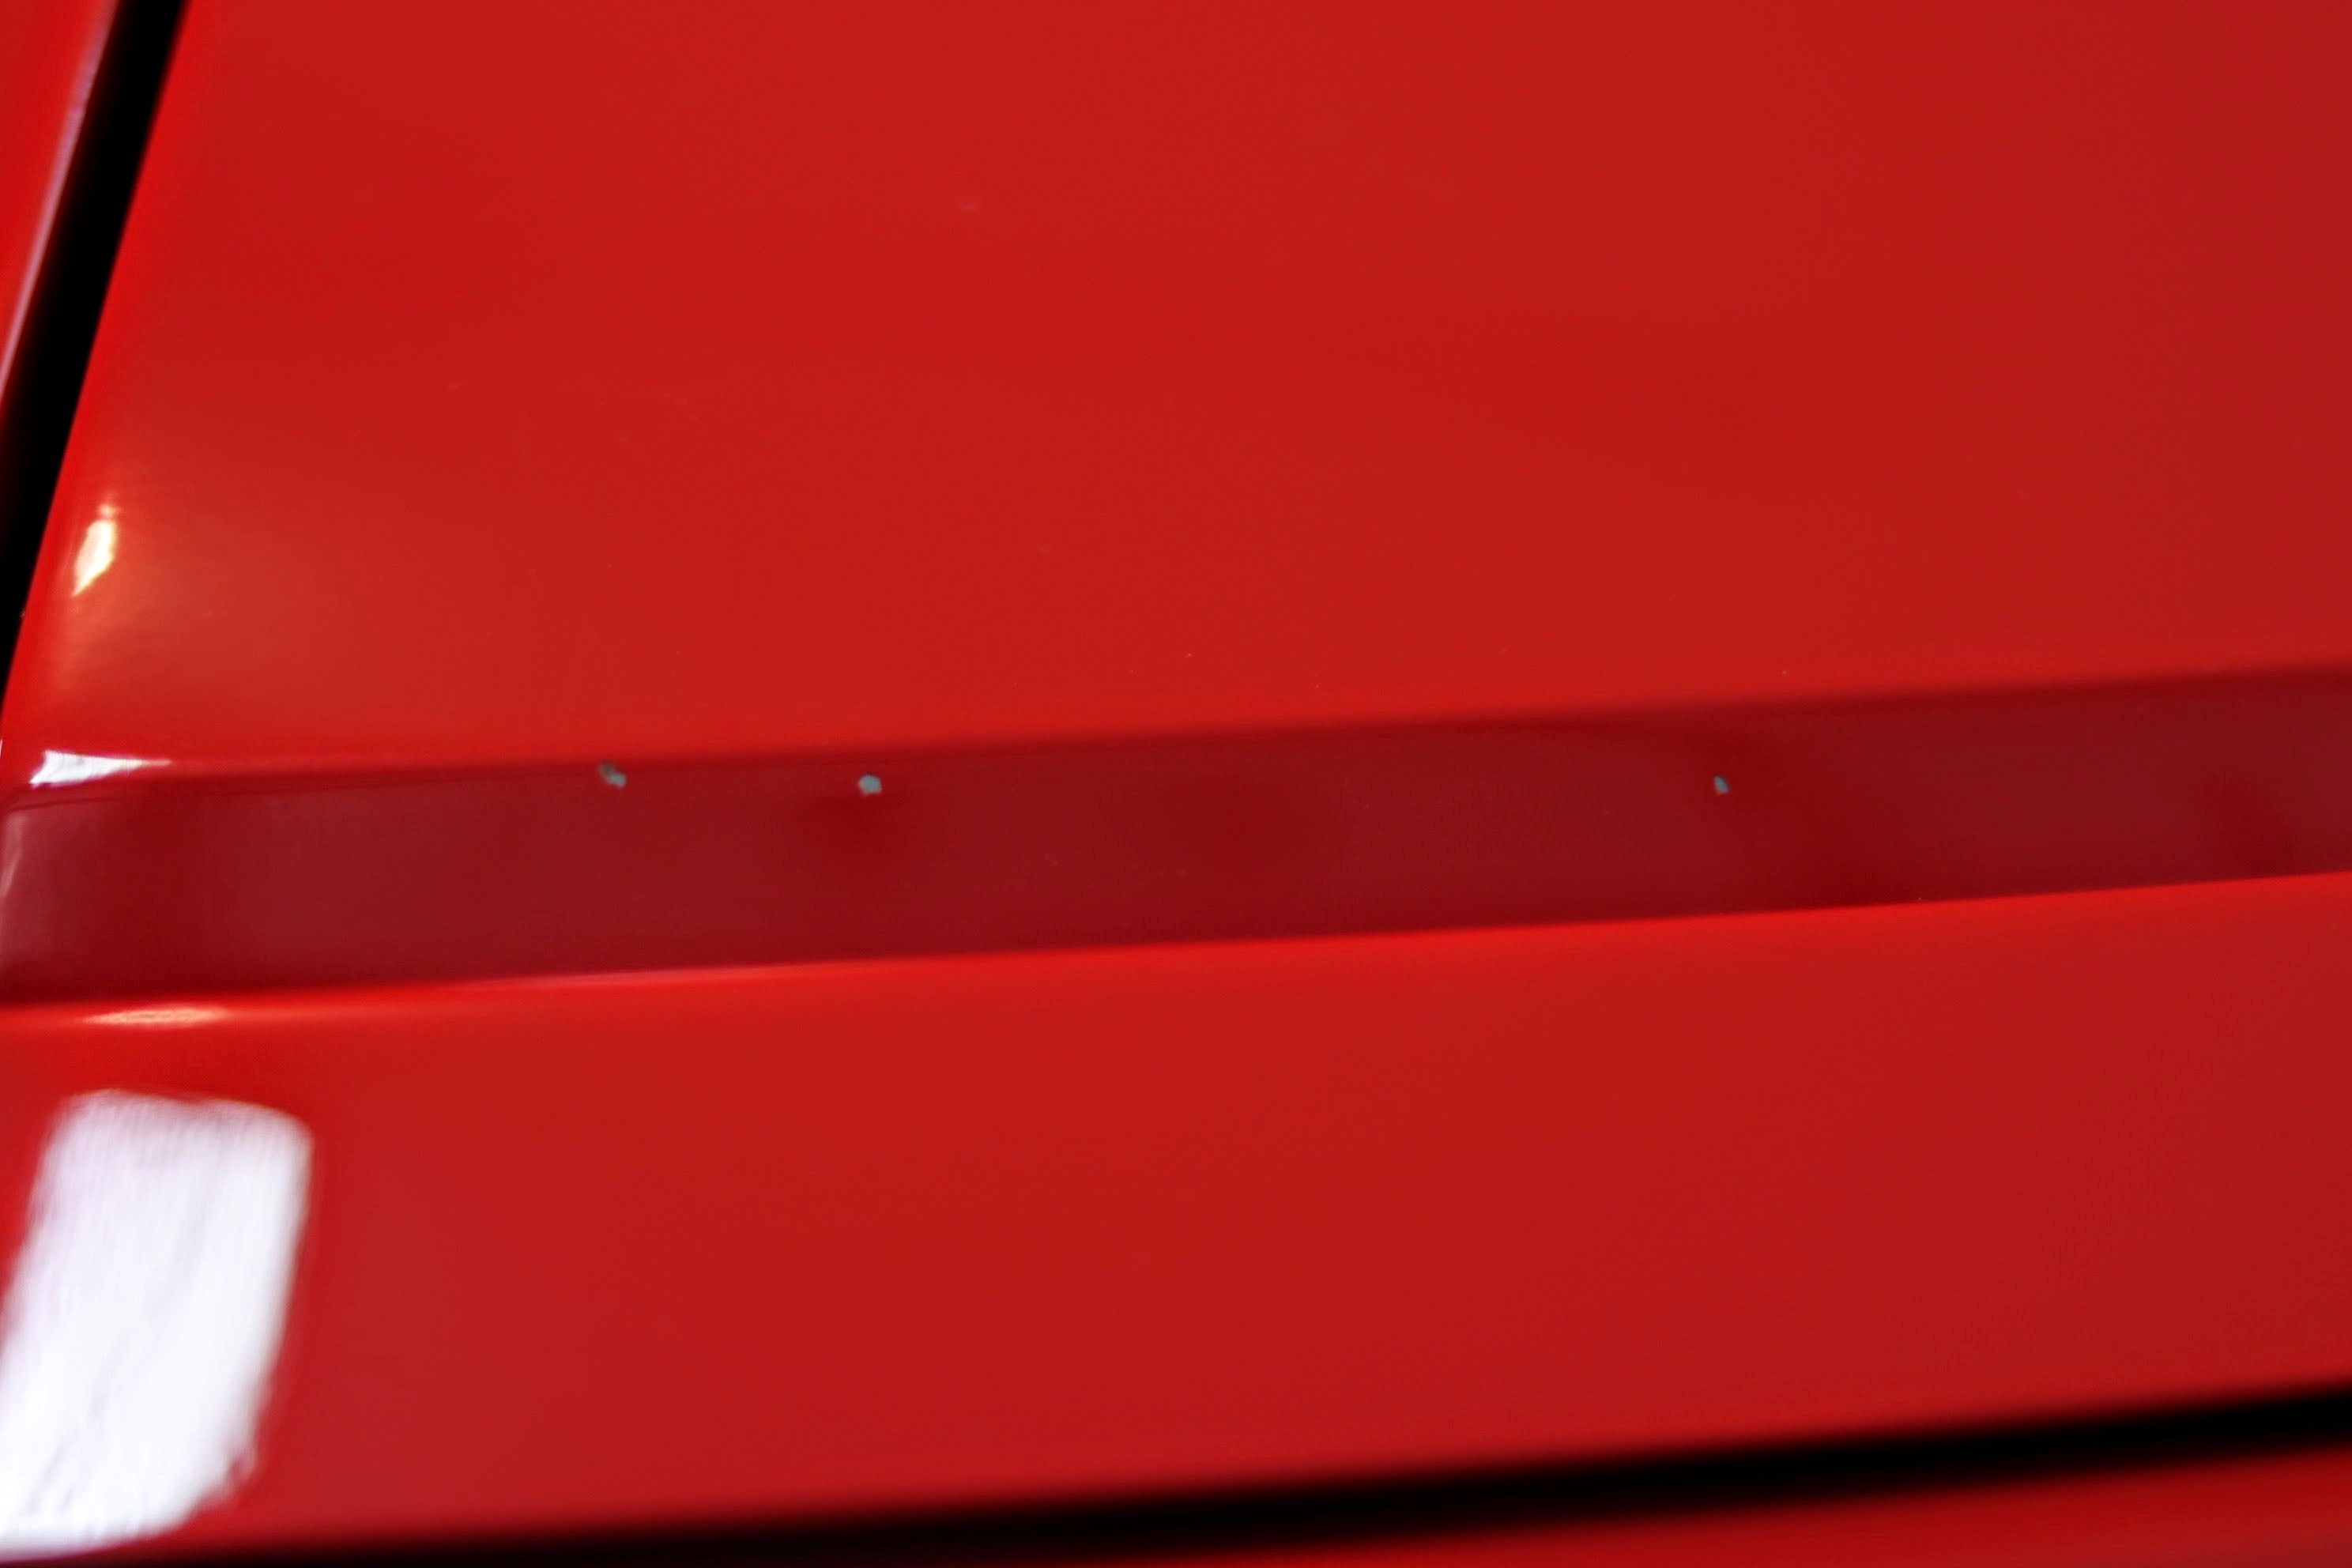
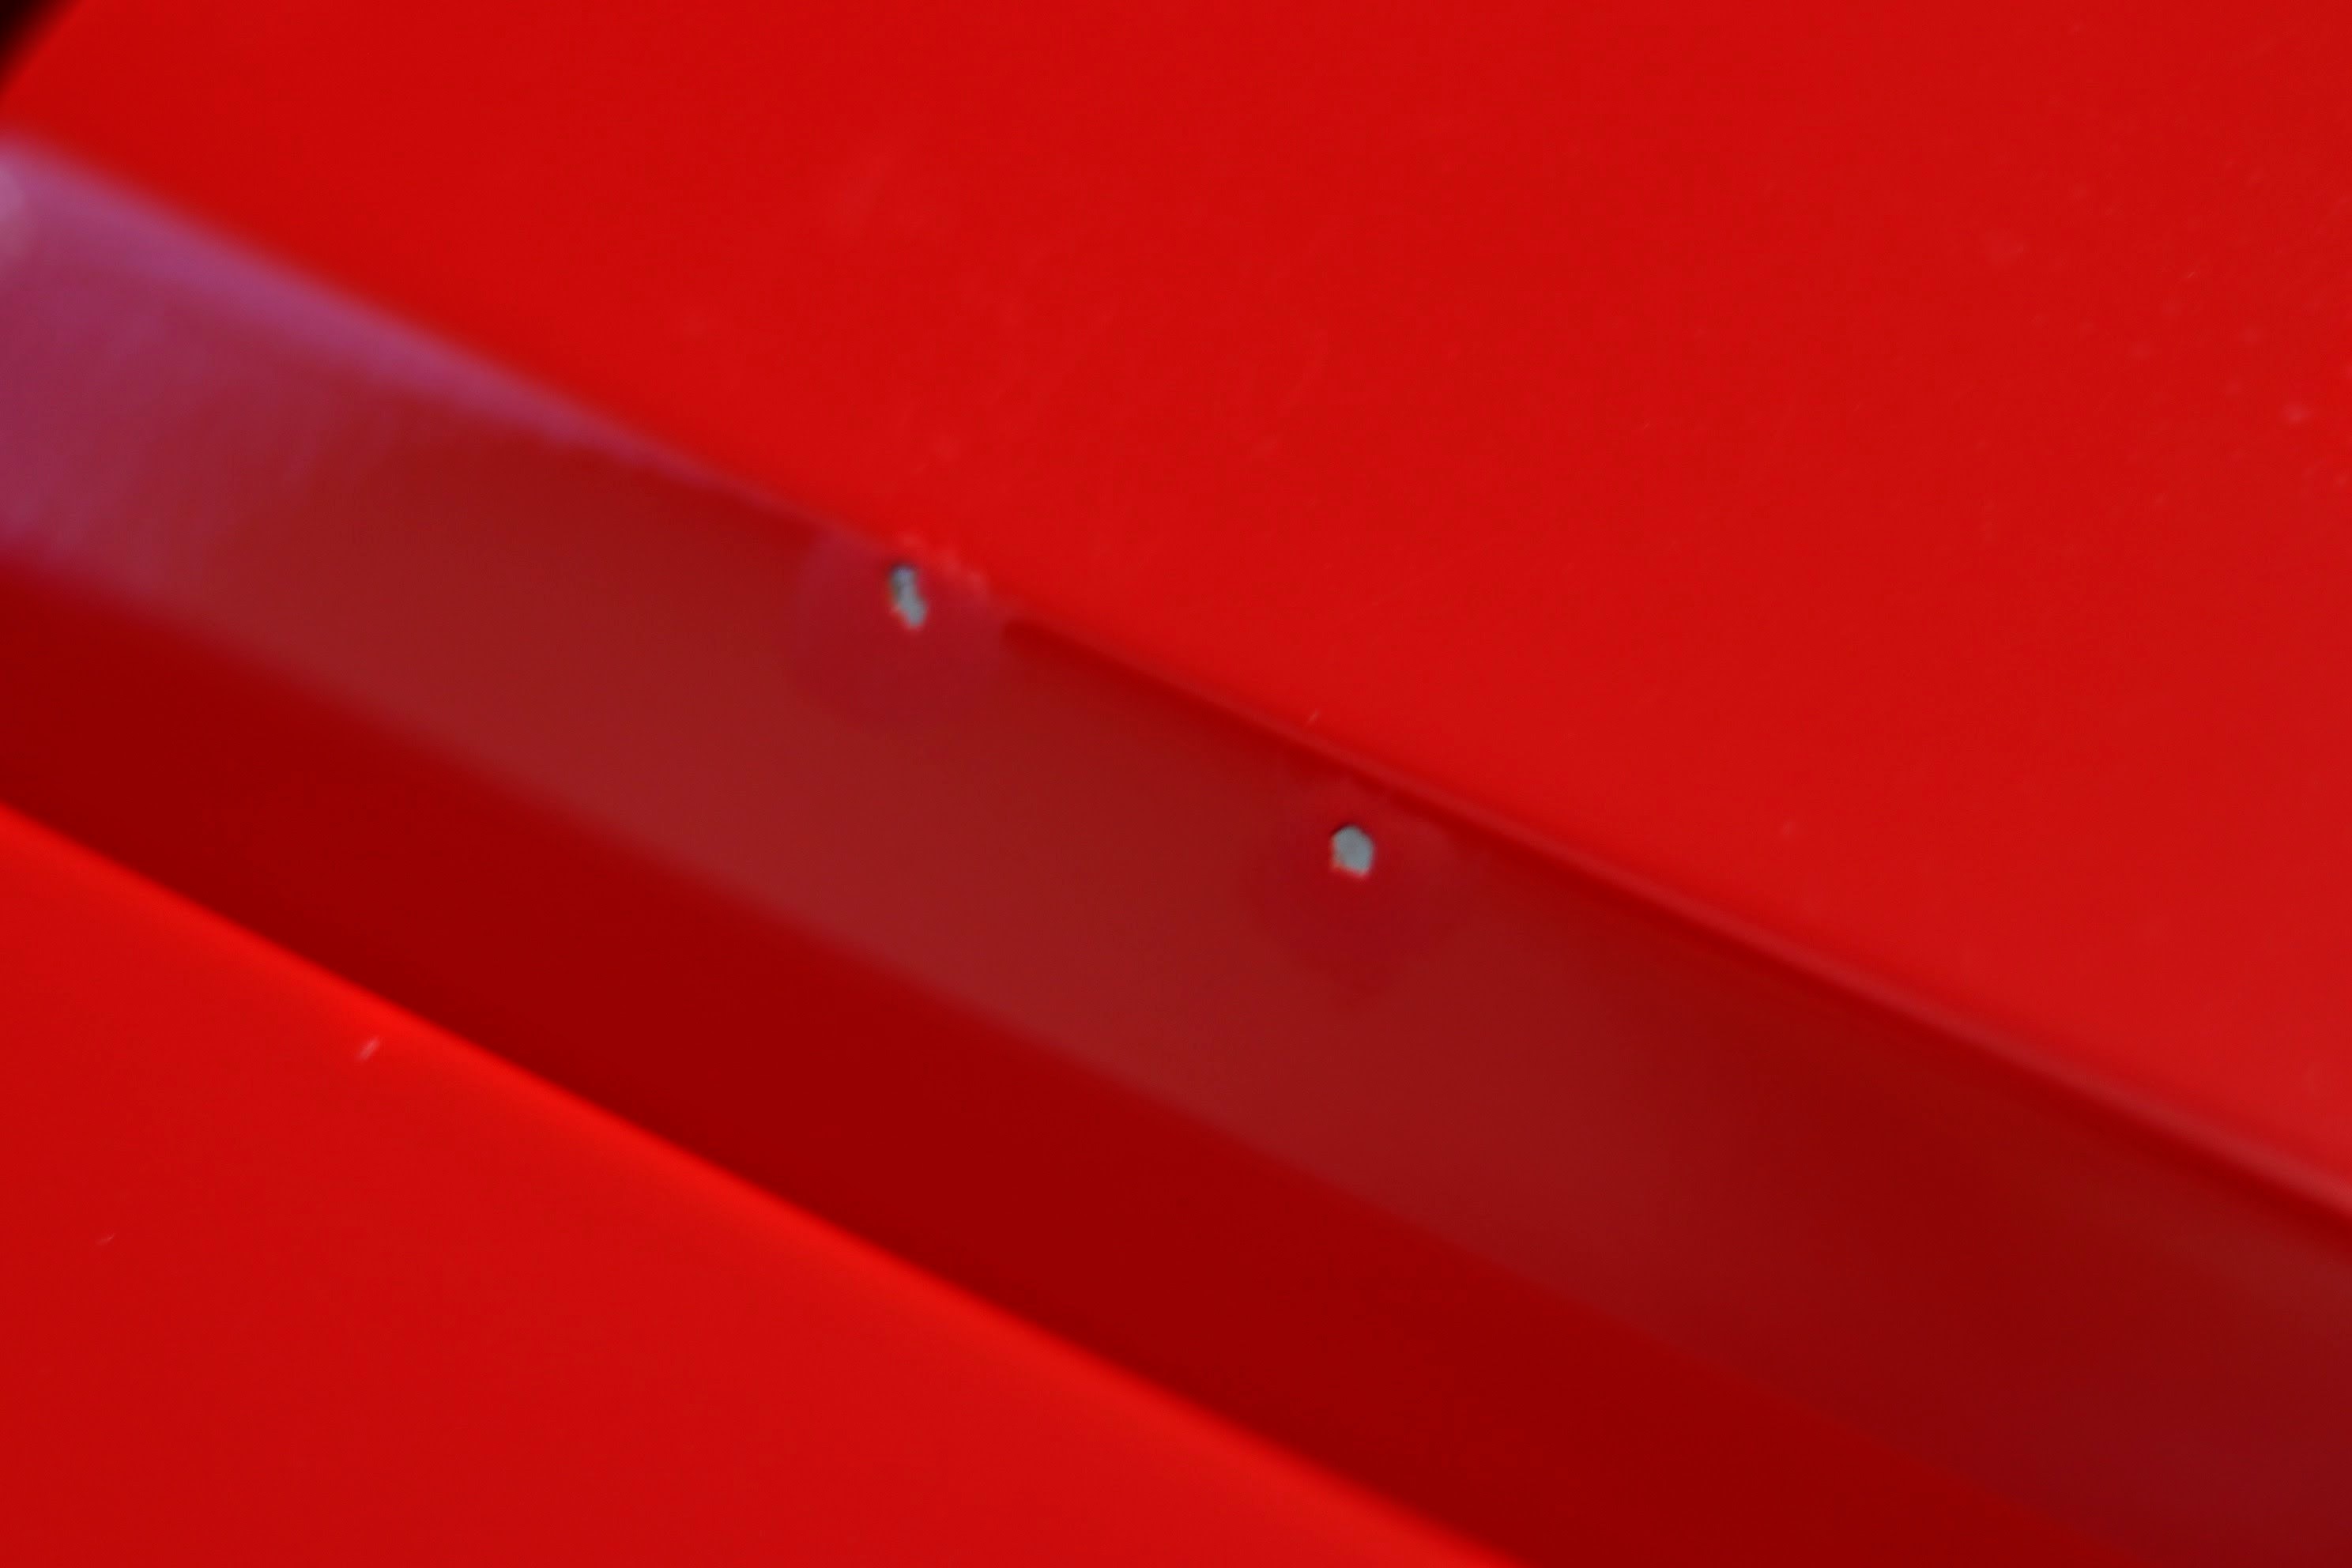
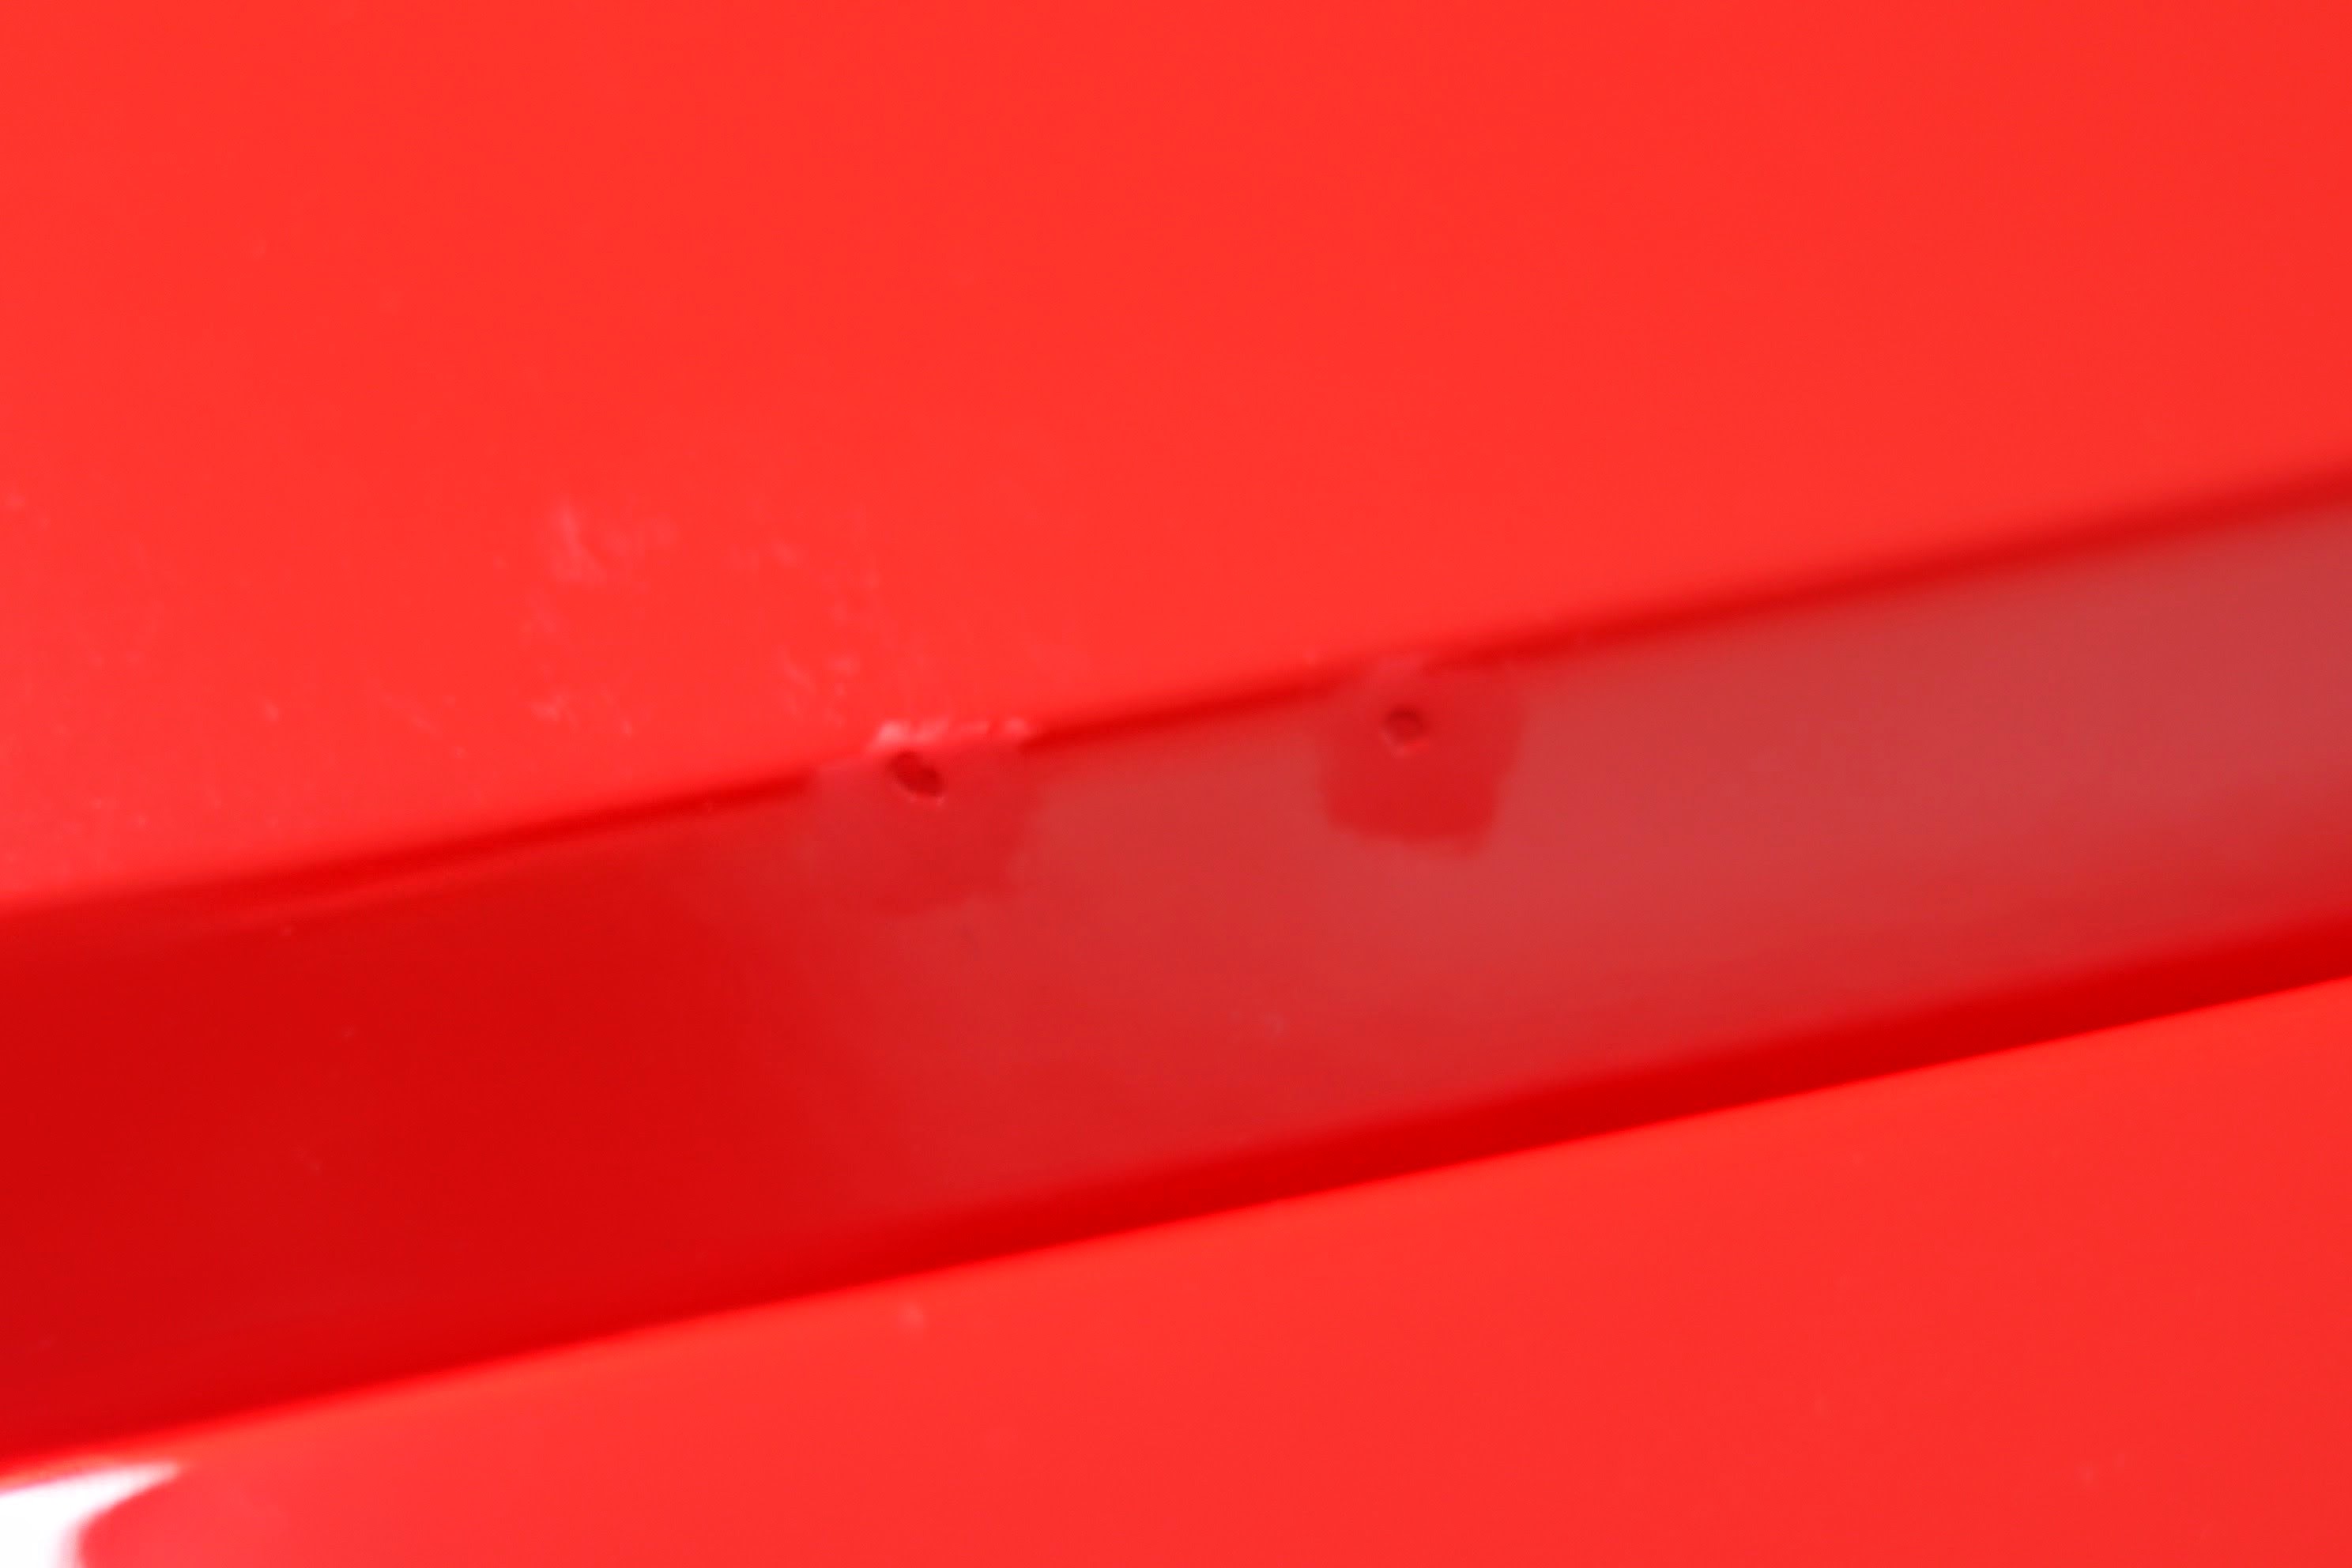
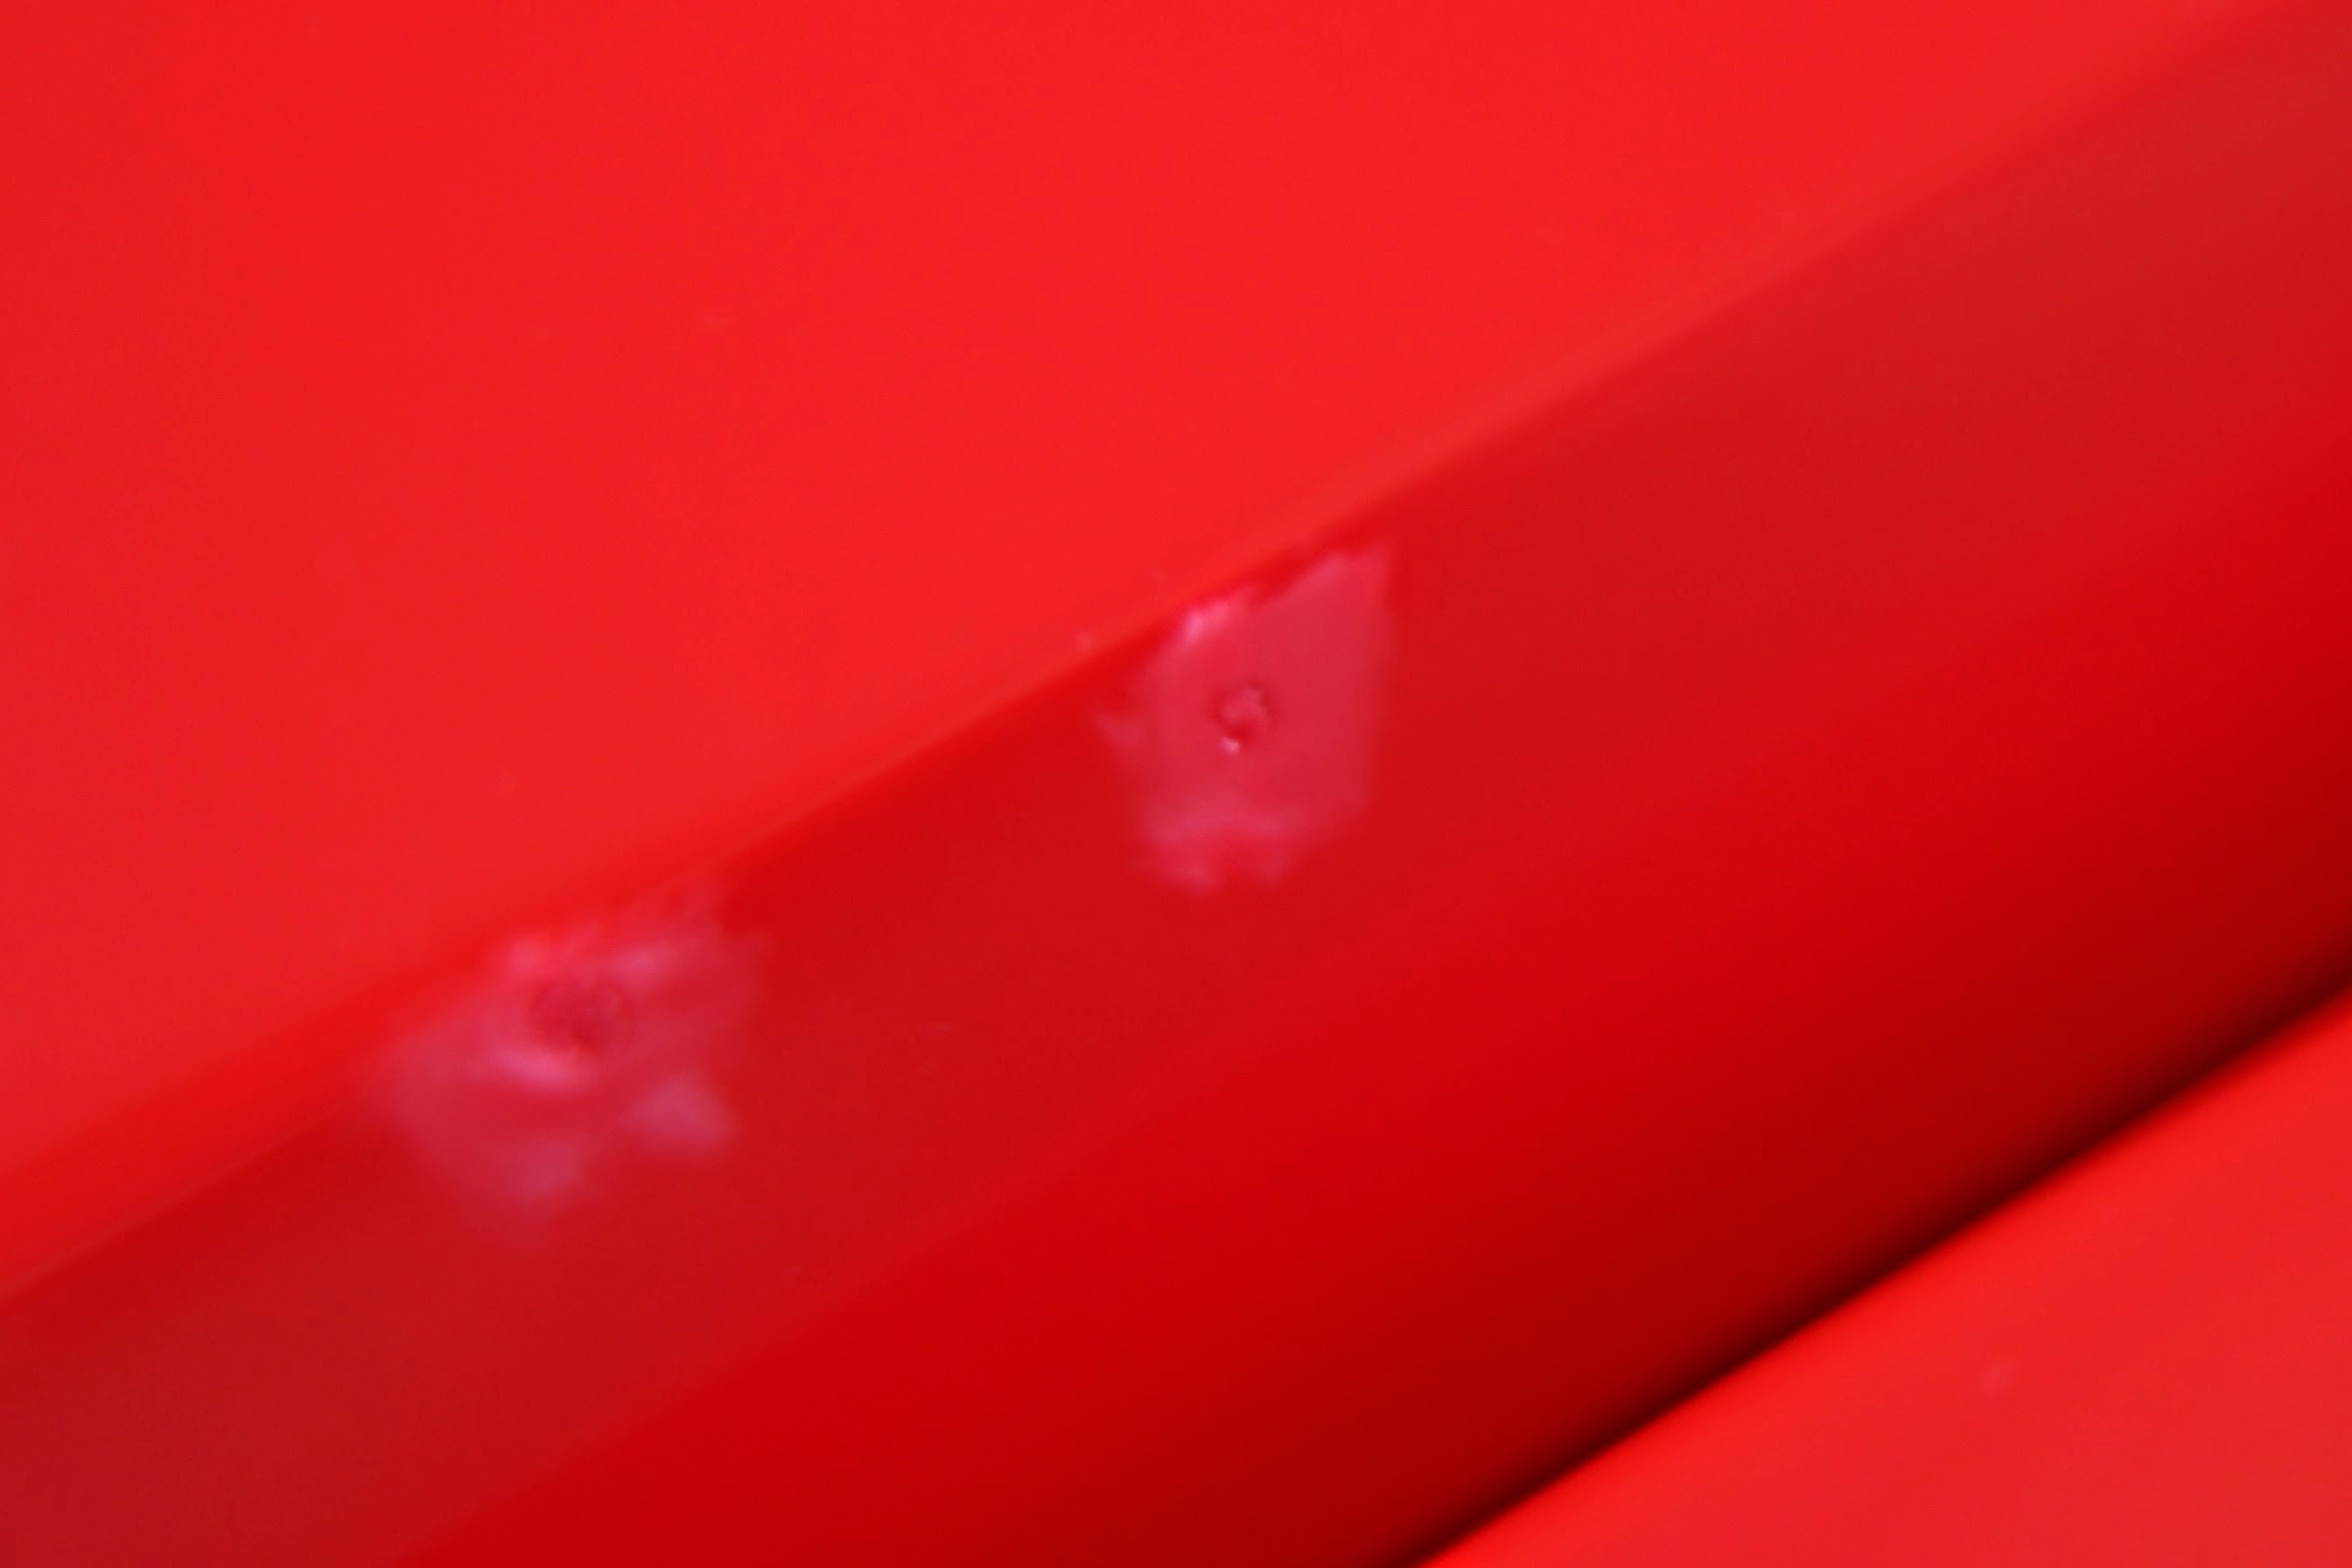
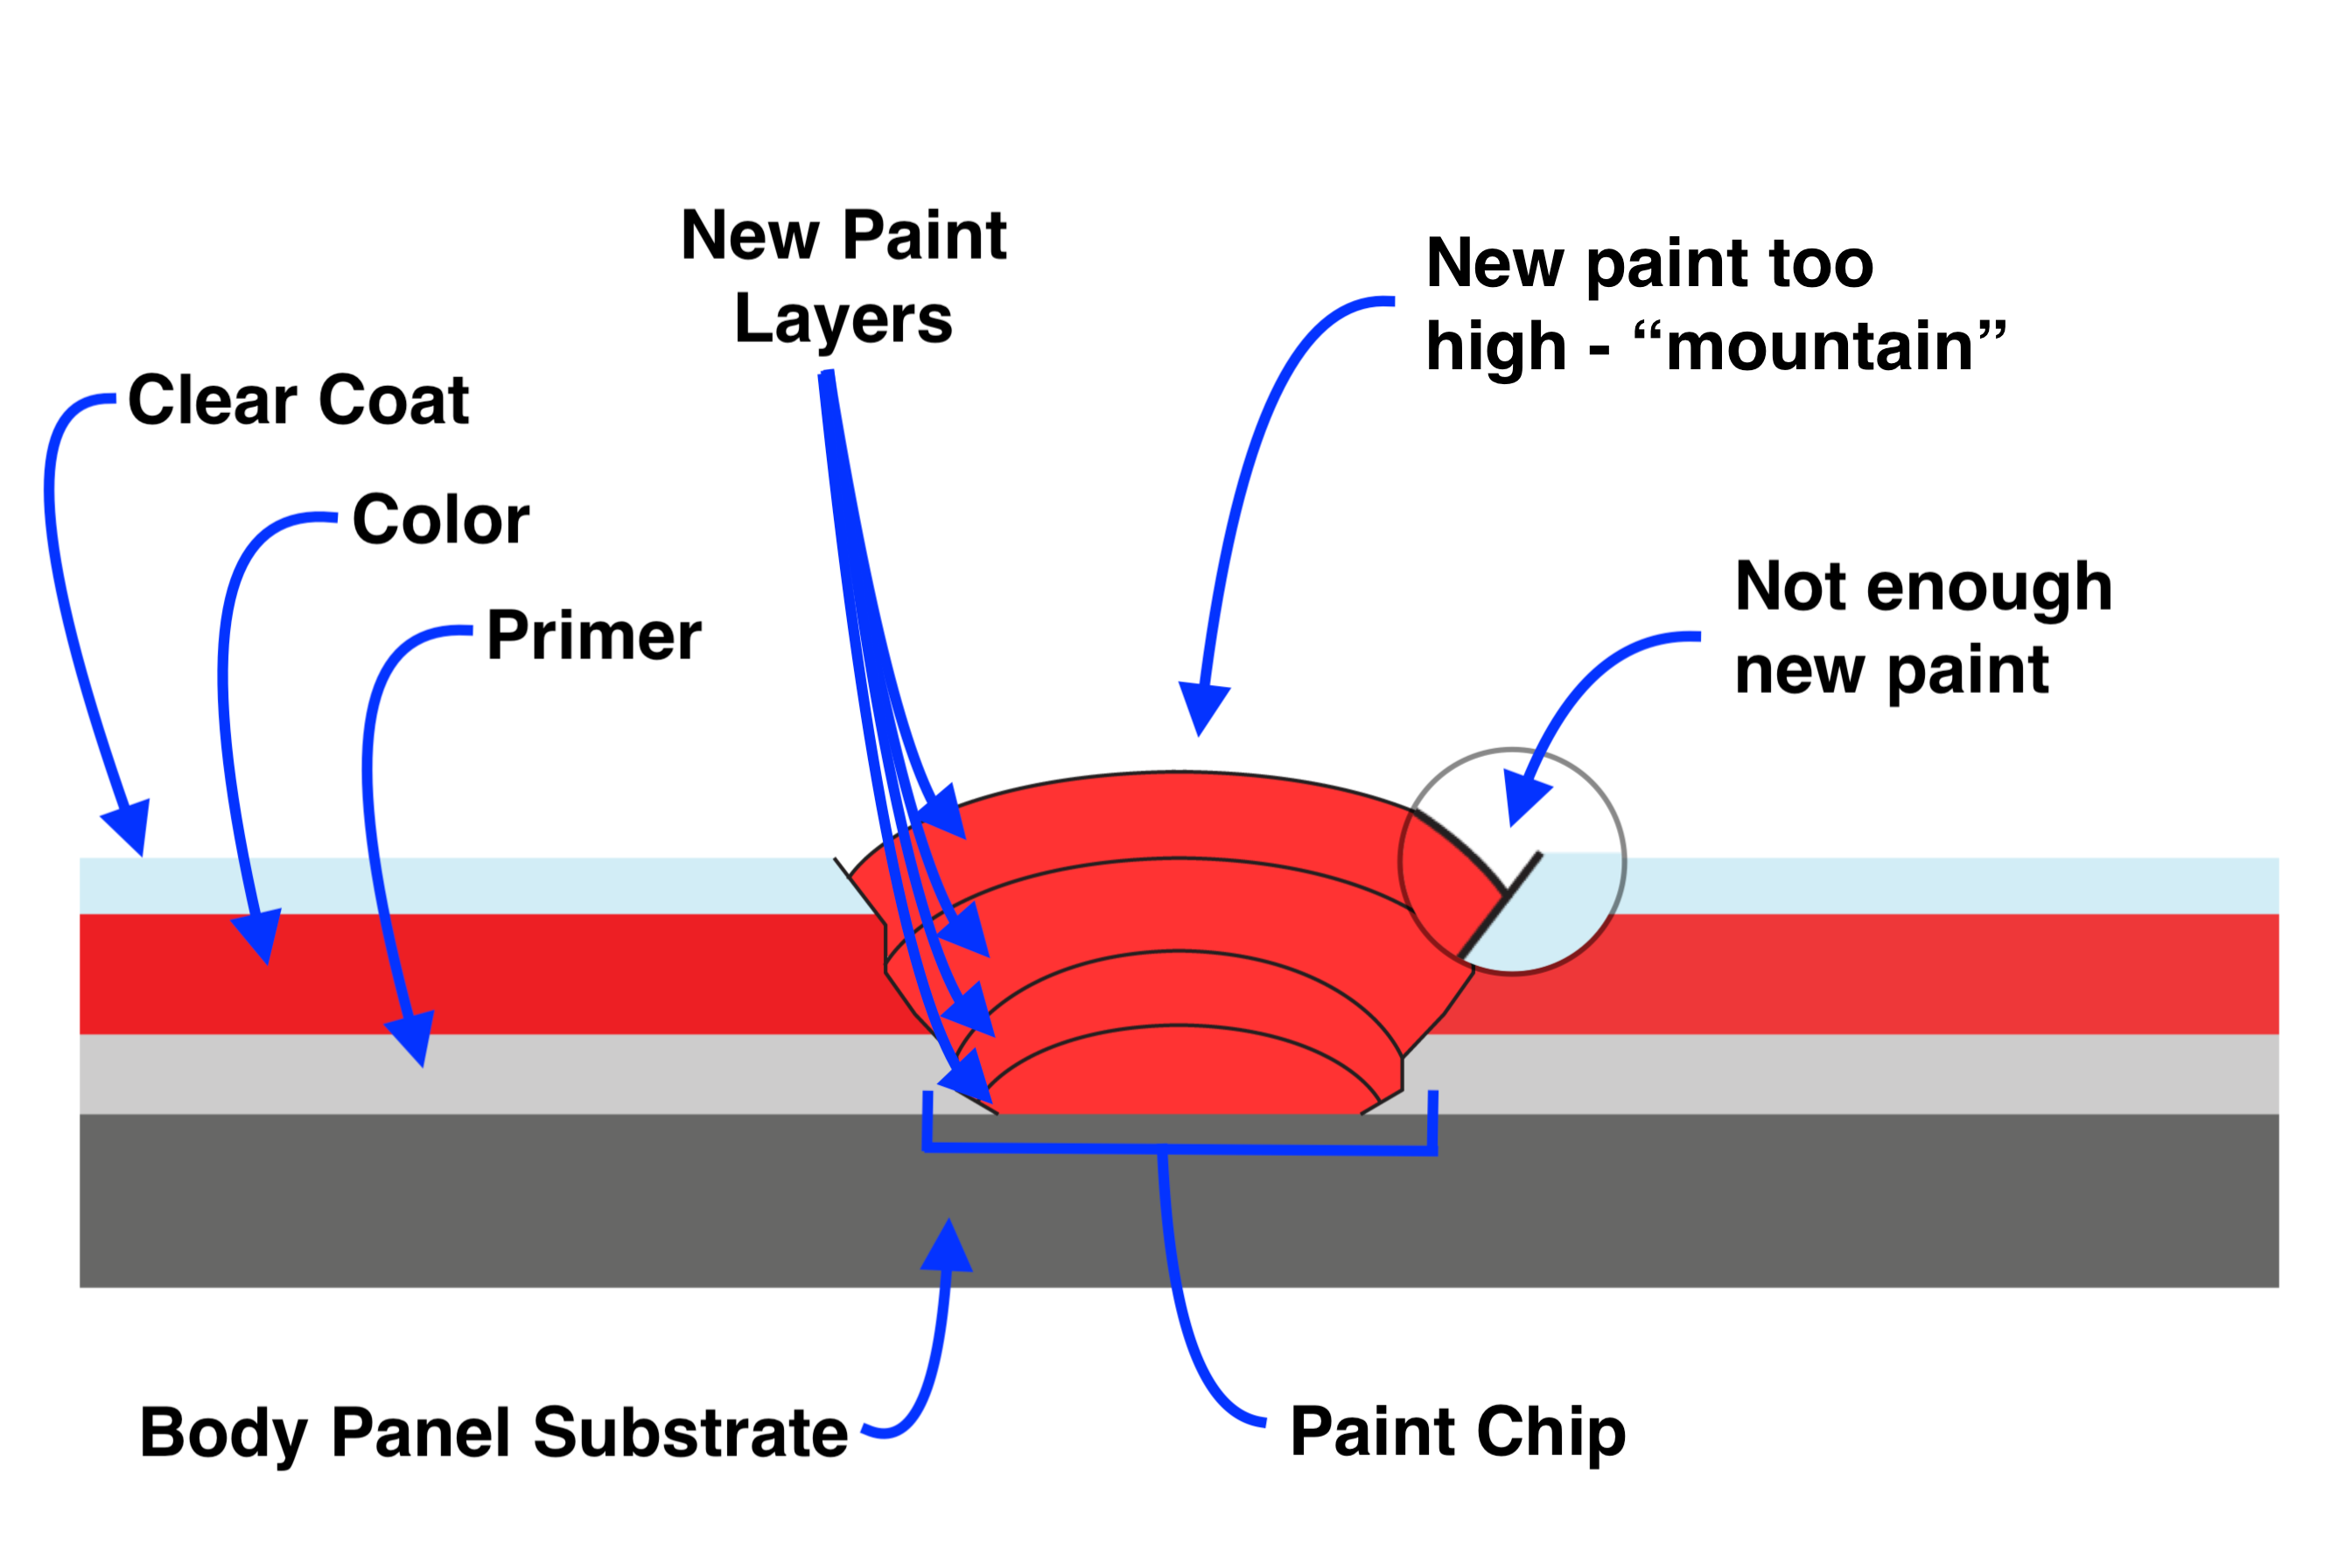
As you have probably found from our other guides, we focus on two aspects whenever we set out to accomplish a job: (1) the goal that we are trying to accomplish - meaning whatever works, as long the end result is excellent; and (2) the methodology to accomplish this goal - meaning a sound process while focusing on the details will obtain good results. With that in mind, for paint chip repair our focus is on protecting the body work of the car and creating a smooth, flat finish. Creating the smooth, flat finish becomes the challenging part. Time and patience is key to slowly building up the layers of paint (and/or clear coat) and then subsequently wet sanding the "mountain" of added paint. The repetitive effort does pay off!
One aspect to note is that this guide does not go into what paint and/or clear coat to use. The specific paint needed varies between cars. We personally went to a local body shop (that has experience working these makes) to properly match the color and provide a clear coat/hardening agent. This cost us about $30. We have heard good things about Dr. ColorChip - this option was our backup plan, so we do not have any experience with their products. Some manufactures do sell touch up paint through their dealerships.
Products Used
Durable Products |
Quantity |
Link |
|---|---|---|
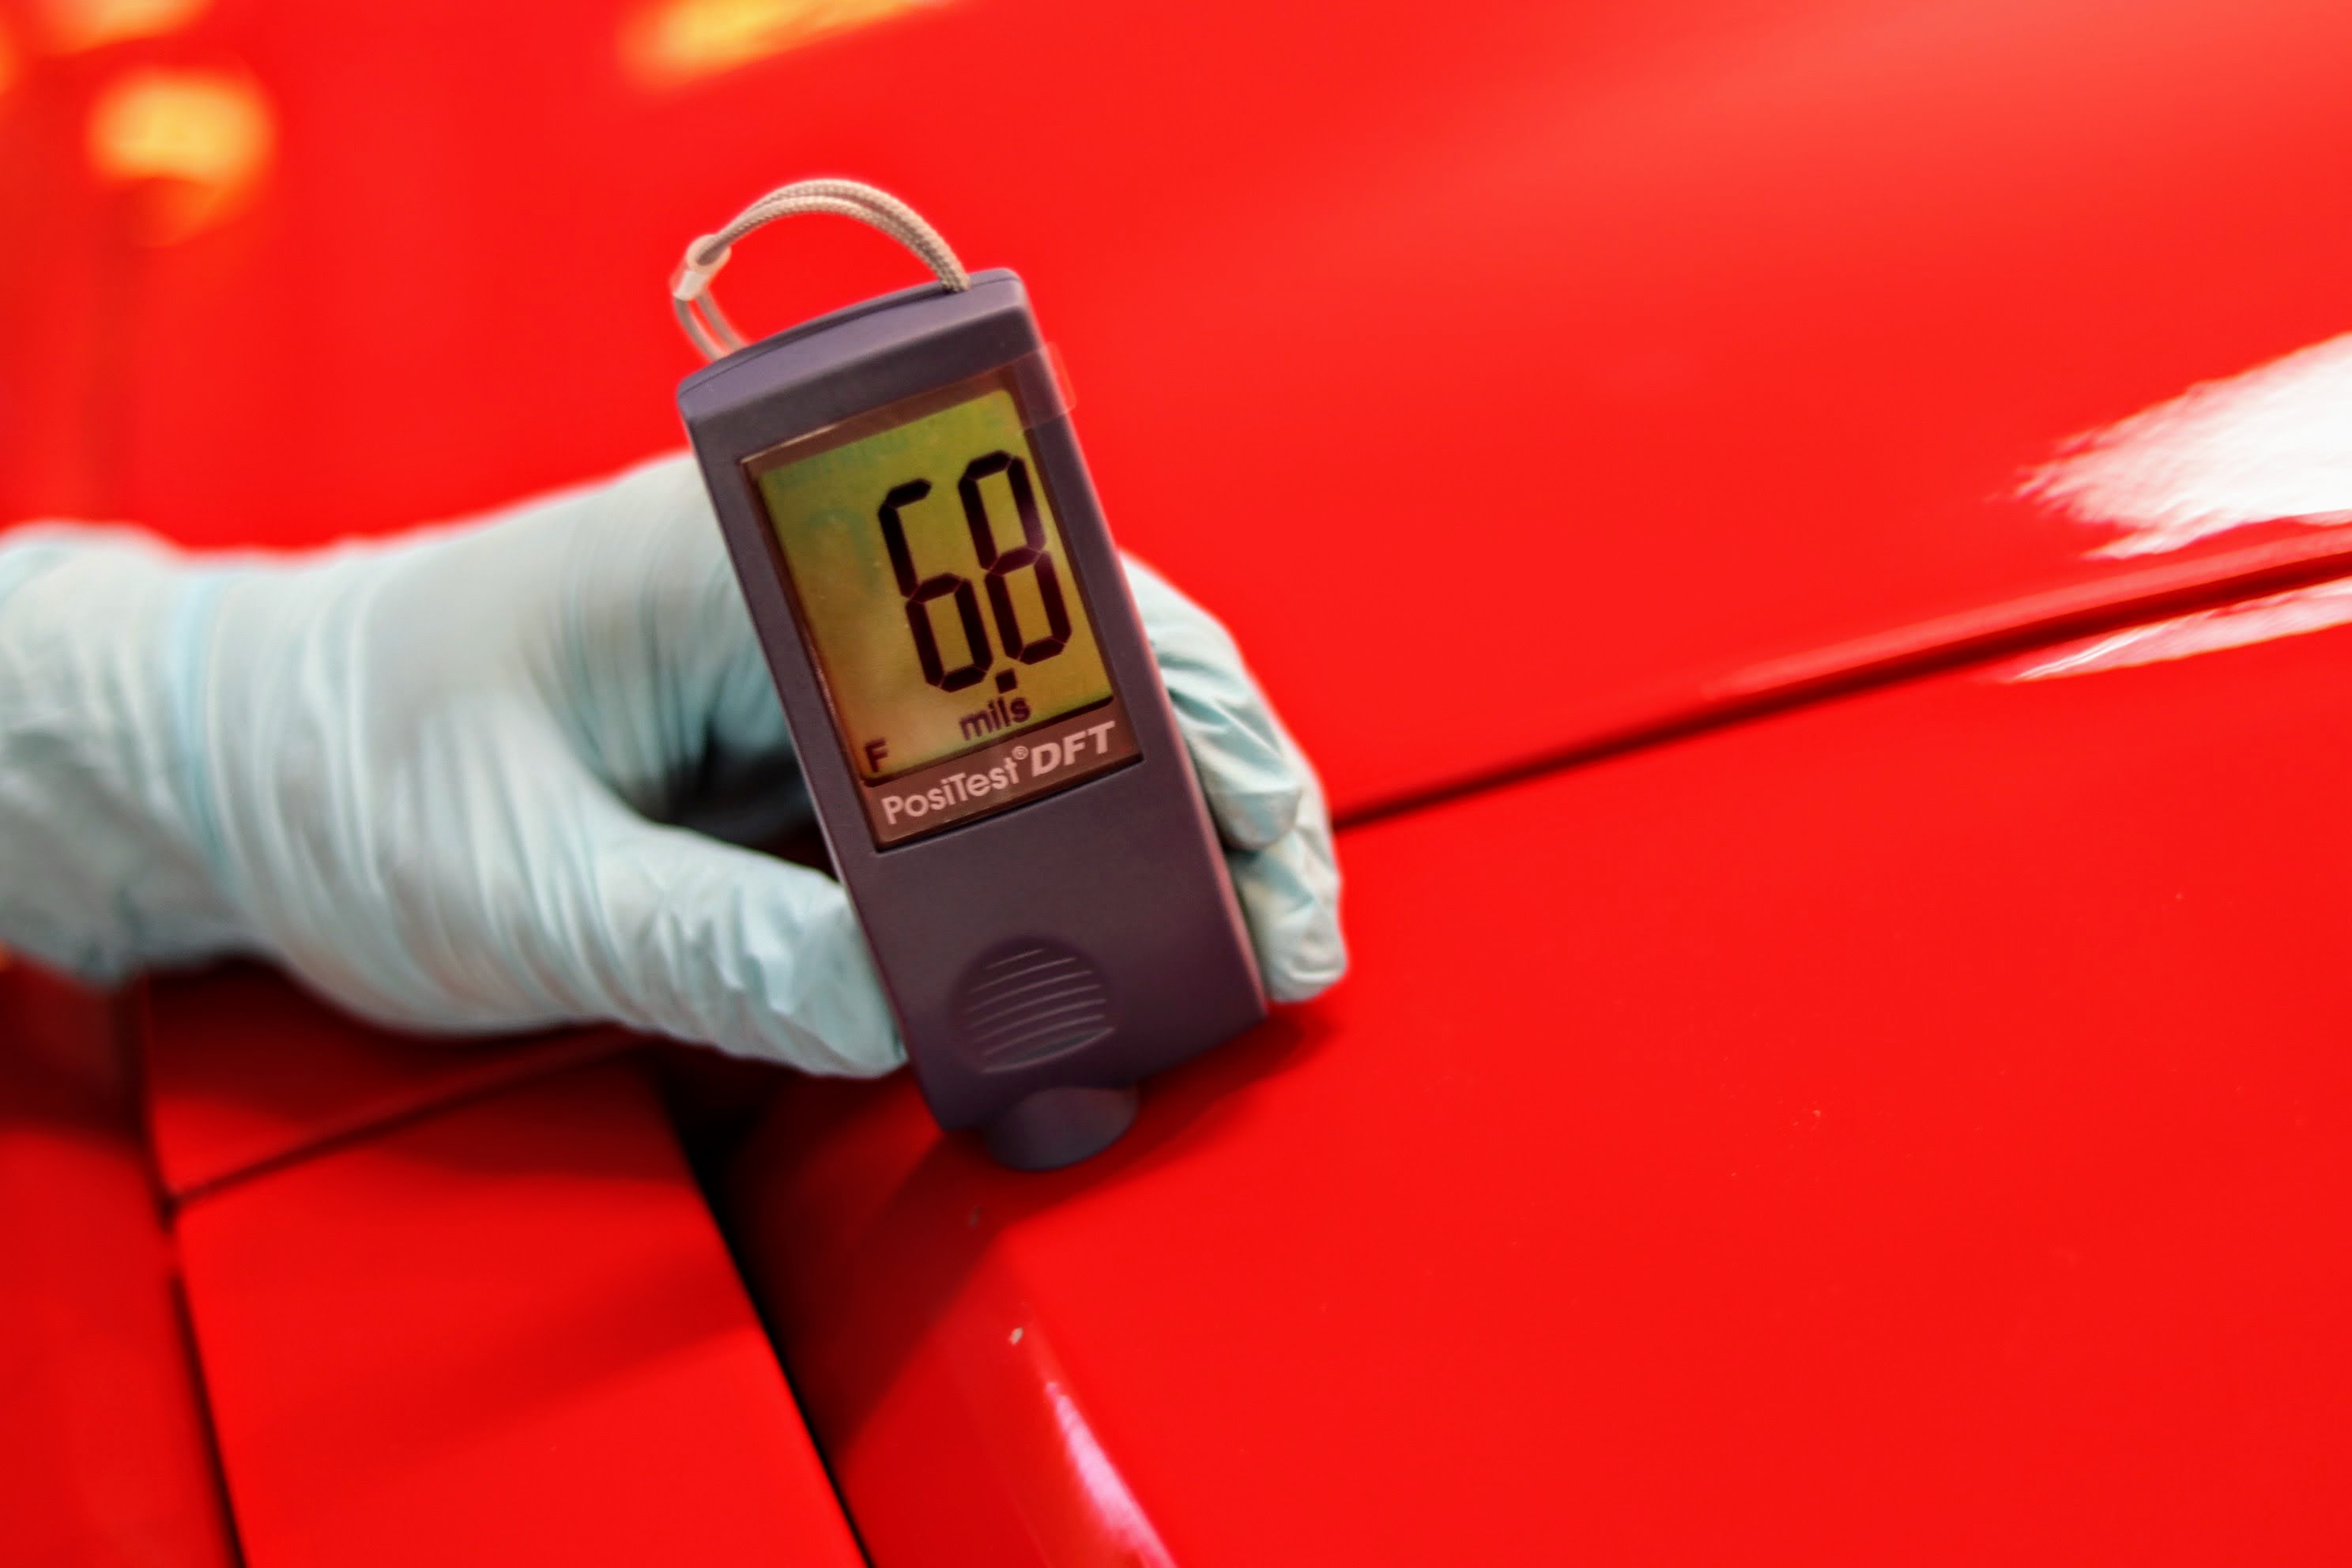
| Defelsko Positest DFT Paint Depth Meter | Detailer's Domain | |
| Single Hole, Hole Punch | Amazon | |
| Magnetic Wire Holder 1 | Amazon | |
| Heat Gun | Amazon | Limited Lifespan Products |
| Microfiber Towel (General Purpose) | Amazon | |
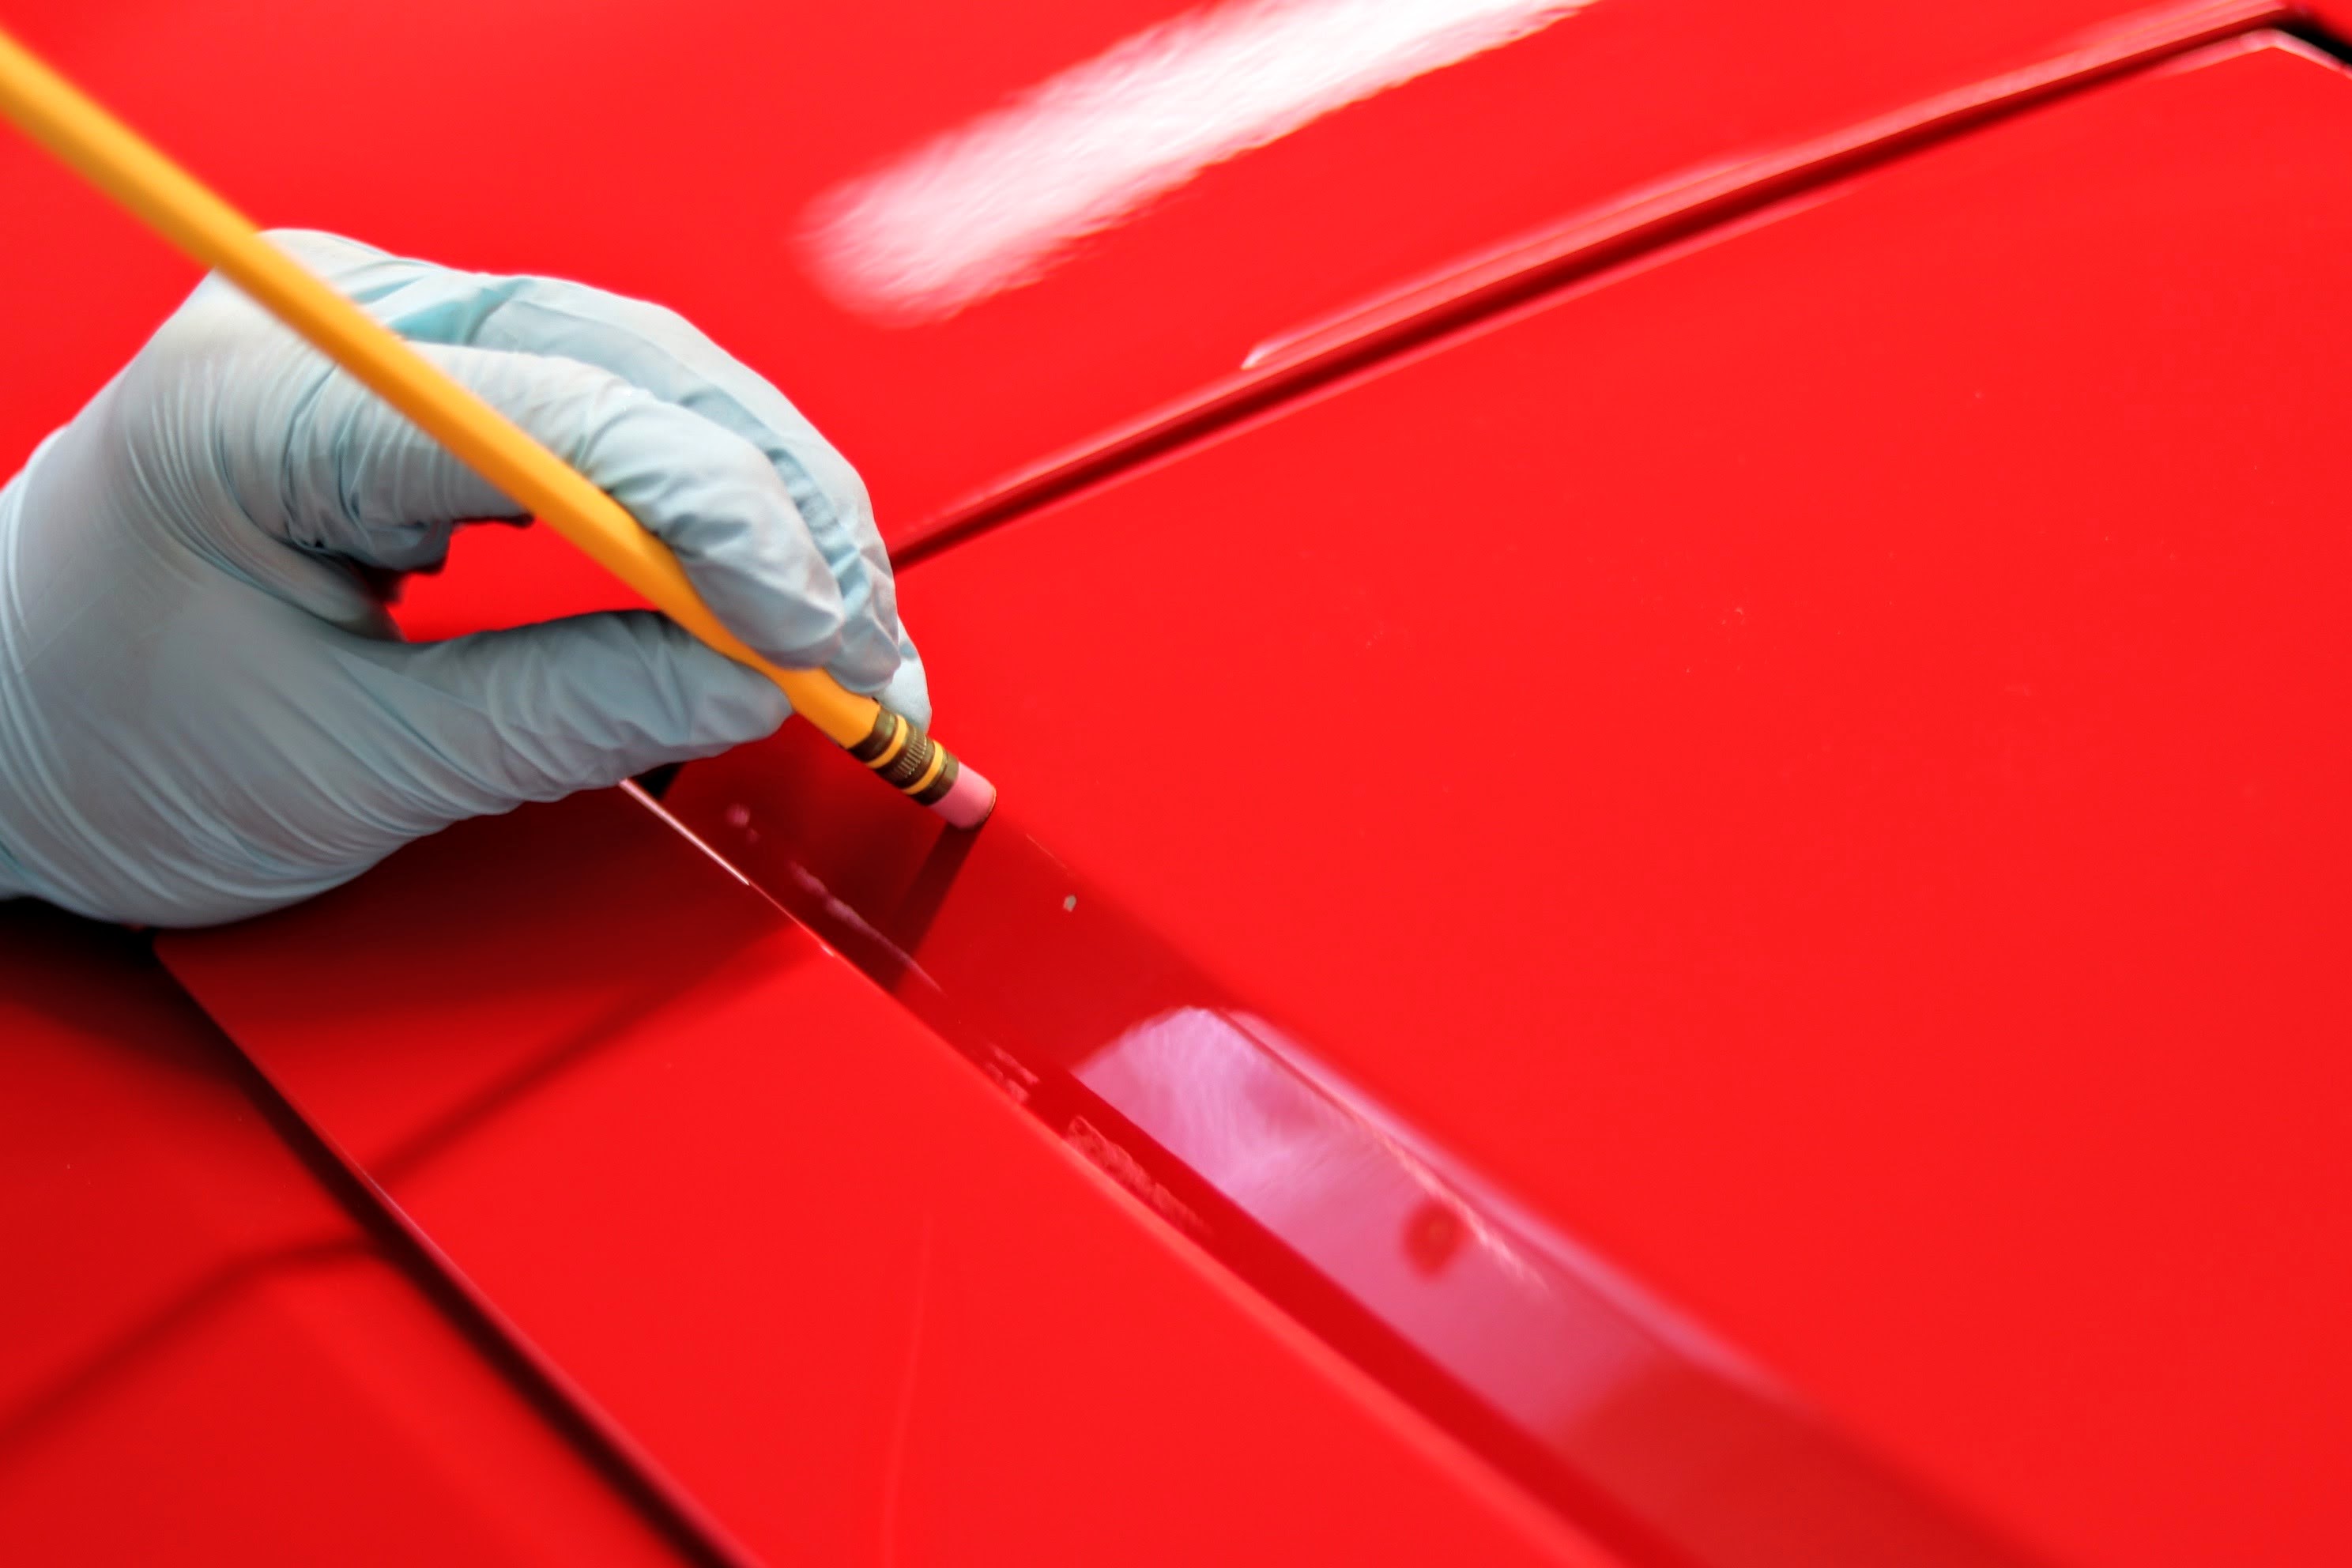
| Wood #2 Pencil(s) | Amazon | |
| Wax Applicator | Amazon | |
| Fine Line Painting Pen | Amazon | |
| Meguiars Sanding Pad | Amazon |
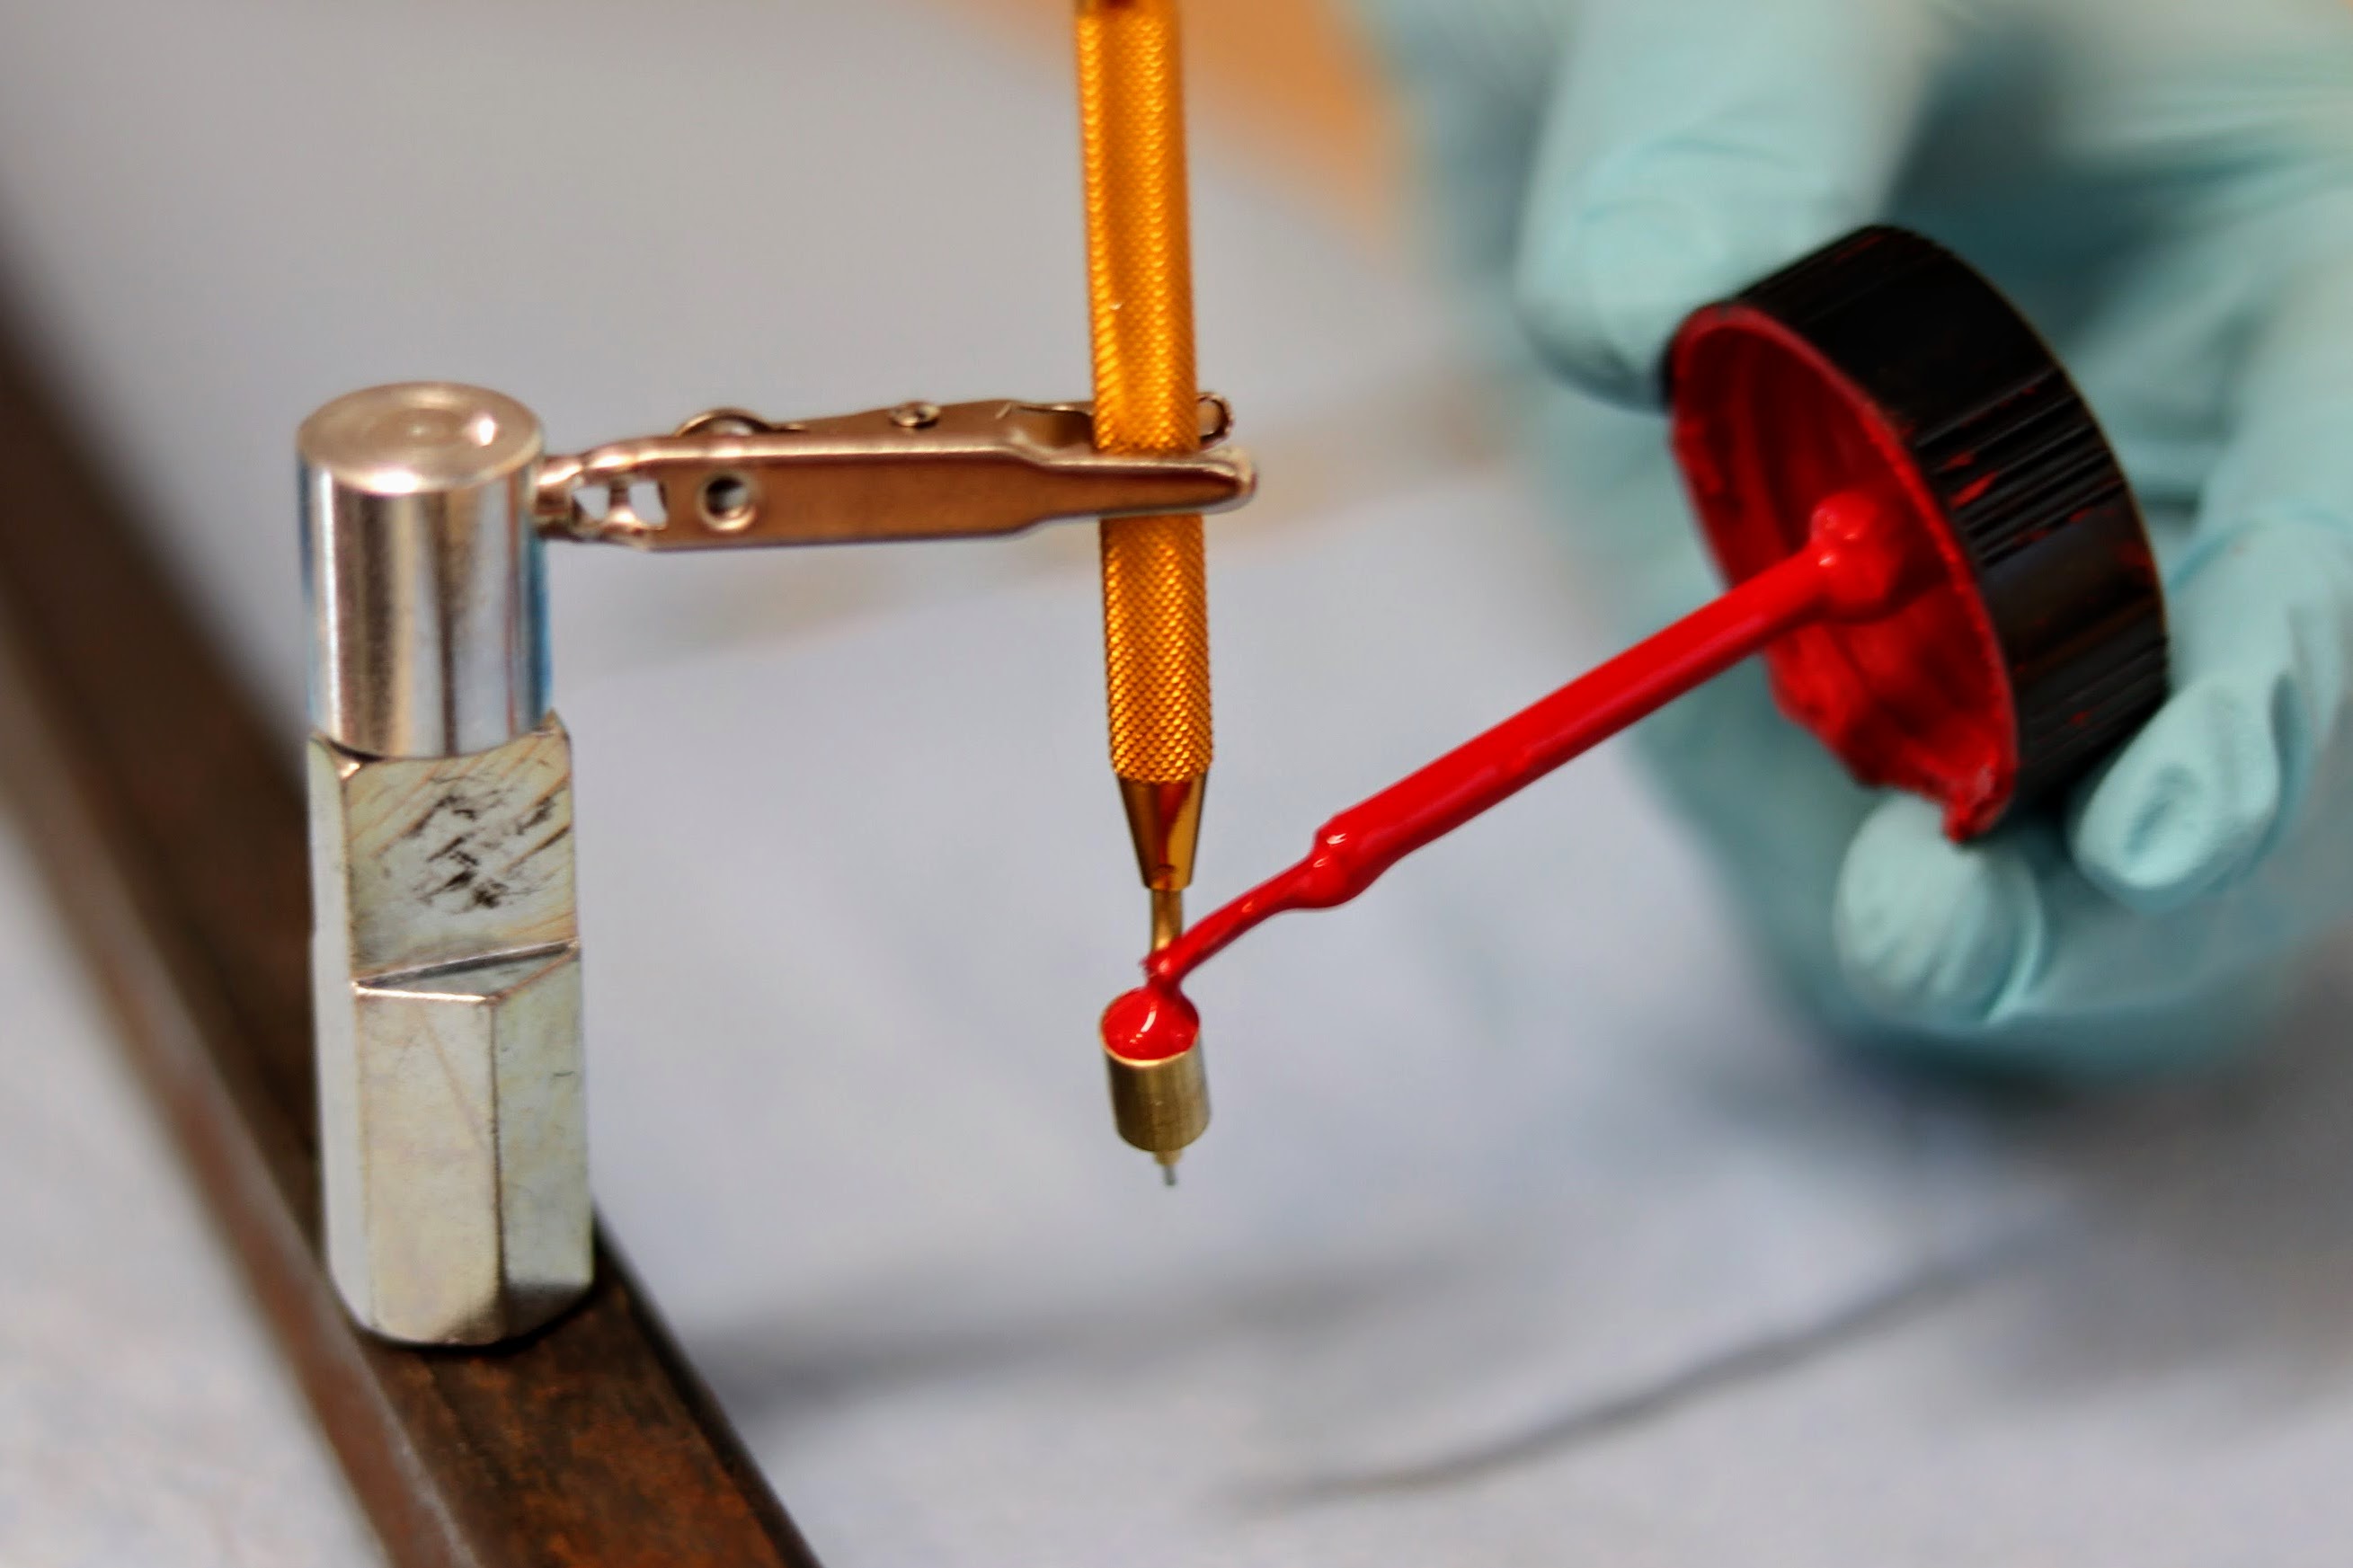
1 This magnetic wire holder is a great gadget to hold the fine line painting pen while filling it with paint. Check out Step 8. of this guide to see it in action.