Overview

This guide goes through the steps we used to do a normal maintenance wash. Just as with most things, there is more than one way to wash a car - this is the method we have evolved to after a number of years of testing various products and methods. This method is a balance between quickness, preserving the paint and how well the finish looks.

When washing any painted surface that you do not want to scratch, the goal is to loosen and remove the dirt without pushing the dirt against the paint. It is the pressure of the dirt against the paint that cause scratches, much the same as sand paper against paint or wood. These scratches can range from light marring to deeper scratches - all causing an undesirable finish to the surface.

Overall, we stick to what is known in the detailing world as the "two bucket method." What this means, is that you have two wash buckets - a "Wash" bucket filled with soapy water and a "Rinse" bucket filled only with water. After doing a couple of passes washing the car with the wash mitt, all of the dirt and contaminants is removed from the mitt by "rinsing" the mitt in the "Rinse" bucket. The mitt is subsequently dunked in the "Wash" bucket to reload with foamy soap and then back to washing the car. This method has been shown to greatly reduce cross-contamination and in turn, reduces the chance of scratching the paint.


Products Used

Durable Products

Quantity

Link

5 Gallon Bucket 2 Amazon
Grit Gaurd 2 Amazon
Pressure Washer 1 Amazon
Pressure Washer Gun 1 1 Amazon
40° Quick Connect Nozzle 1 Amazon
MTM Hydro Foam Lance 1 Amazon
Battery Powered Blower 1 Amazon

Limited Lifespan Products

Microfiber Madness Wash Mitt 1 CarPro USA
Microfiber Towel (Drying) ~4 Amazon
Microfiber Towel (General Purpose) ~2 Amazon

Consumables

Disposable Nitrile Gloves Amazon
Adam's Polishes Car Shampoo 2 Amazon
AMMO Hydrate (Drying Aid) AMMO NYC

1Check out our Pressure Washer Setup Guide & Diagrams to get your pressure washer gun perfected with all of the fittings needed.

2You can also use Adam's Ultra Foam in the foam lance for more foam; though we have not tried Adam's Ultra Foam yet.

Procedure Used


1. Before any wash, we always check that the surfaces to be washed are not hot and are not in direct sunlight. Not doing this can cause the water and chemicals to dry prematurely - significantly increasing the chances of water spots or other undesired effects.
2. Using the the procedure outlined in our Wheel & Tire Wash Guide, we first cleaned all four wheels and tires. Wheel & Tire Wash Guide
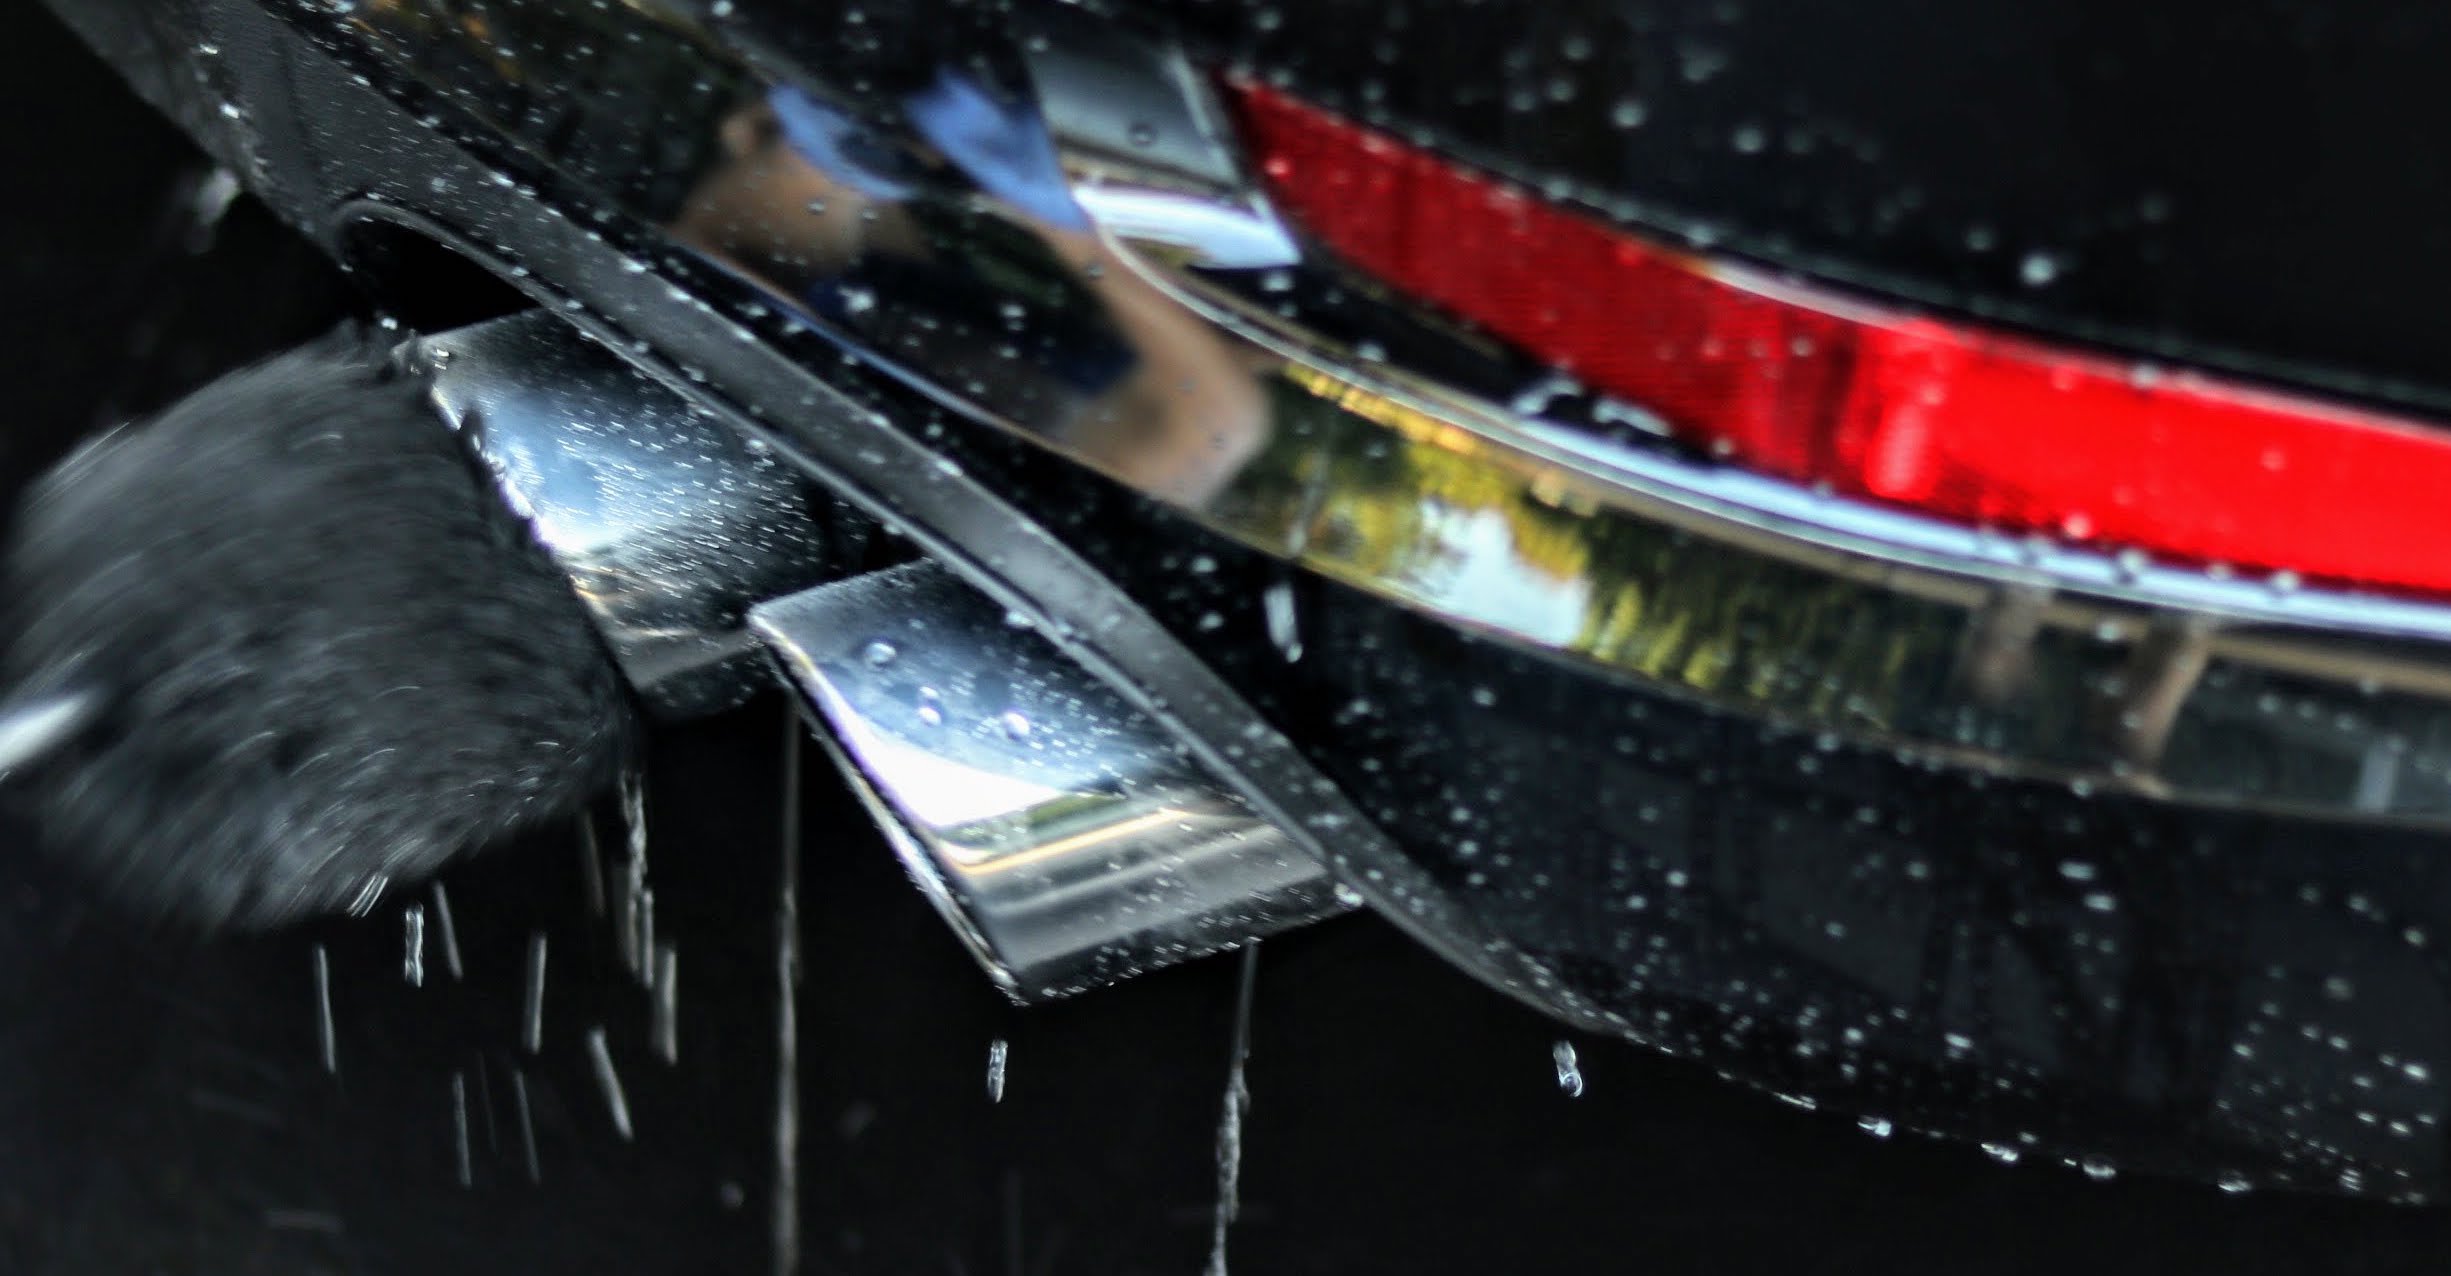
3. Before putting away the wheel cleaning supplies, we sprayed Tuga wheel cleaner on the exhaust tips, let sit for a few minutes, scrubbed with a wheel woolie, and rinsed with the pressure washer gun (with 40° nozzle) Washing exhuast tips
4. To prepare for the wash, we filled a bucket (with grit gaurd) with water and a few squirts ofAdam's Car Shampoo. We like to put some Adam's Car Shampoo directly on the wash mitt and let it soak in the bucket. We also like to use the pressure washer to help create a good amount of foam. This bucket is used as the WASH bucket. Another bucket (and grit gaurd) is filled with clean water. This bucket is used as the RINSE bucket. Preparing the WASH bucket
5. Next, Adam's Car Shampoo (or Adam's Ultra Foam) was added to the MTM Hydro foam lance - about 1/4" or 5 mm of soap on the bottom of the bottle (as shown to the right). Filling the foam lance bottle with Adam's Polishes Car Shampoo
6. Next, we added water to completely fill the bottle on the MTM Hydro foam lance. A trick to prevent the soap from foaming inside the bottle is to place the bottle in the RINSE bucket water (clean, unused water) and allow the water to completely fill the bottle. The bottle was then reattached to the MTM Hydro foam lance. Filling the foam lance bottle with water
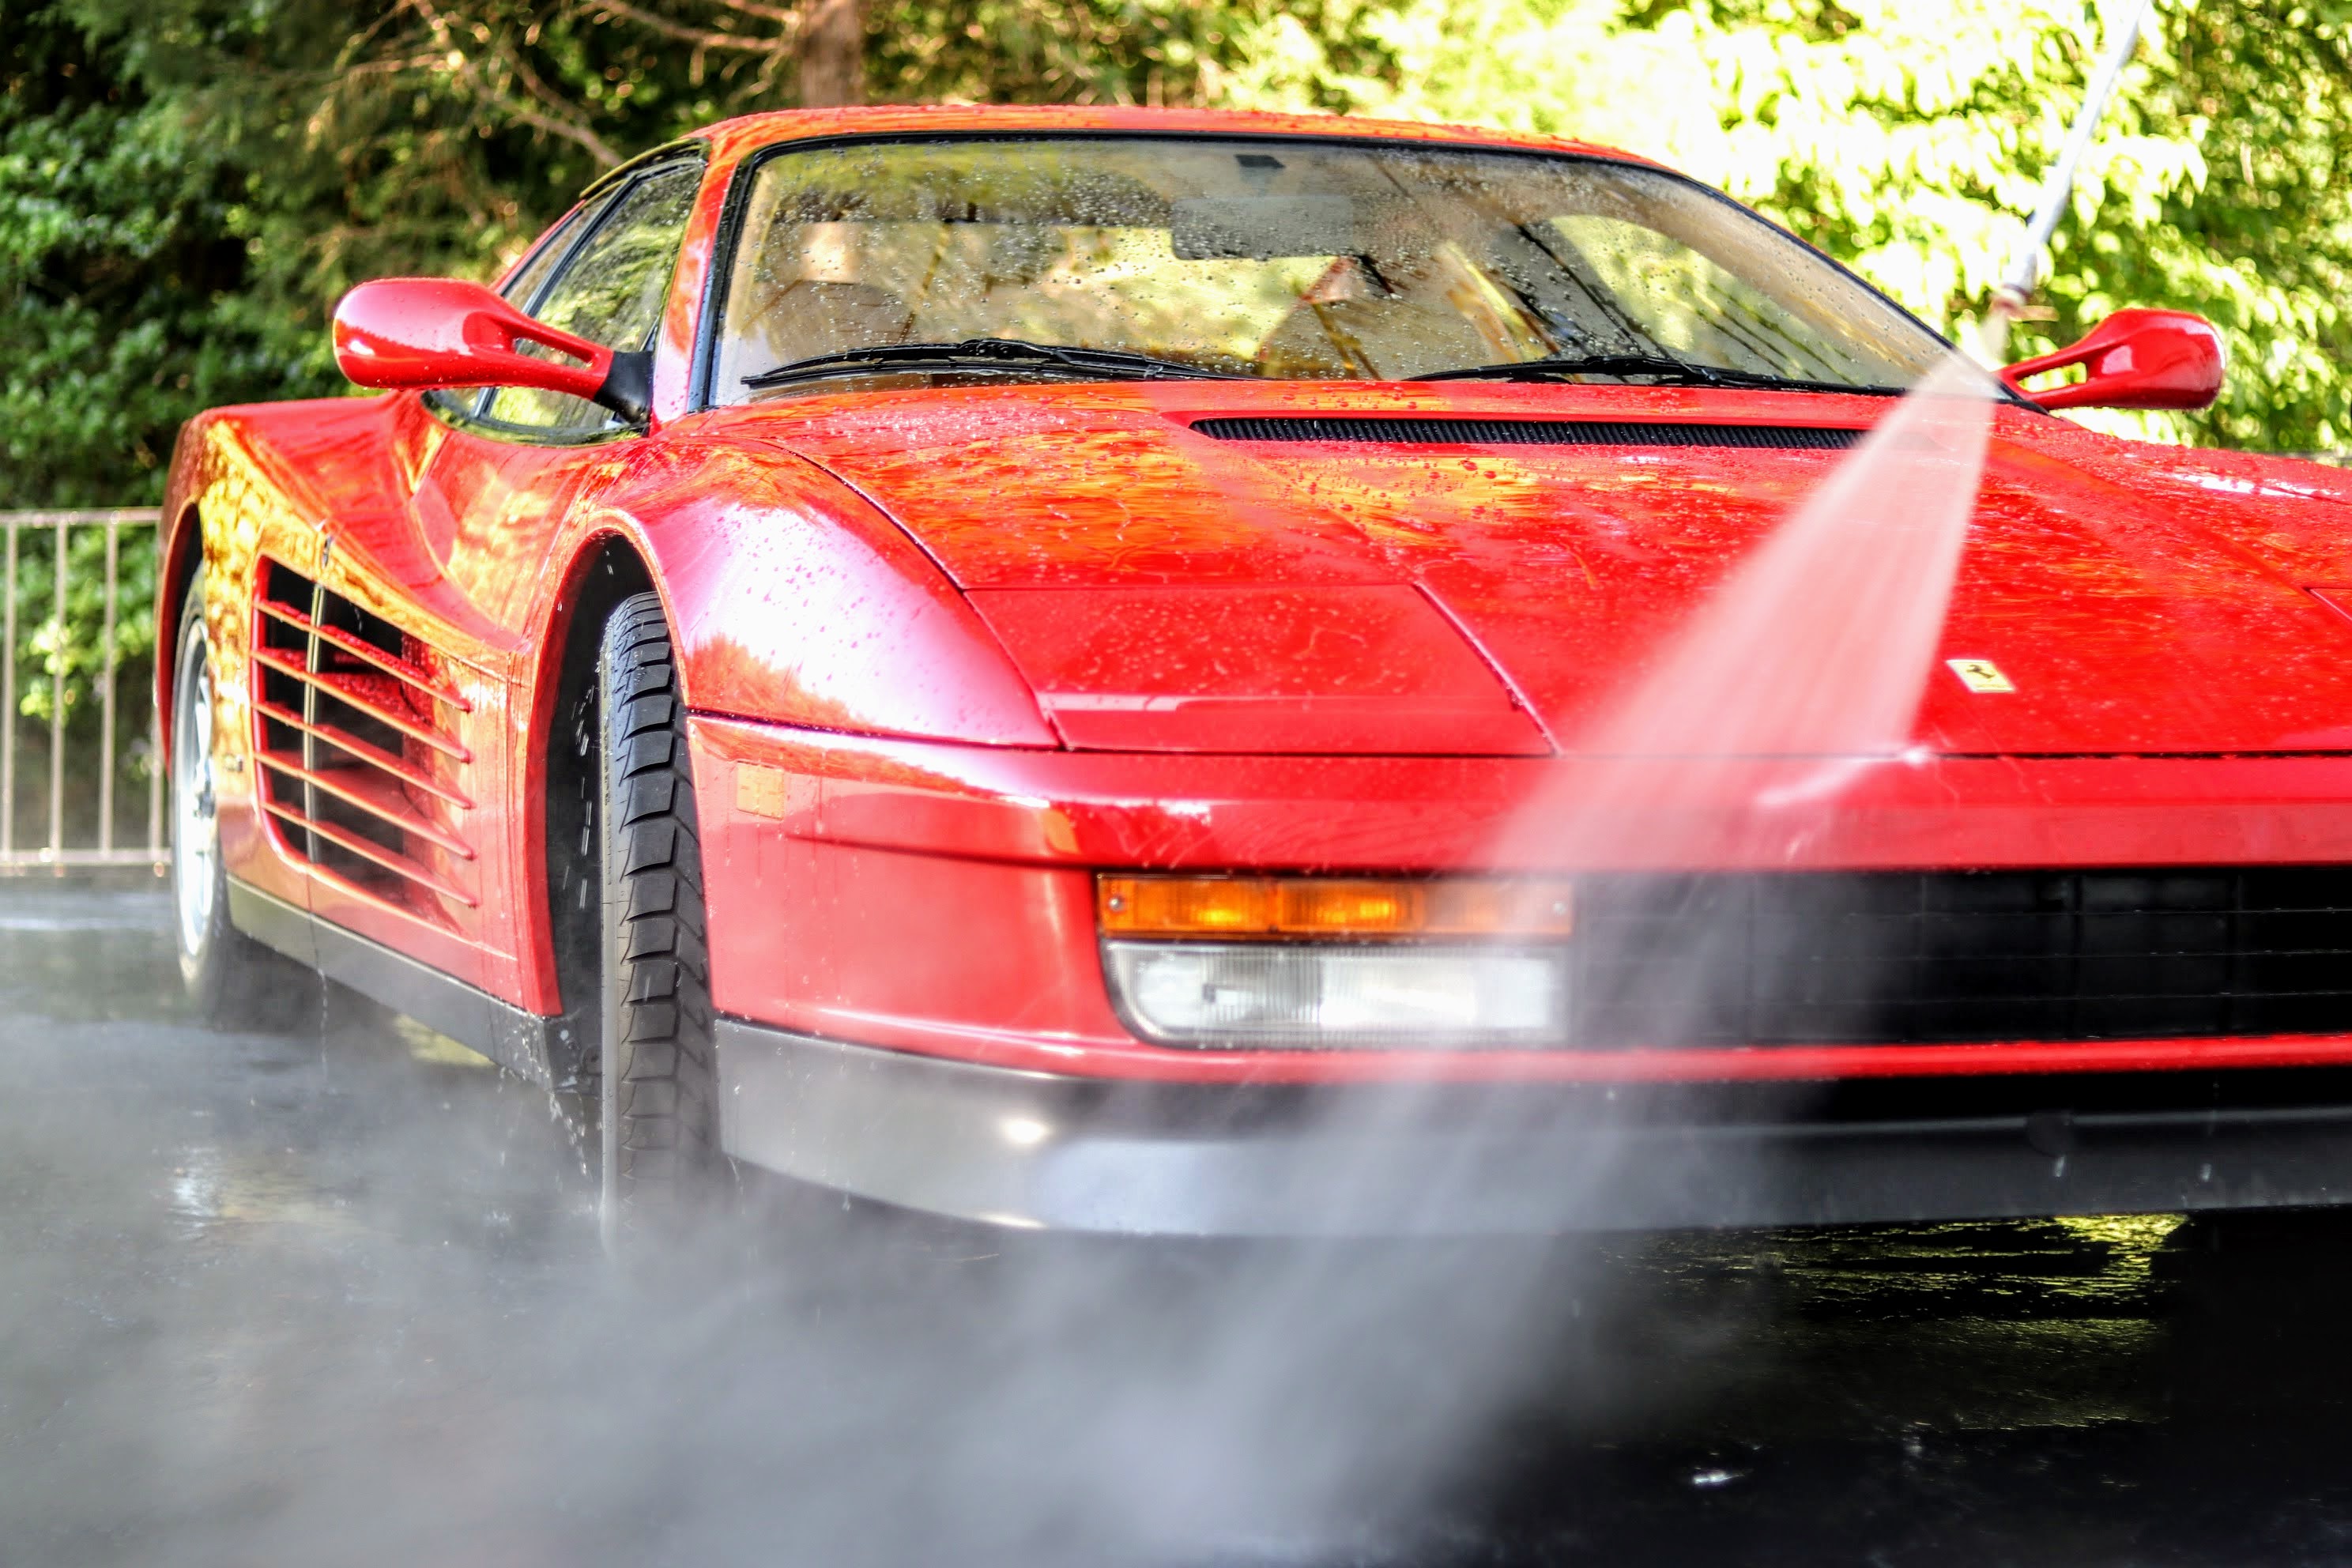
7. With the preparation complete, we used the pressure washer gun with a 40° nozzle to rinse off the entire car. We start at the top of the car and work our way downwards - trying to push the dirt down and off the car. Rinsing the Ferrari Testarossa
8. We then attached the MTM Hydro foam lance to the pressure washer gun and began foaming the car. Again, we start at the top of the car and work our way downwards. The aim is to create a layer of foam that will help raise the dirt off of the paint. Ferrari Testarossa being sprayed with Adam's Polishes Car Shampoo foam from the MTM Hydro foam lance
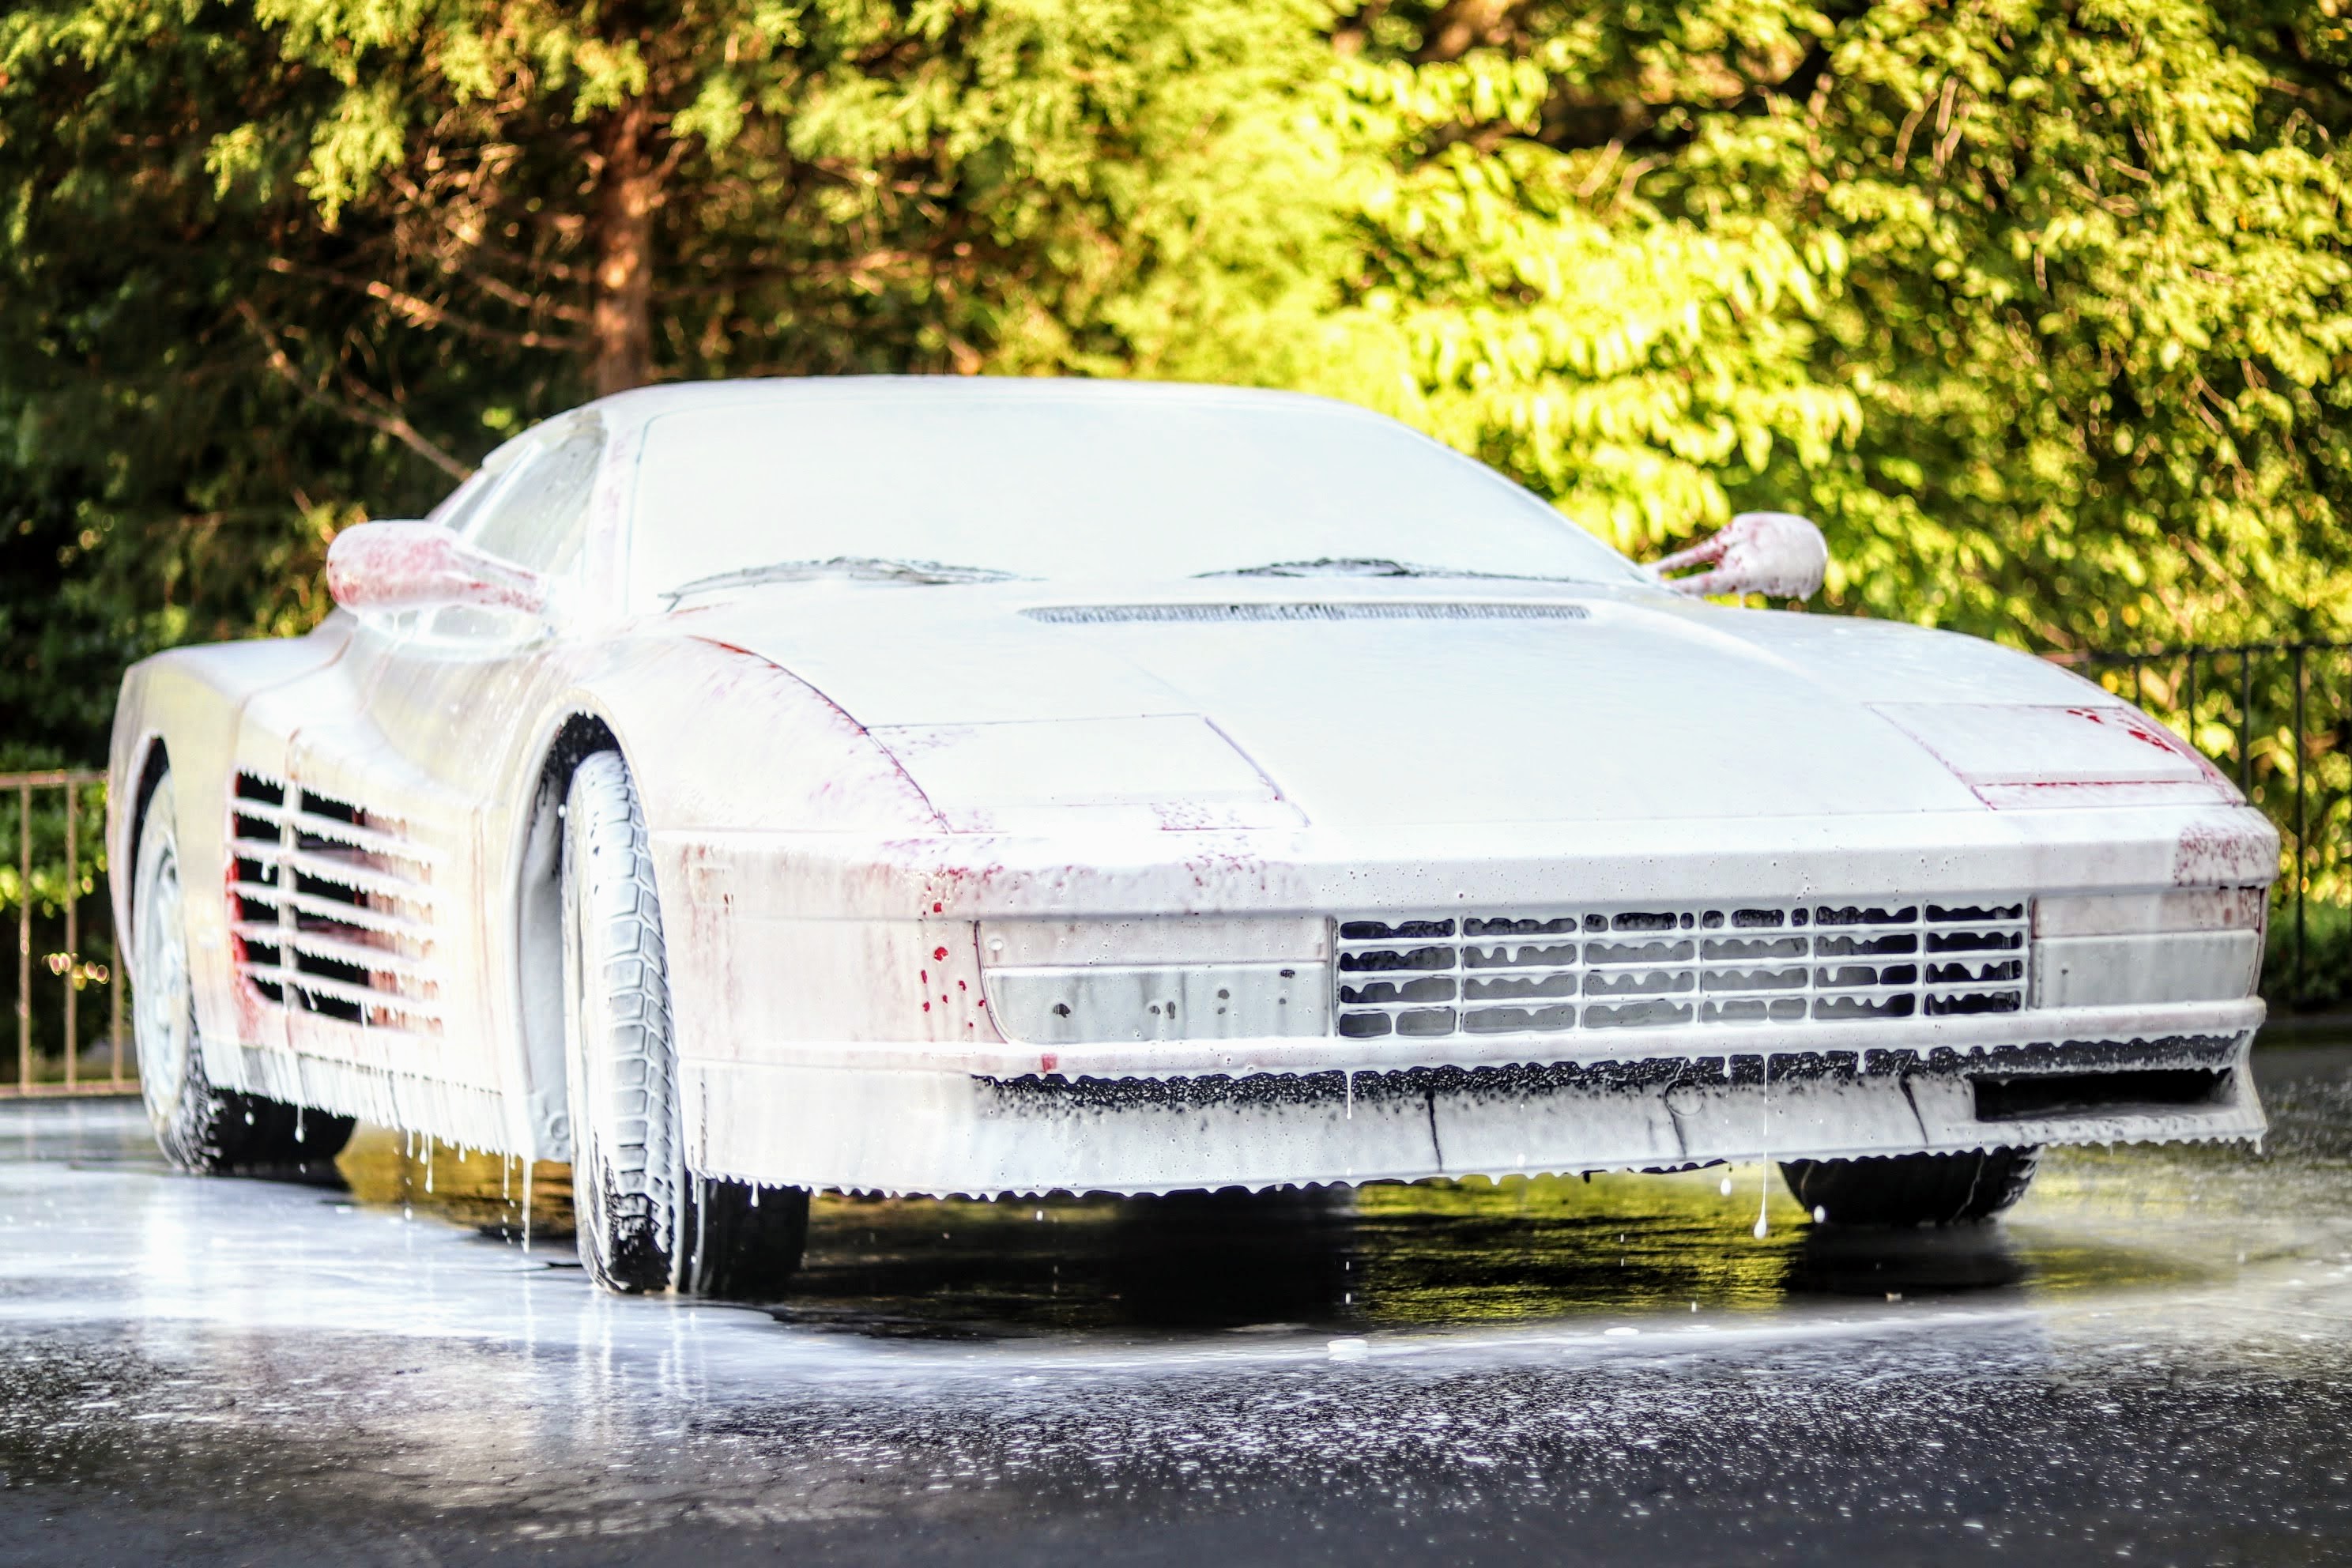
9. After completely foaming the car, we like to let the foam sit for a minute or two to react with the dirt. Alternatively, you could perform the preparation step 4. while waiting. Ferrari Testarossa completely covered with foam
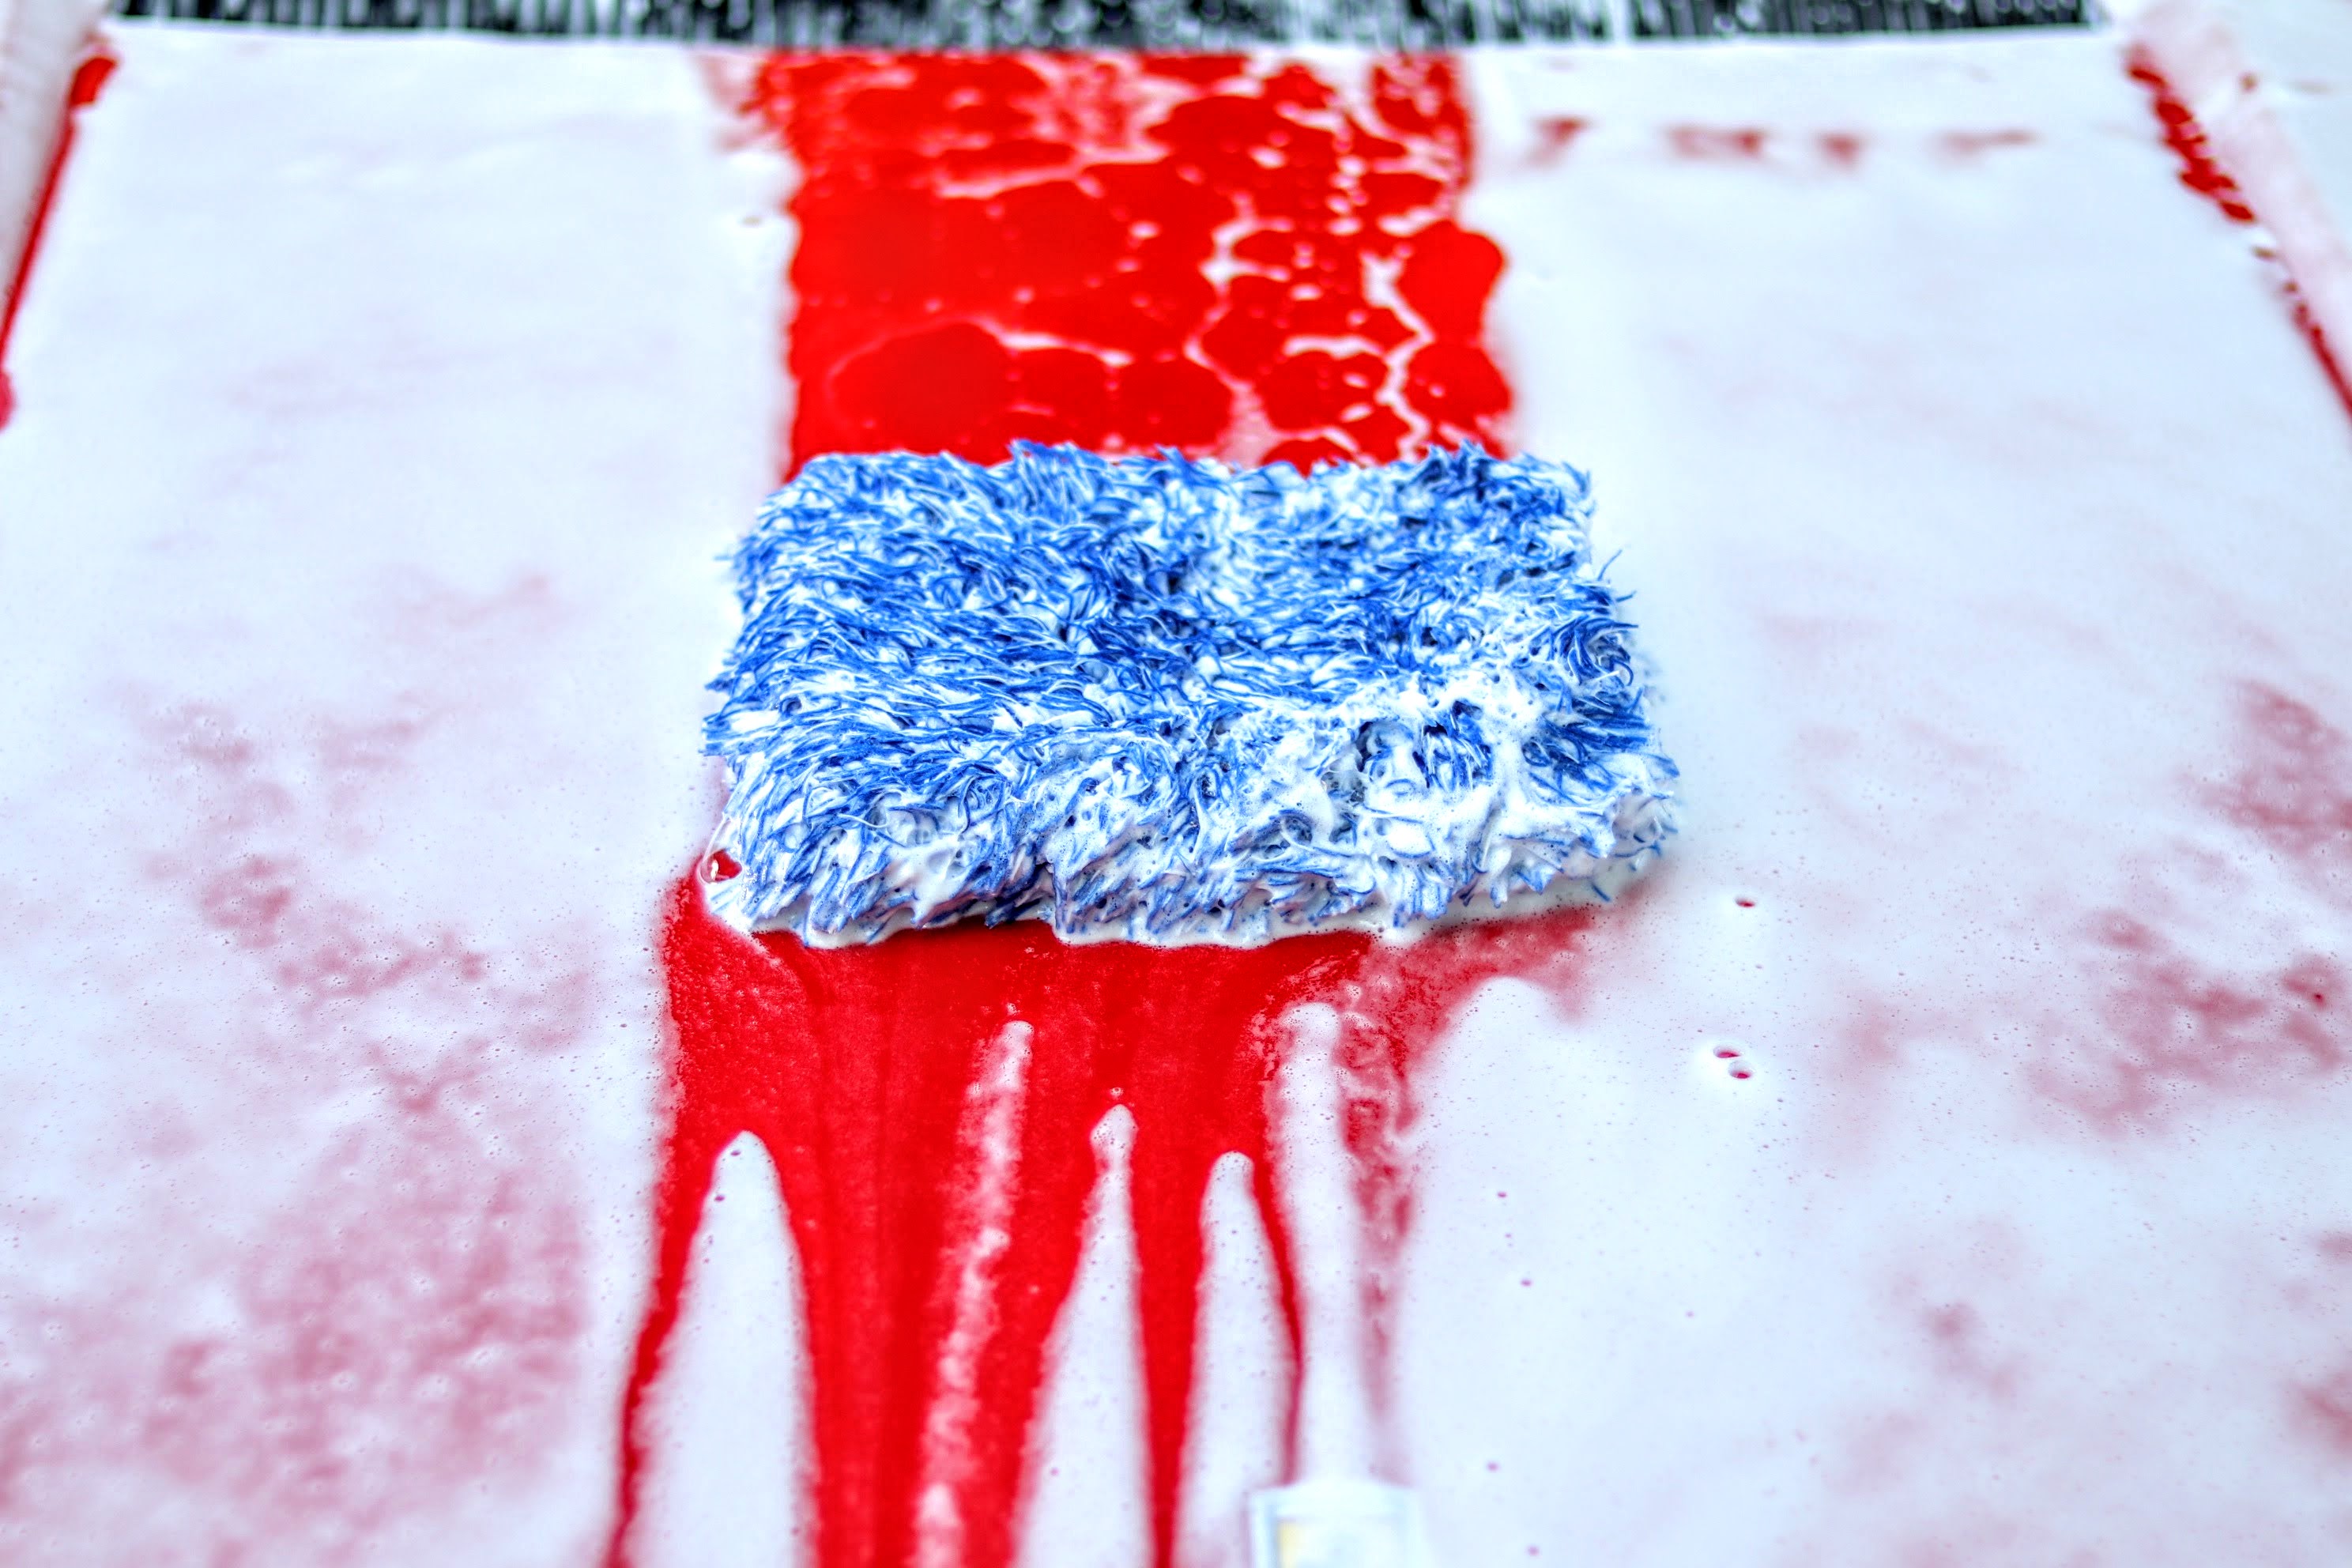
10. With plenty of foam still on the car, we used the wash mitt to start cleaning the car. We moved in a "straight horizontal line" motion starting at the top of the car and working downward. We do NOT apply any pressure to the wash mitt - just enough to keep the mitt against the car. After a couple swipes of the mitt, we flipped the mitt for a couple more swipes. Then, we washed the mitt in the RINSE bucket, removing the dirt from the wash mitt. Subsequently, we dunked the mitt in WASH bucket to reload it with more foamy soap. Ferrari Testarossa washing with the Microfiber Madness Wash Mitt
11. We repeated step 10. until we had gone over the entire car with the wash mitt.

NOTE: be sure to never go from a lower portion of the car to an upper portion. The amount of dirt and debris tends to increase as you get closer to the ground; therefore, you don't want to pull any of that debris upward on the paint, possibly causing scratches.

Ferrari Testarossa completely washed with the Microfiber Madness Wash Mitt
12. With the car completely washed, we used the pressure washer gun with a 40° nozzle to rinse off the entire car. Again, working from top to bottom. Rinsing the Ferrari Testarossa
13. Next, we began to dry the car by first getting off the majority of the water using a battery powered blower to push the water off the car. Drying the Ferrari Testarossa with the Dewalt 20v Battery Powered Blower
14. To finish drying the car, we used a microfiber towel (drying) and AMMO Hydrate to wipe away the rest of the water. To use AMMO Hydrate, first wet and then ring out the microfiber towel (drying). Put a few sprays of AMMO Hydrate directly onto the microfiber towel (drying). Gently wipe the water off the paint, using the same motion as used with the wash mitt. This process is extremely beneficial to eliminating streaks and water spots. NOTE: be sure to apply only enough pressure to the microfiber towel (drying) to keep it against the paint.
15. We used the same process as above (although using our not as goodgeneral purpose microfiber towel) to dry the door jambs, door sills, inside the front bonnet edges, rear lid edges and around the gas cap.
16. Next, we applied protection to the paint of the car. To see how we do this, check out our Protecting the Paint Guide.