

Overview
Many new Porsche owners and beginner Porschephiles are unaware of that Porsche changes the original clear side markers to amber side markers for the North American market. Although it may not seem like much, the amber side markers do not flow with the rest of the theme and design language of the car. In this guide goes through the steps we used to replace the original amber side markers (for North American Vehicles) with the clear (European) side markers. The steps we use to change the side markers were done on a 991.1 variant of the 911, but should be quite similar for any other modern Porsche model.
This is a relatively inexpensive and easy "upgrade" to bring your Porsche back to its original design and let others now you are a real Porsche enthusiast!
Parts Used
| Part | Quantity | Part No. | Links to ones we used |
|---|---|---|---|
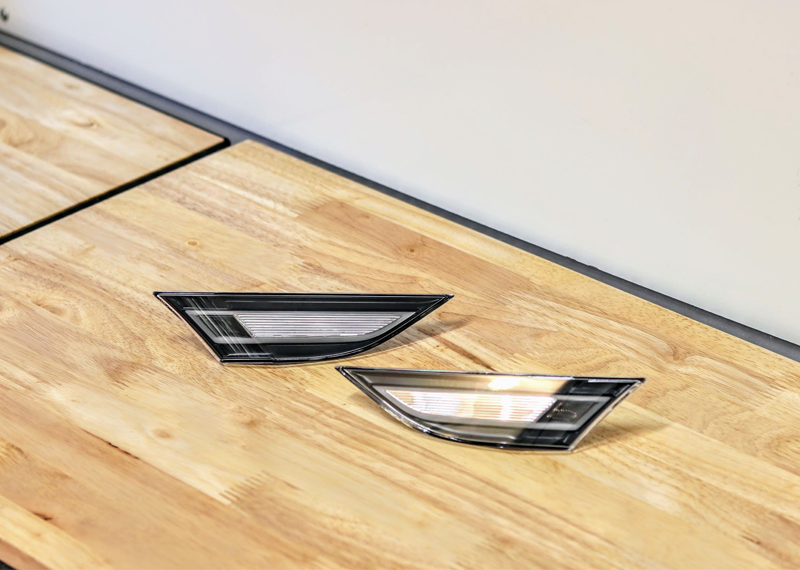
| Clear LED Side Marker (Left) | 1 | Porsche #991.631.255.06 | Suncoast Kit |
| Clear LED Side Marker (Right) | 1 | Porsche #991.631.256.06 | Suncoast Kit |
Procedure Used
Removal:
| 1. Starting with the left side marker, we first put painters tape on the painted surfaces surrounding the side marker. This helps to prevent accidentally scratching the paint when removing and installing the side marker. |  side marker") |
| 2. Next, we firmly placed our hands on the side marker and moved it towards the front wheel - in the rearward direction. |  side marker") |
 side marker")
 side marker")
 side marker")
 side marker")
 side marker")
 side marker")
 side marker")
 side marker")
 side marker")